

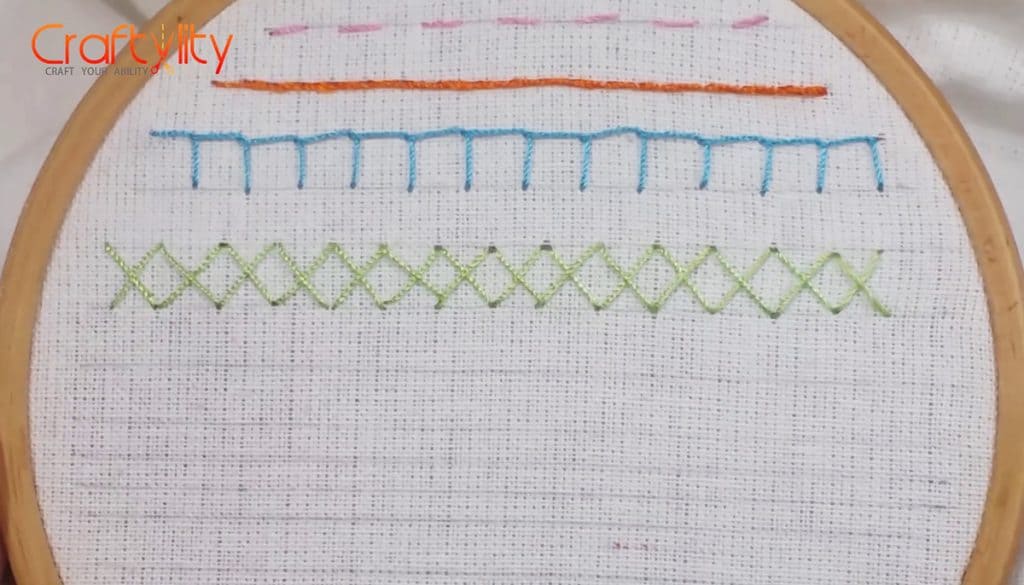
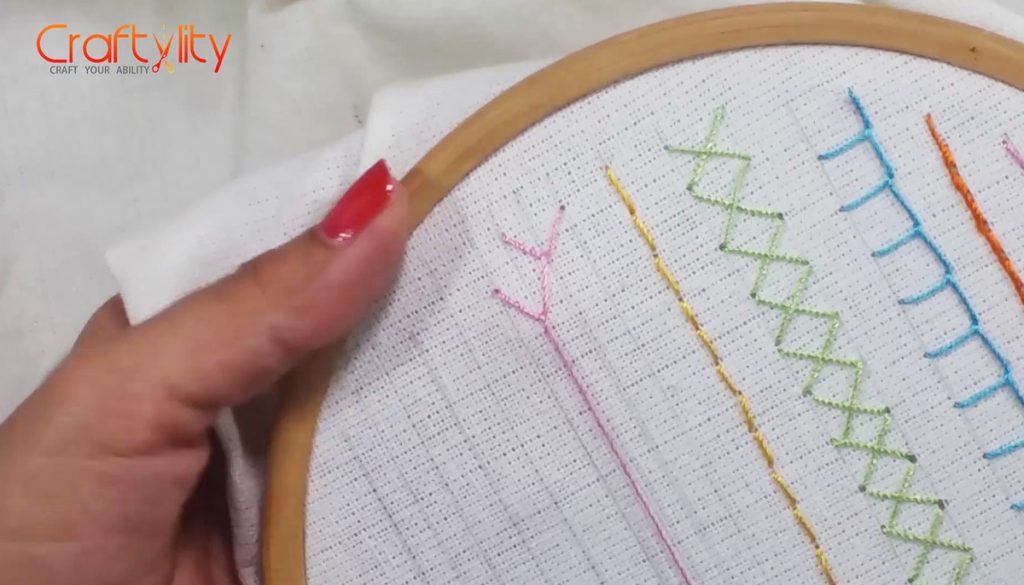
In this post, you will find step by step instructions of 10 Basic Hand Embroidery Stitches which are easy and are fun. Keep on practicing and you will find that the stitches which appeared to be difficult are easy to follow and are also the foundation of more advanced stitches. So let’s get started with Running Stitch…..Also Checkout our Recommended Products for Embroidery.
1) Running Stitch
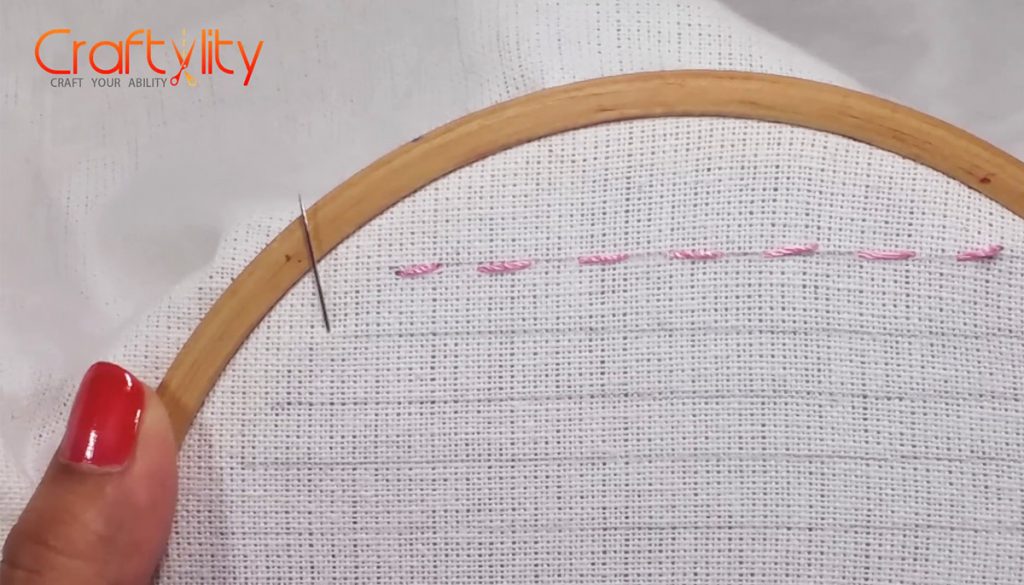
Running Stitch is very basic stitch in hand embroidery. It can be used in all level of embroidery patterns. It is done by running the thread up and down through the cloth at equal distance.
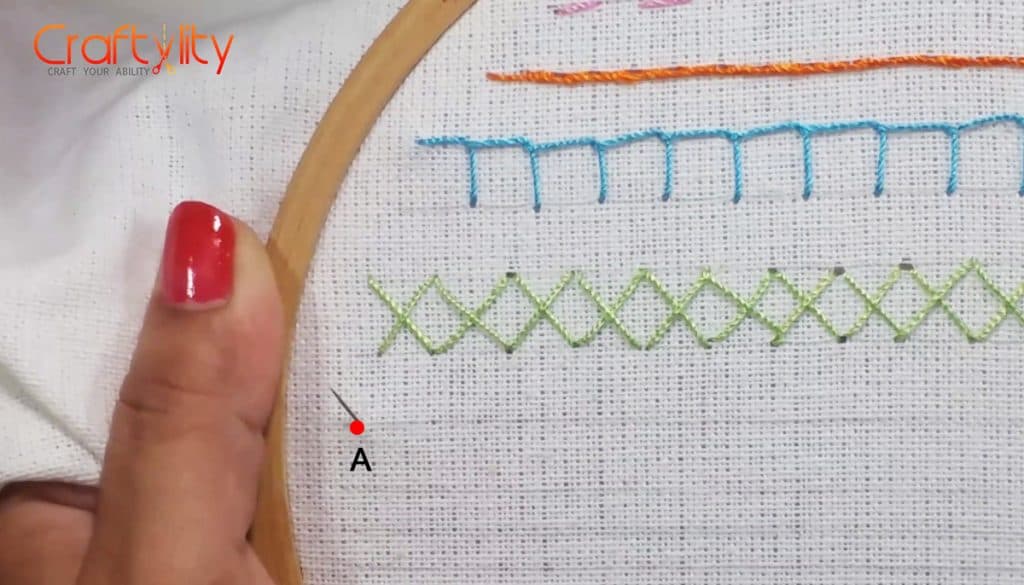
Step 1:

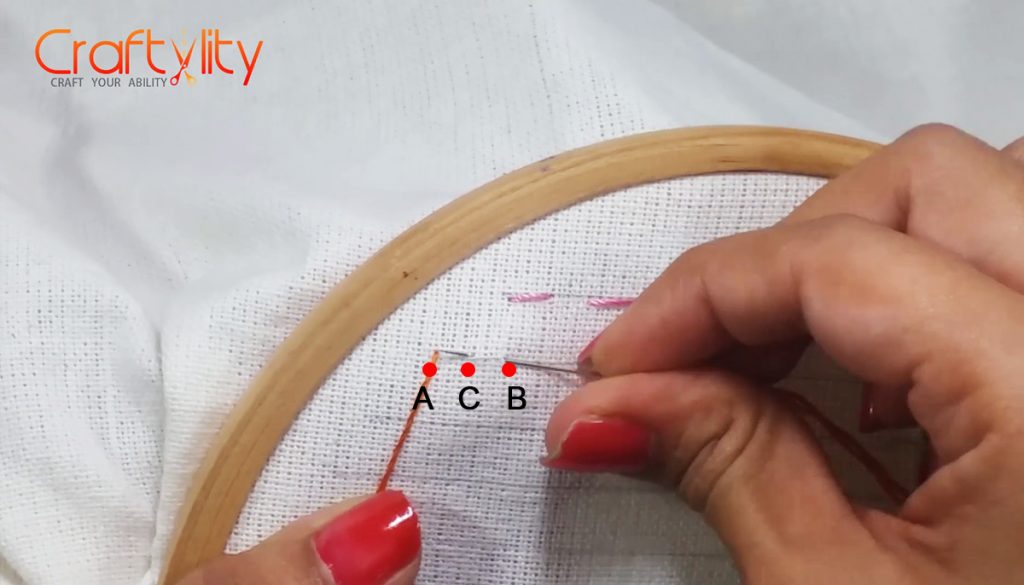
For this stitch start with your needle from point “A”.
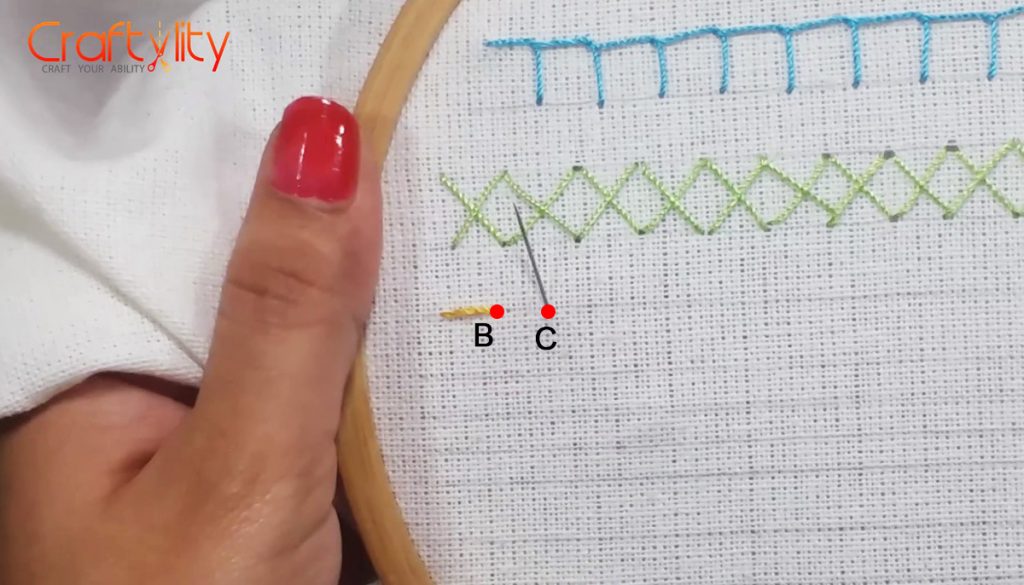
Step 2:

Put the needle in the cloth at point “B” and again bring it up at a equal distance at point “C”.
Step 3:

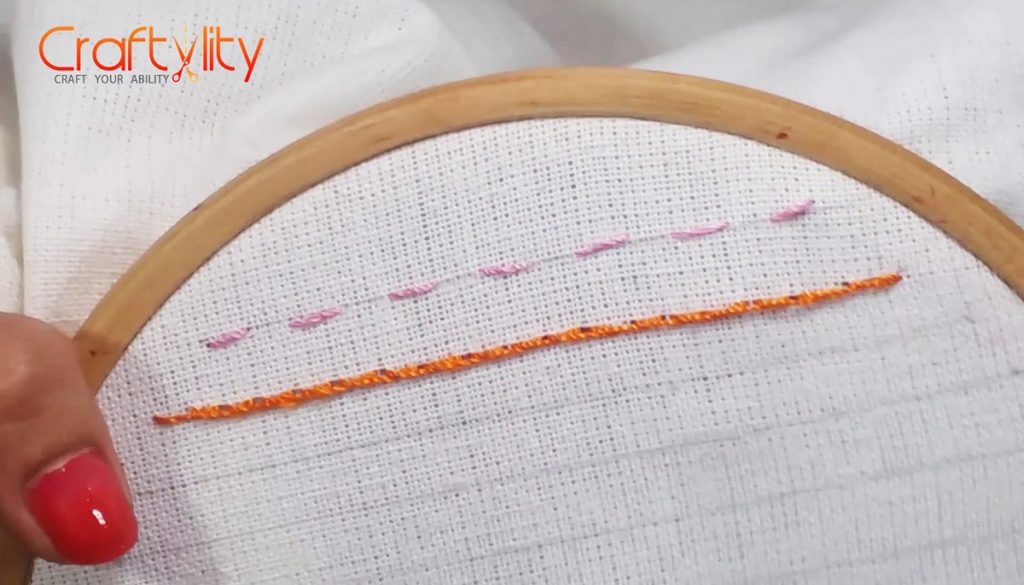
Continue these 2 steps at a equal distance till the end of the line.
2) Stem Stitch
Step 1:
For this stitch start with your needle coming out of the fabric at point “A”
Step 2:
Then put the needle back in the fabric at point “B” and again remove the needle in between the points “A” and “B” this would be the point “C”. This would be our first stitch.
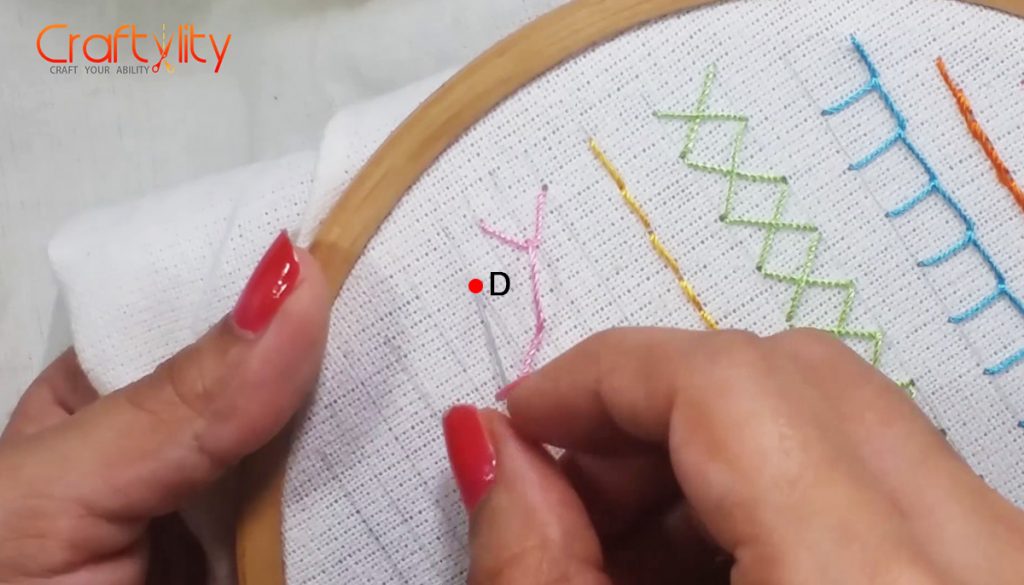
Step 3 :

Again repeat the same step, insert the needle in the fabric at point “D” and bring it out at point “B”.
Step 4 :
Keep on repeating these steps till the end of the line.
3) Blanket Stitch
Step 1 :

Bring the needle out from fabric at point “A”.
Step 2 :
Insert the needle at point “B” and take it out through point “C”. Loop the thread under the needle as shown in above image.
Step 3:
This is first blanket stitch.
Step 4 :
Again insert the needle through the fabric from bottom to upward direction and loop the thread under the needle.
Step 5 :
Keep on repeating these steps till the end of the line.
4) Cross Stitch
Step 1 :
Start with your needle coming out of the fabric at point “A”
Step 2: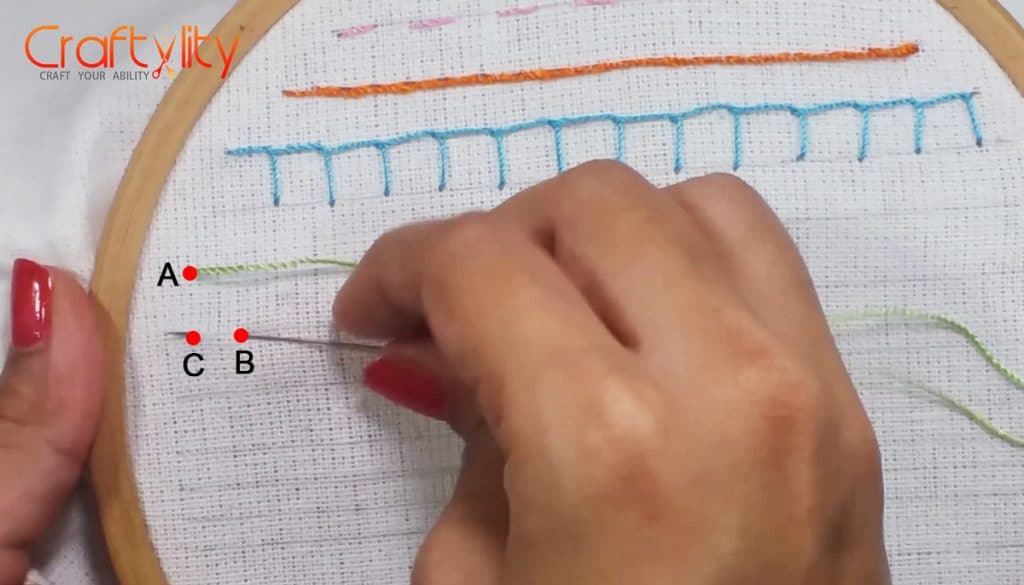
Insert the needle at point “B” which is diagonally across to point “A” and remove it through the point “C” which is below point “A”.
Step 3:
Insert the needle at point “D” which is above point “B”.
Step 4:
This is first cross. For second stitch, take needle out from point “B”.
Step 5: 
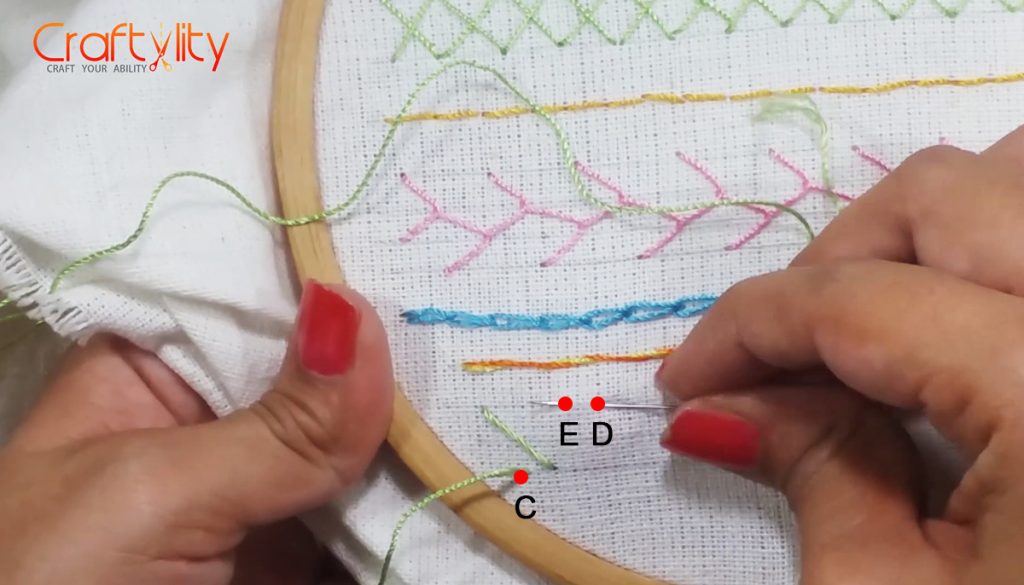
Continue the same steps, insert the needle at point “E” which is diagonally opposite to point “B” and remove the needle from point “D”.
Step 6: 
Insert the needle at point “F” and take it out at point “E”.
Step 7:
Thus second stitch is complete.
Step 8:
Keep on repeating the process till end of the line.
5) Back Stitch
Step 1 :
Bring the needle out from fabric at point “A”.
Step 2: 
Insert the needle at point “B”. This is first stitch.
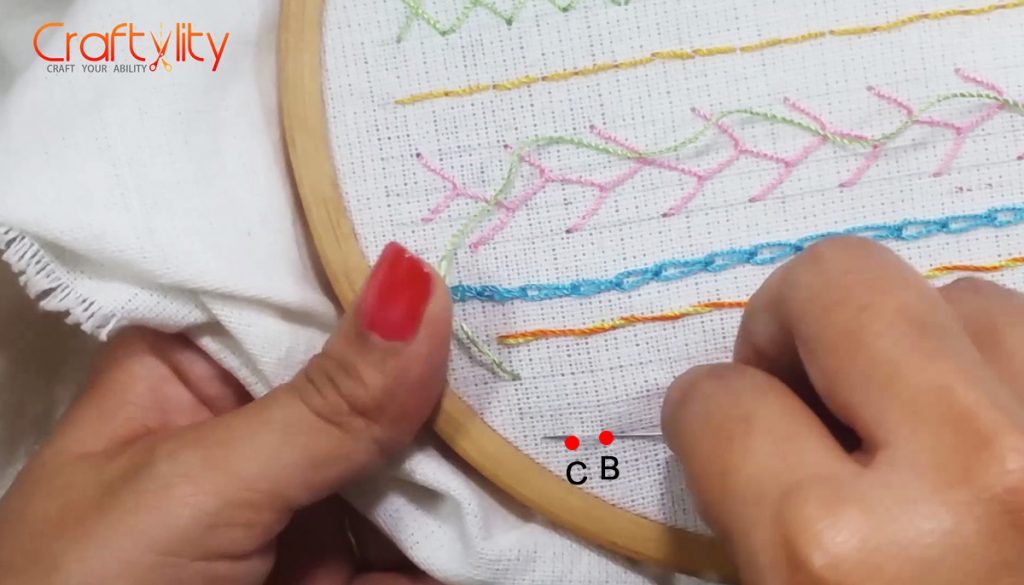
Step 3:
Again take the needle out through point “C” and put it in point “B”.
Step 4:

Continue the same steps till the end.
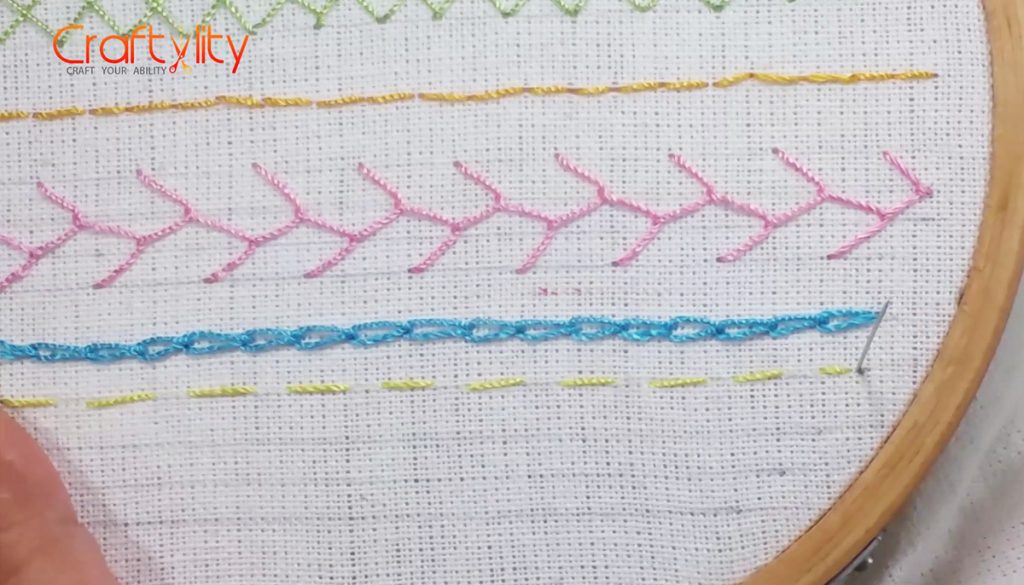
6) Feather Stitch
This decorative stitch can be use on curved lines or straight lines. For beginners its is recommended to draw four parallel lines for making this stitch.
Step 1:

Draw four parallel lines and take the needle out at point “A” which lies on third line.
Step 2:

Insert the needle in the fabric through point “B” which lies on first line and take it out through point “C” which is below point “A” and “B” and lies on second line. Loop the thread under the needle.
Step 3:

You will get something like this.
Step 4:
Insert the needle at point “D” which is parallel to point “C” and will lie on fourth line.
Step 5:

Take the needle out from point “E” which lies on third line. Loop the thread under the needle.
Step 6:
Thus we have completed our second stitch.
Step 7:

Keep on continuing this procedure by inserting the needle from outer line and removing it from inner line forming “V” like shape.
7) Chain Stitch
Step 1 :

For this stitch remove the needle from the fabric at point “A”.
Step 2:

Again insert the needle at same point “A” and bring it out from point “B”, loop the thread under the needle from left to right.
Step 3:

Pull the thread and our first stitch is ready.
Step 4:

Again insert the needle from point “B” which lies inside the first loop and remove it from point “C” and again loop the thread under the needle. This would be our second chain stitch.
Step 5:

Continue the same procedure of looping the thread under the needle from left to right to form a chain.
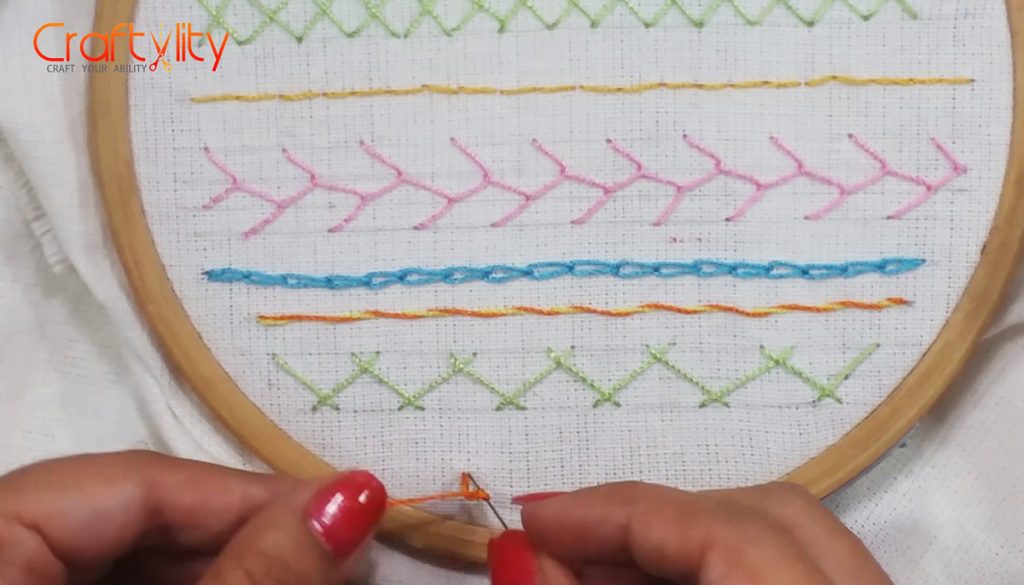
8) Whipped Running Stitch
Step 1 :
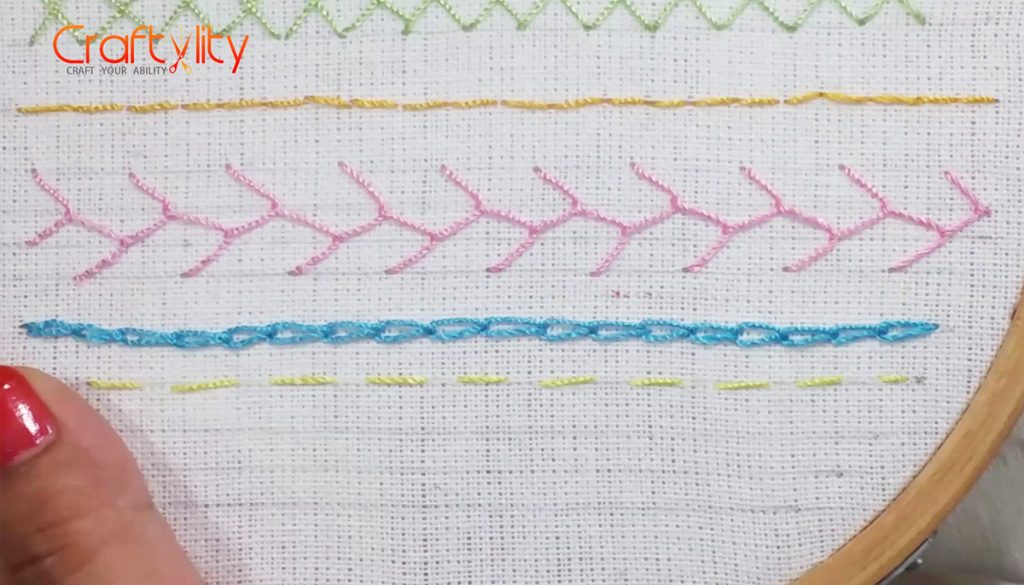
This stitch is built on the foundation of running stitch.
Step 2:
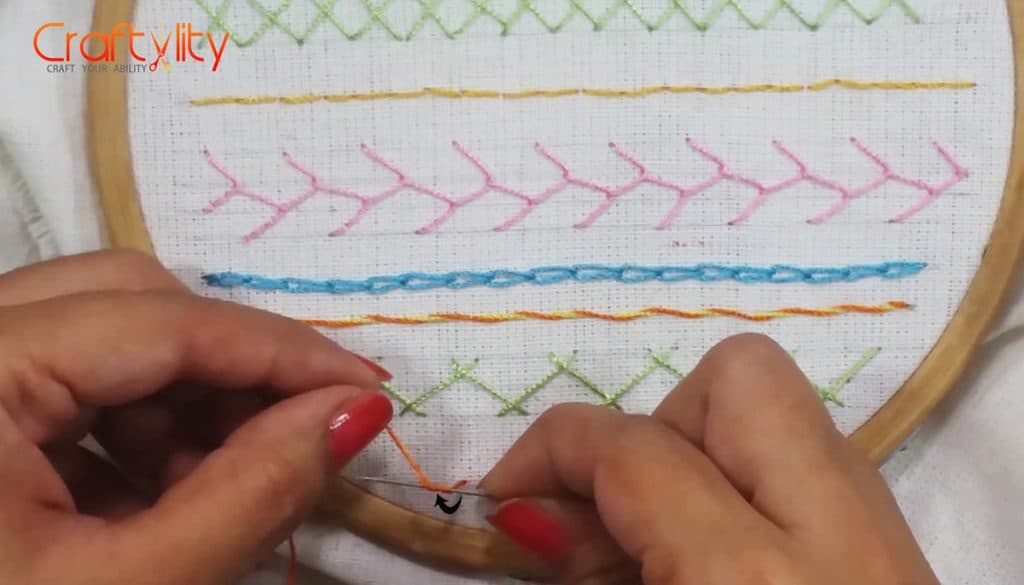
Take any contrast color thread and start the stitch by taking the needle out from the fabric close to the first stitch.
Step 3:

Now run the needle under the first stitch from top to bottom without picking the fabric.
Step 4:

Keep on running the needle under each stitch from top to bottom to get roap like effect.
Step 9:
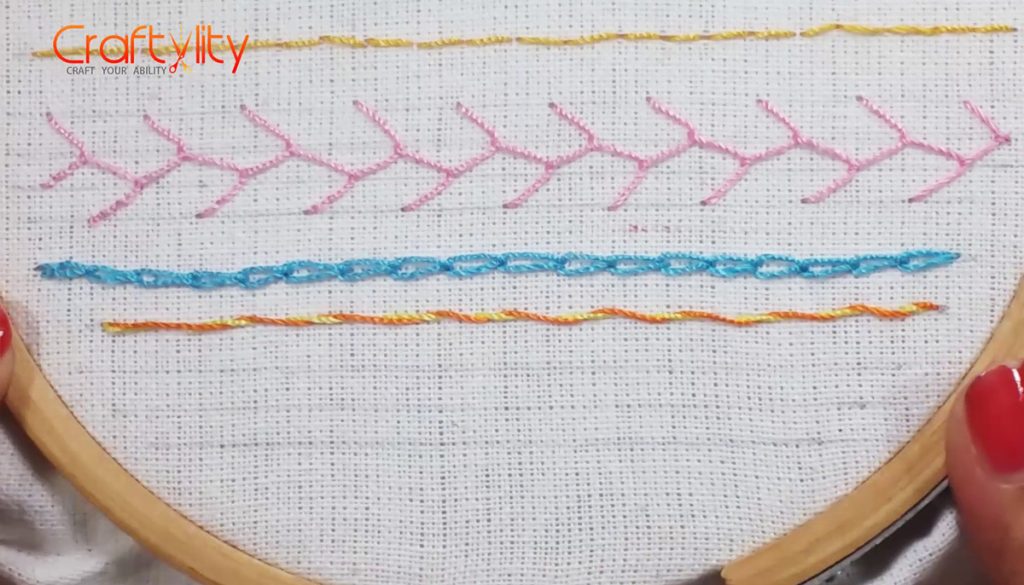
Continue the same procedure until the end of the line. The twist effect is based on the distance of running stitch, closer the running stitches are the effect would more enhanced.
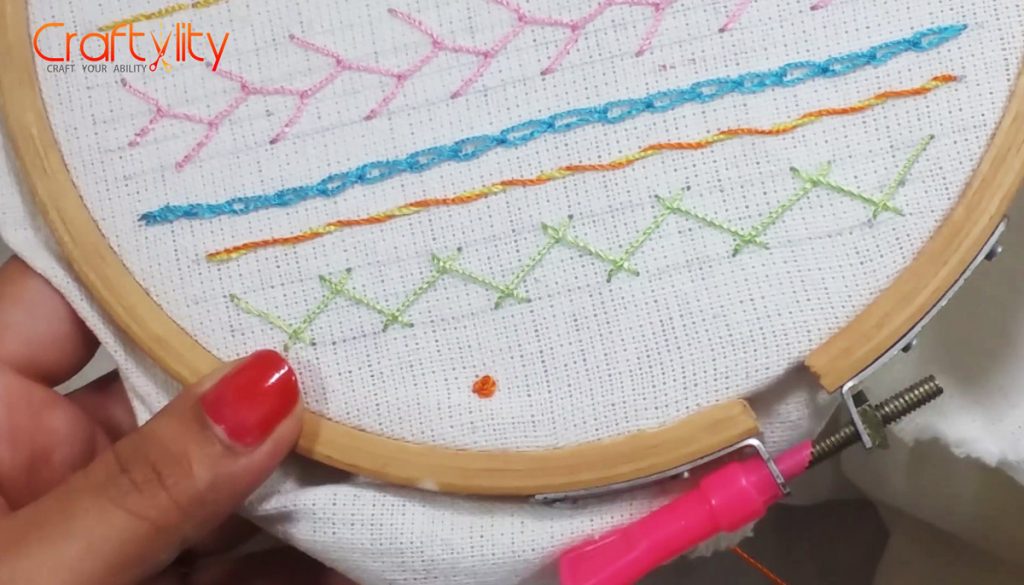
9)Herringbone Stitch
Step 1 :

Draw two parallel lines. We will start from left to right, take the needle out from the fabric at point “A” which lies on the left tip of the upper line.
Step 2:
Put the needle at point “B” which is on the diagonally right side of the lower line and take the needle out from point “C” which is on the left side of point “B”.
Step 3:
Put the needle into the fabric at point “D” which is diagonally right on the upper line and take it out at point “E” as shown in the above image.
Step 4:

Continue with the same procedure until the end of the line.
Step 5:

This is the finished look of Herringbone Stitch.
10) French Knot
Step 1 :
Take the needle out from the fabric.
Step 2:
Hold the needle close to the fabric and wrap the thread twice around the needle.
Step 3:
Now, this is an important step in this stitch. Hold the thread from your left hand and put the needle back at the same point. You need to maintain proper tension of the thread it should not be so loose and not too tight.
Step 3
Pull the excess thread through the fabric and our first french knot is ready.