

In this post, you will find How to make Paper Quilling Fruit tags. These tags are very easy and quick to make, also beginners can make these tags easily.
To create these Quilling Fruit Tags you will need following materials:
- Quilling Strip
- Cardstock/card paper
- Slotted tool
- Glue
- Scissors
- Circle guide
- Ribbons
Paper Quilling Apple Gift Tag
Step 1:
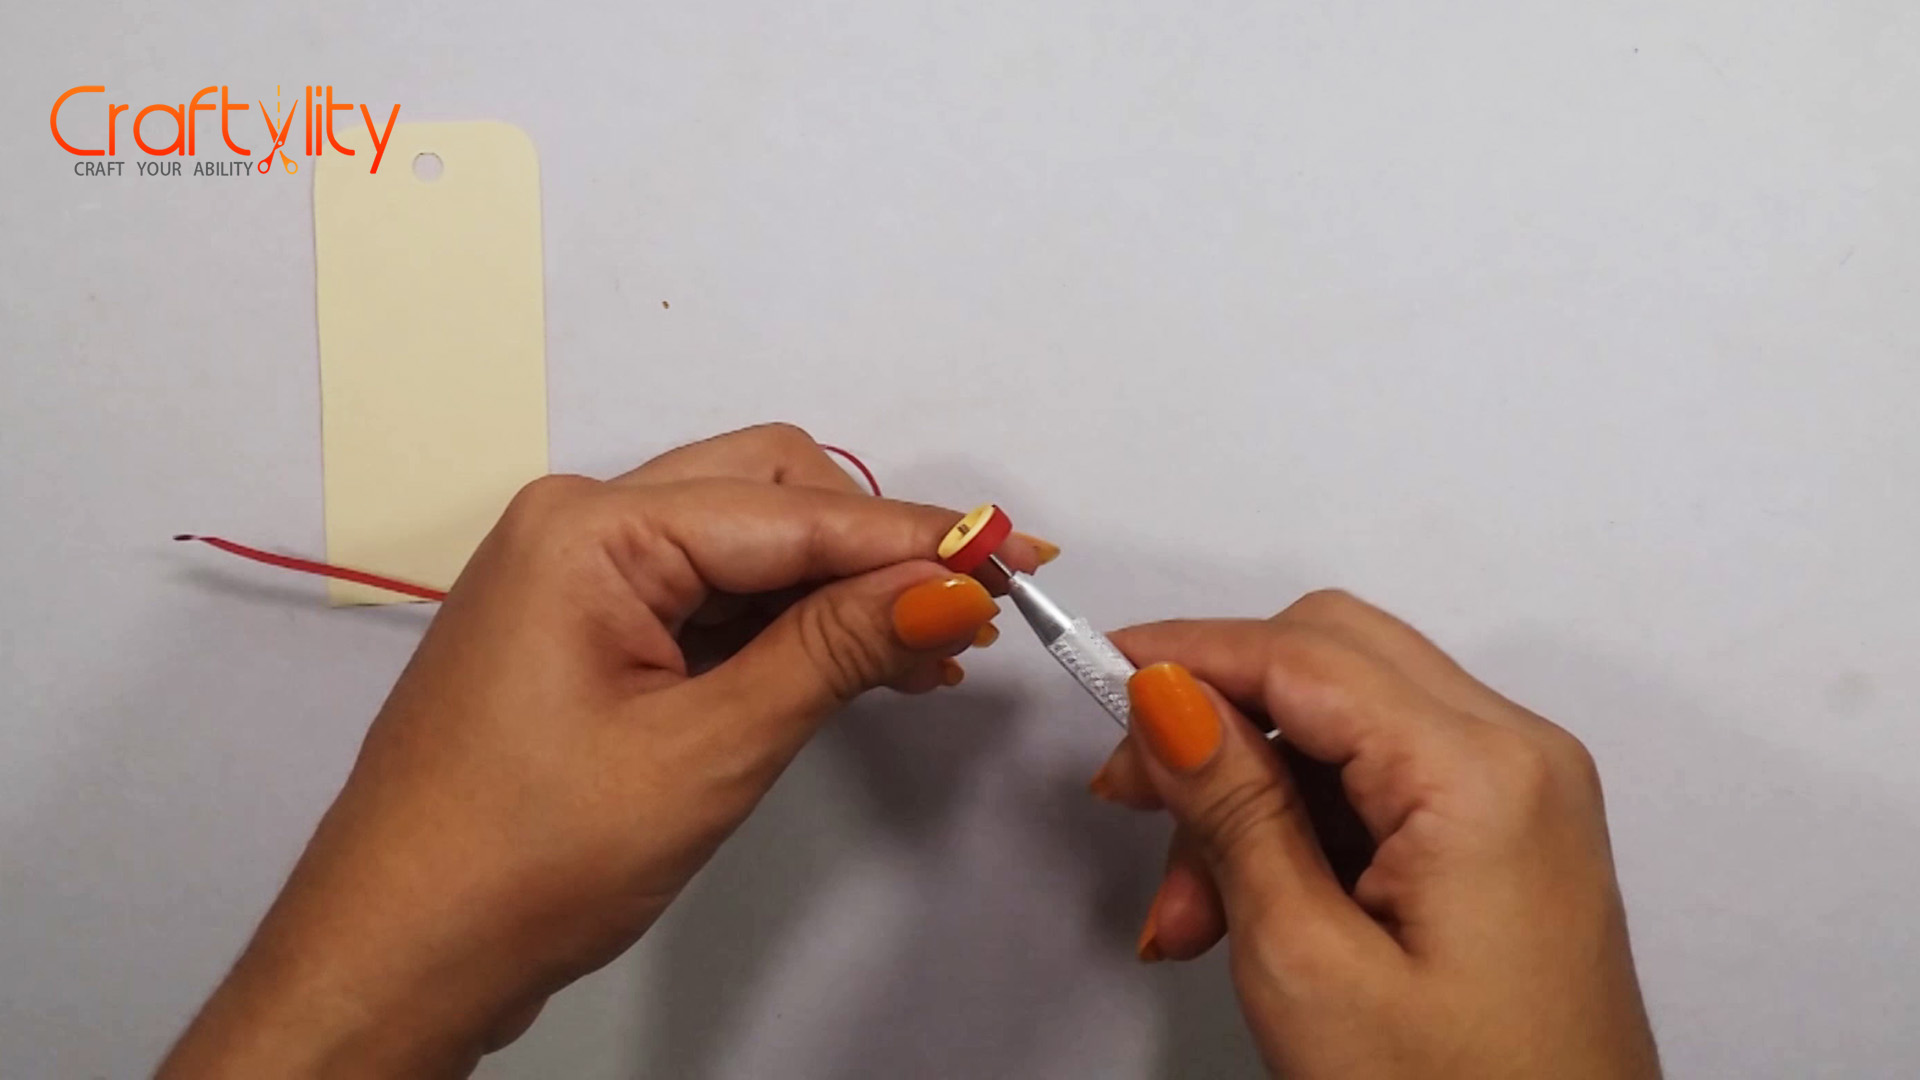
Take 3mm of a cream strip of 34 inches long and 3mm of a red strip of 17 inches long. Glue all the strips together and roll it with the slotted tool. Take to coil out from the tool.
Step 2:
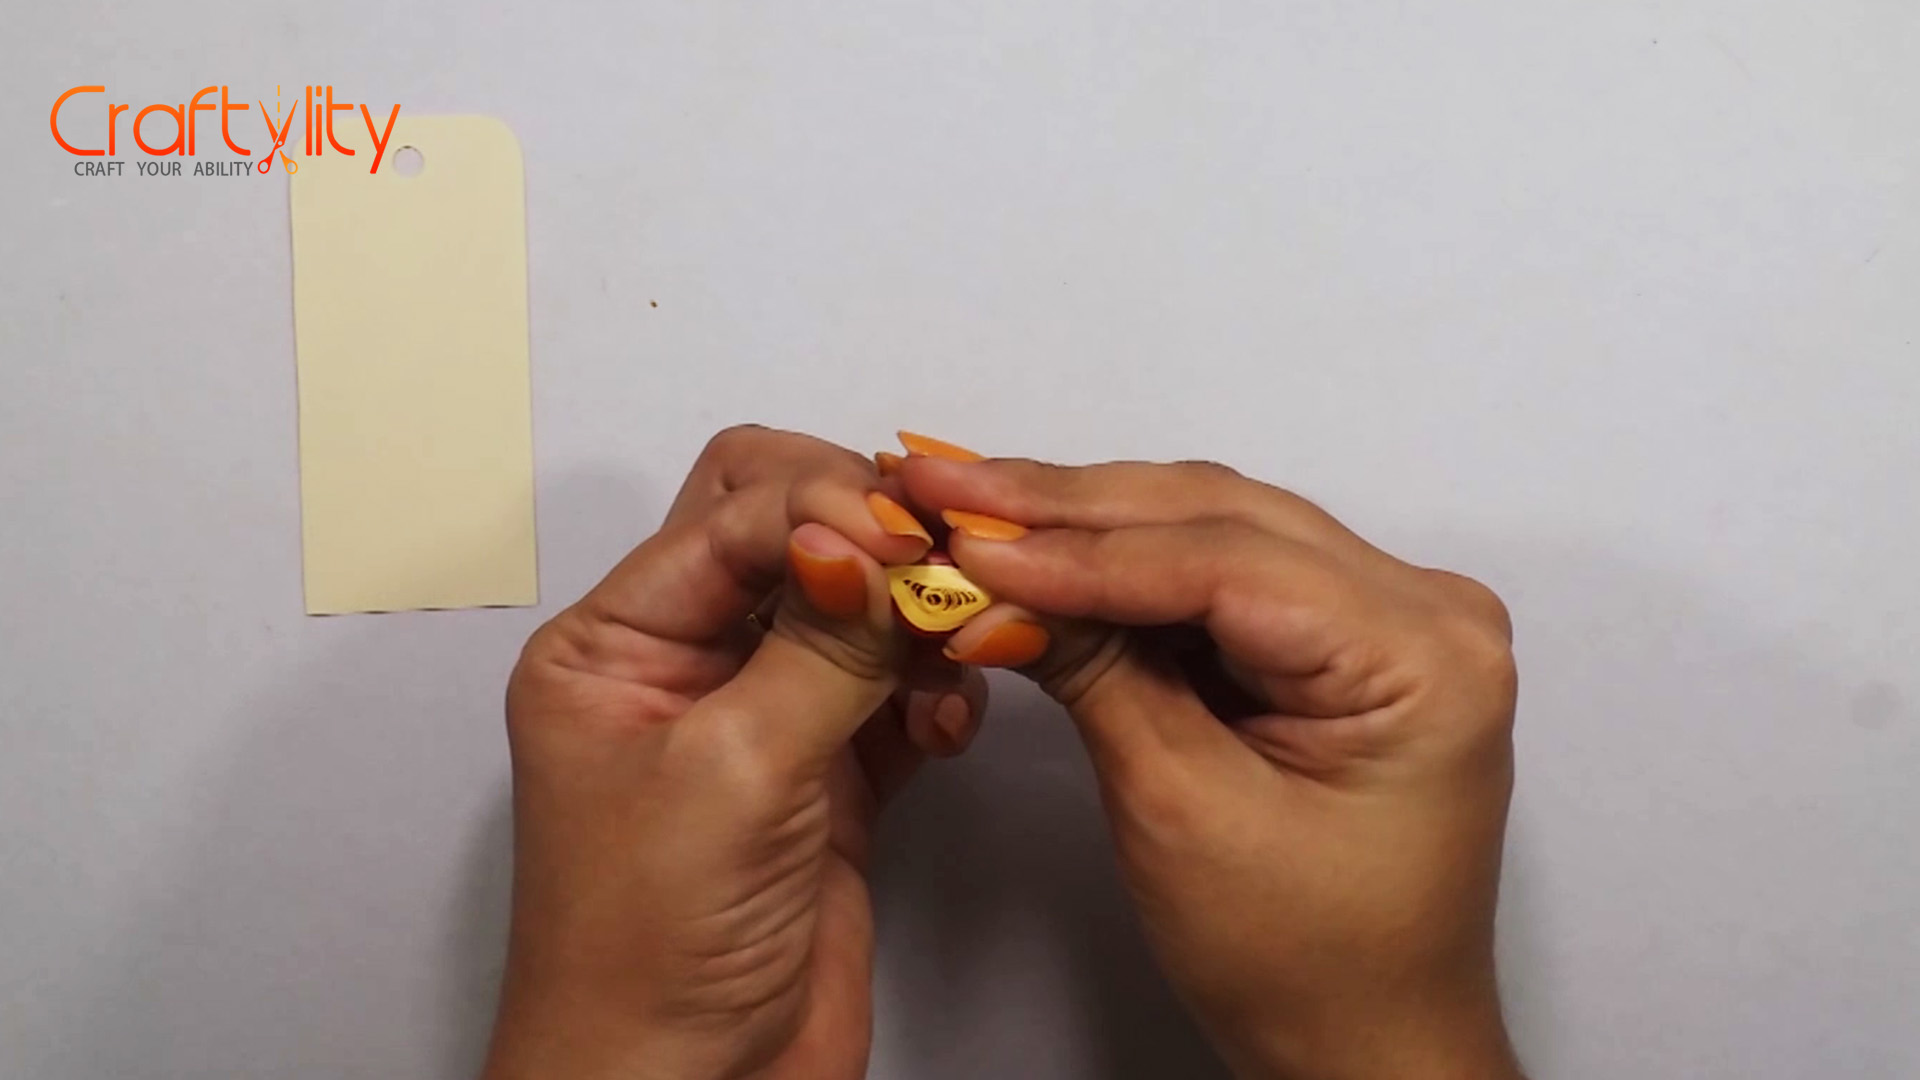
Allow the coil to enroll a little and hold the coil with both hands and pinch it from both sides creating gum drop shape. Create two such shapes.
Step 3:
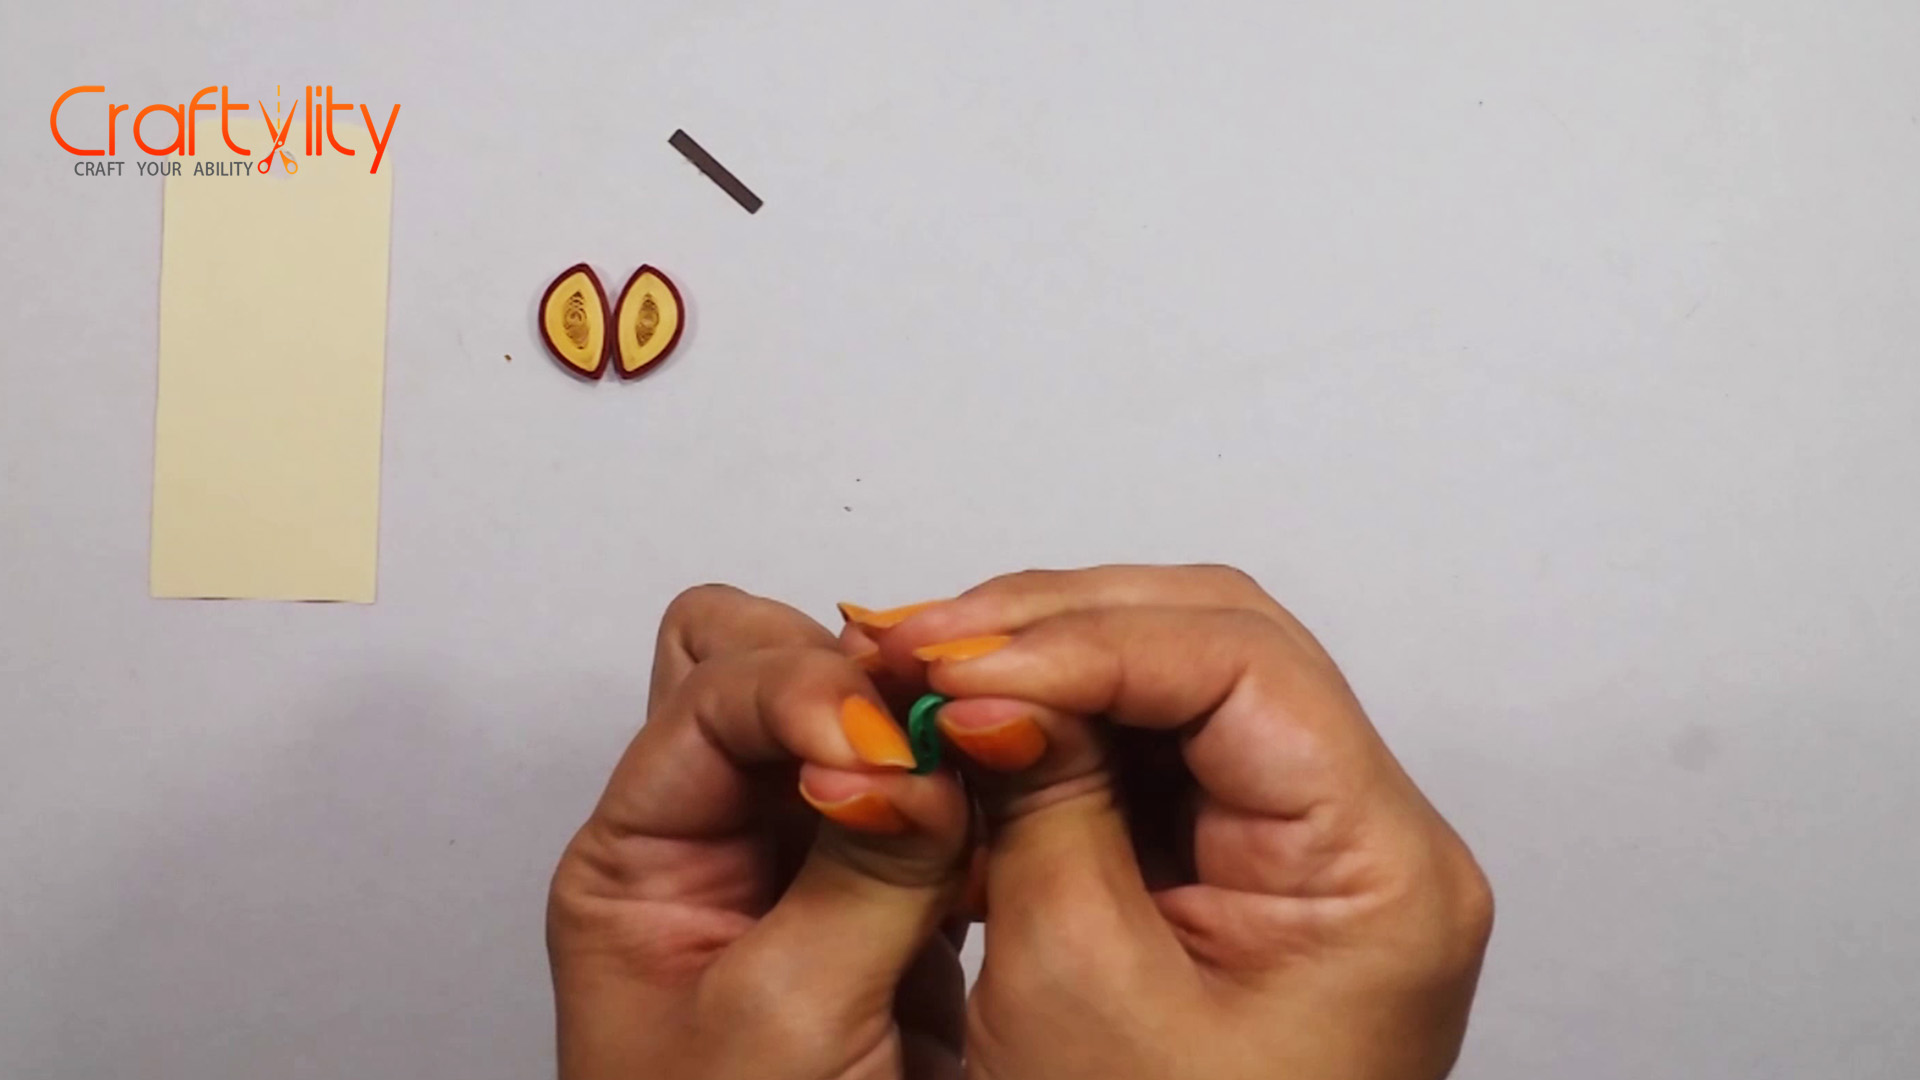
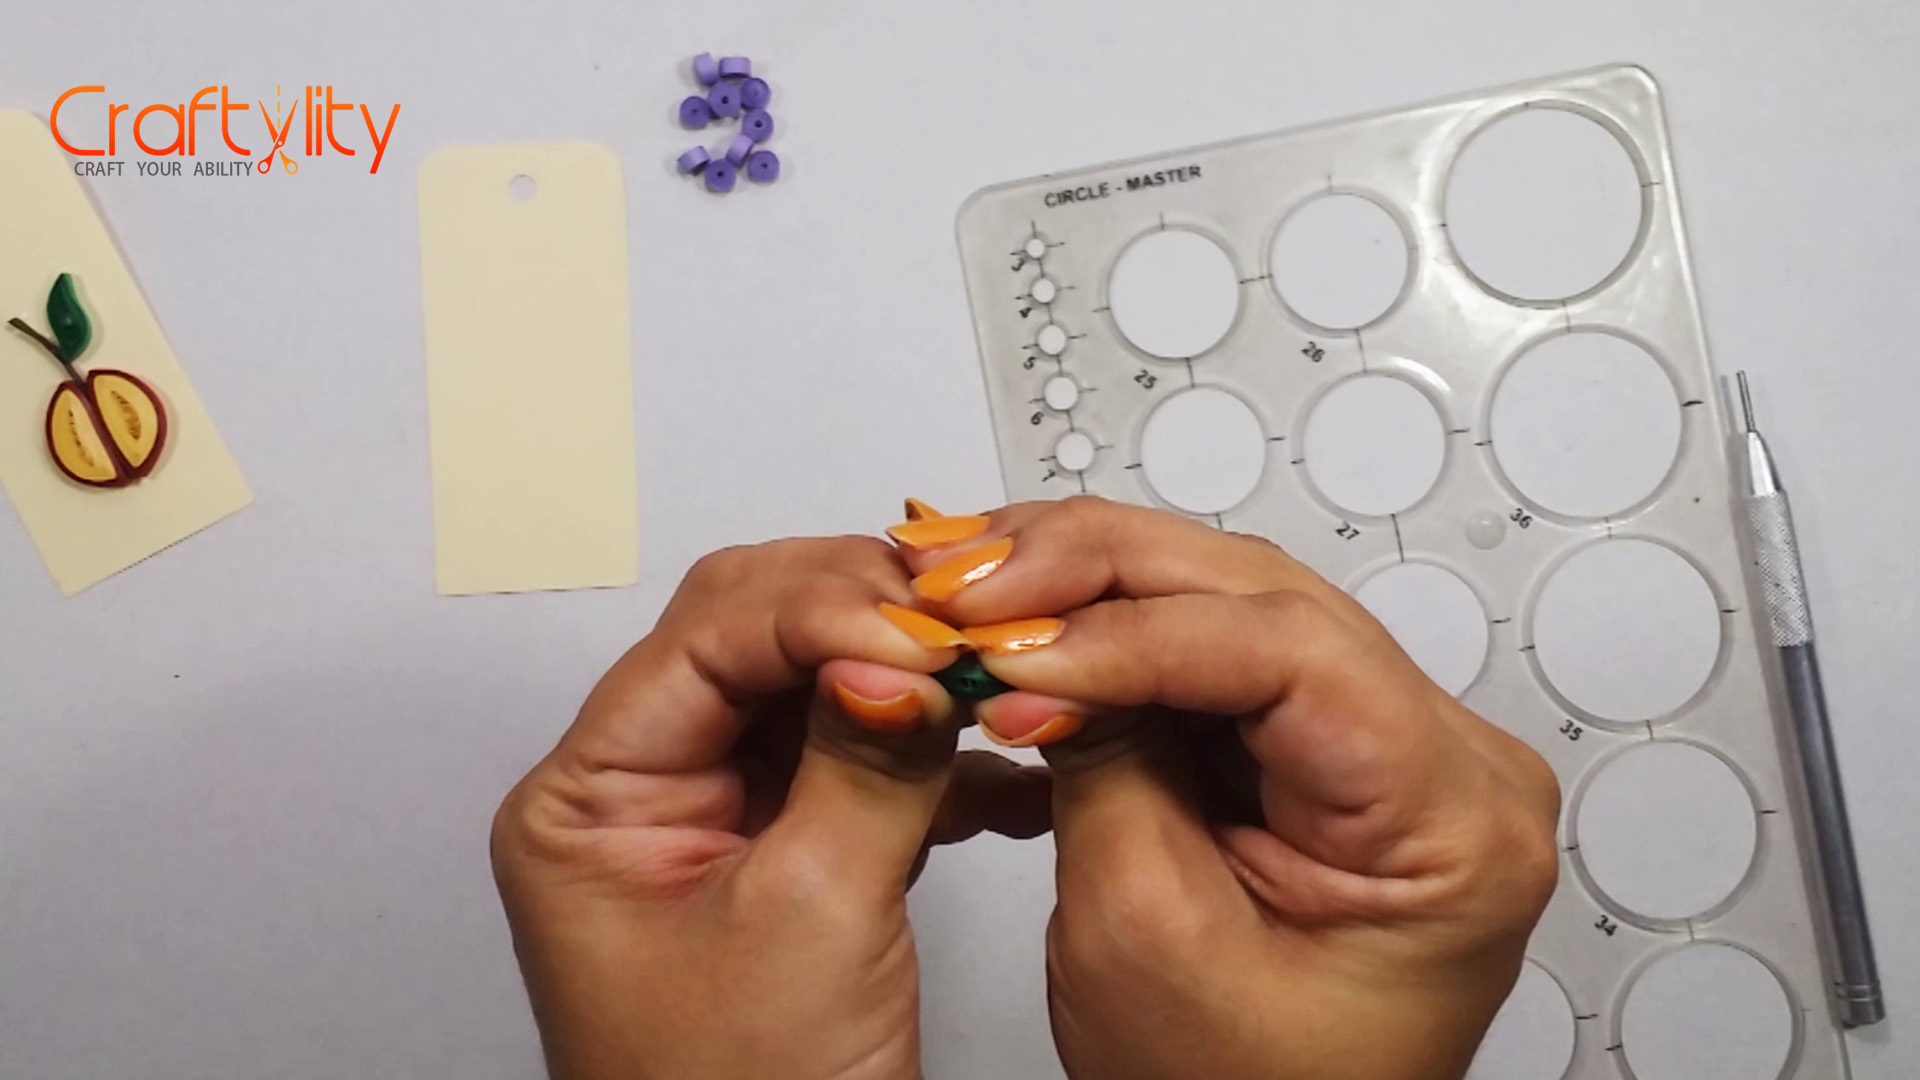
Take 3 mm of brown quilling strip of 3cm long. Take 3 mm of green quilling strips and roll it with slotted Tool take coil out from the tool and allowed it to enroll a little. Hold the coil from both the hand and pinch it from both side and bend it in opposite directions to create “S” like shape.
Step 4:

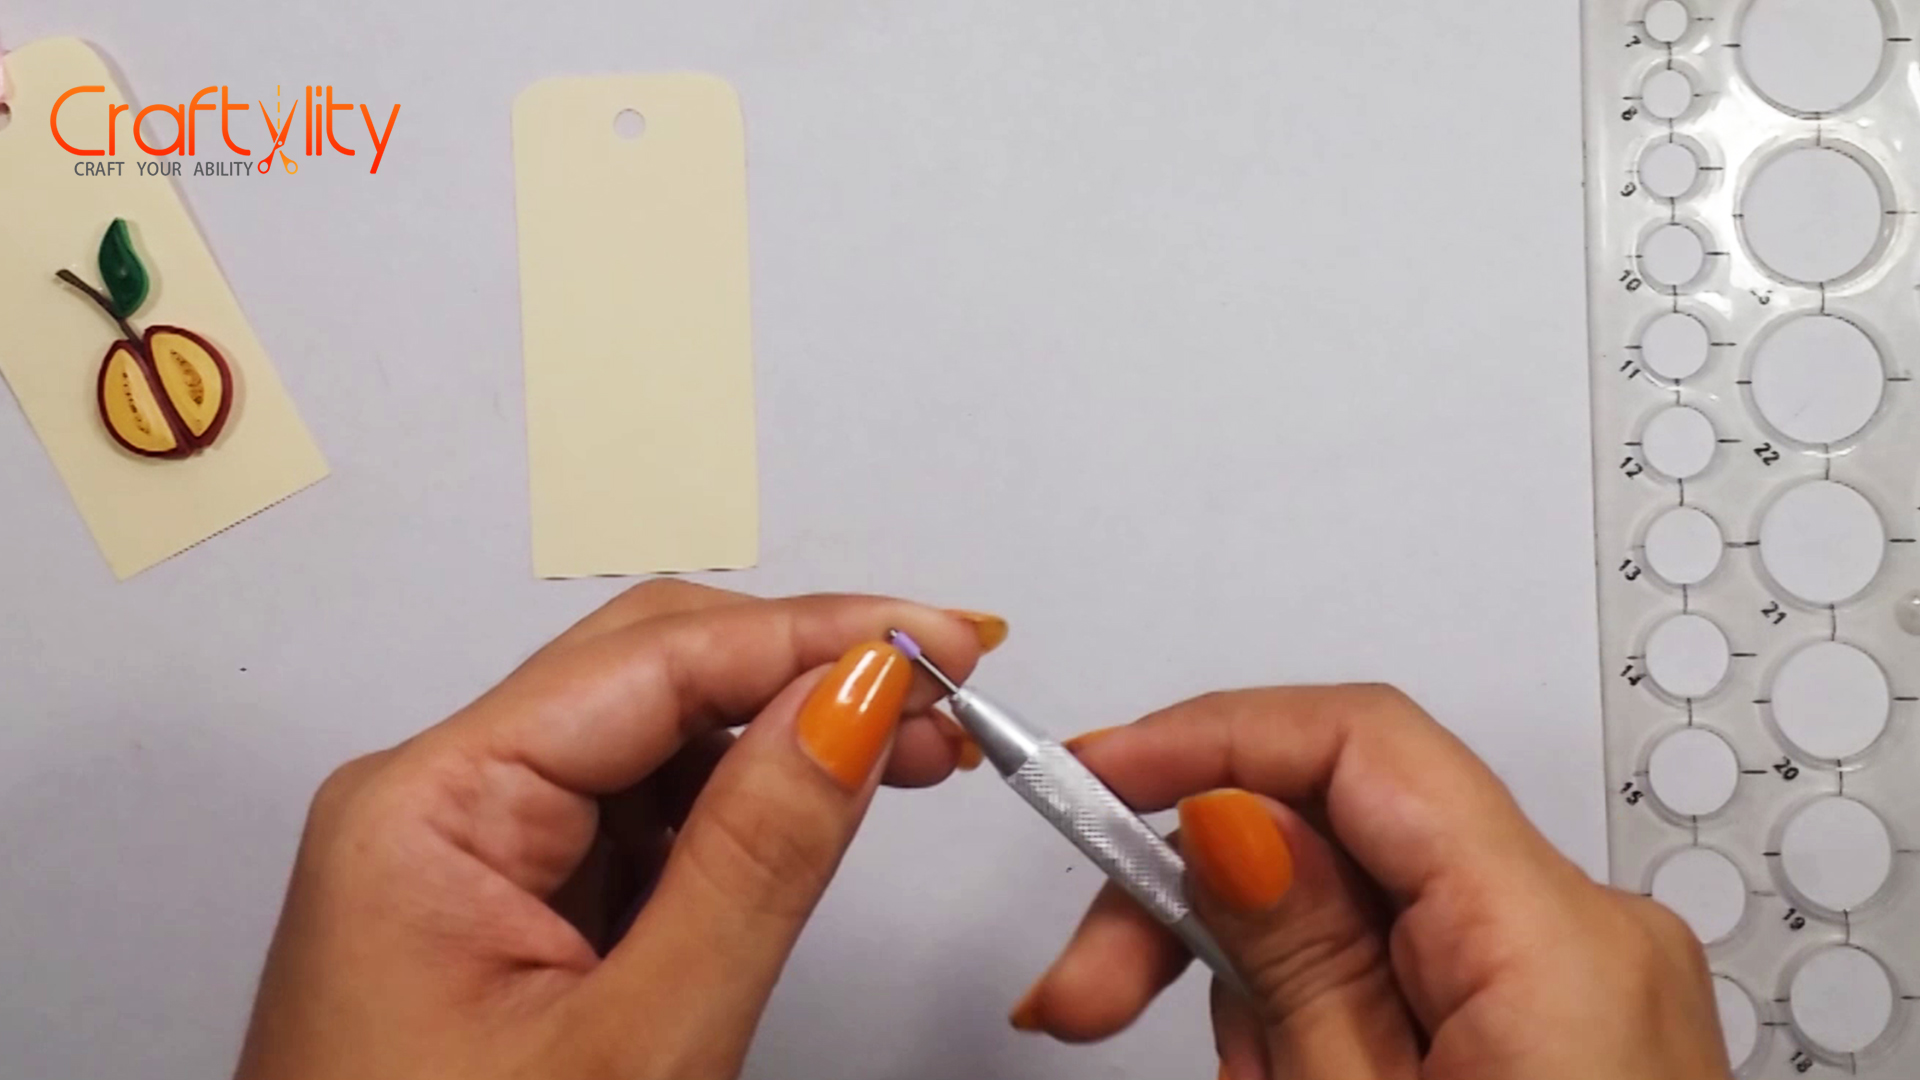
Stick all the elements on the tag and attach the ribbon to it.
Paper Quilling Grapes Gift Tag
Step 1:
Take 3mm of purple strip of 3 inches long and roll it with slotted tool. Apply glue at the end og the coil before removing it from tool.
Step 2:
To create leaf, take 3mm green strip and roll it. Take the coil out from the tool and place the coil in circle guide. Take the coil out form circle and hold the coil from both the hands and pinch it from both sides to create Marquise shape.
Step 3:
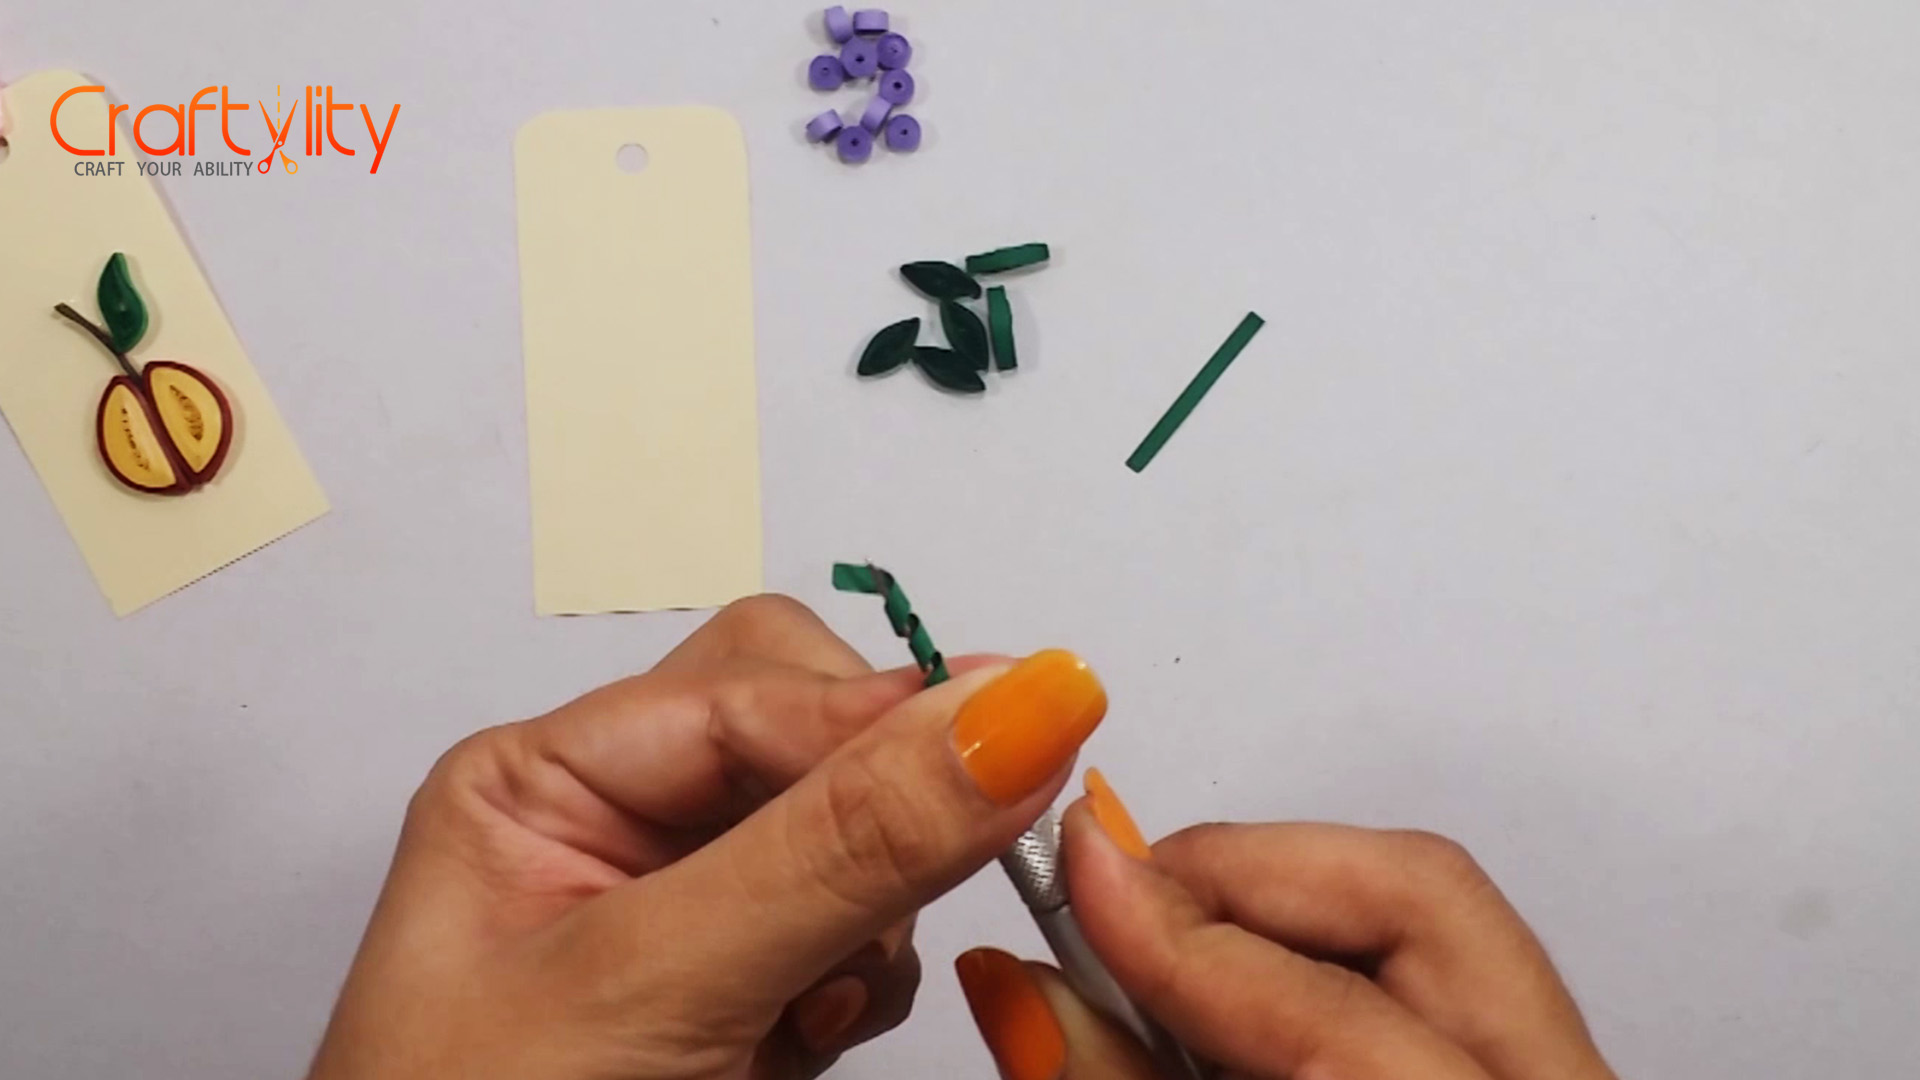
Take the strip and create wines with toothpick, needle or quilling needle.
Step 4:
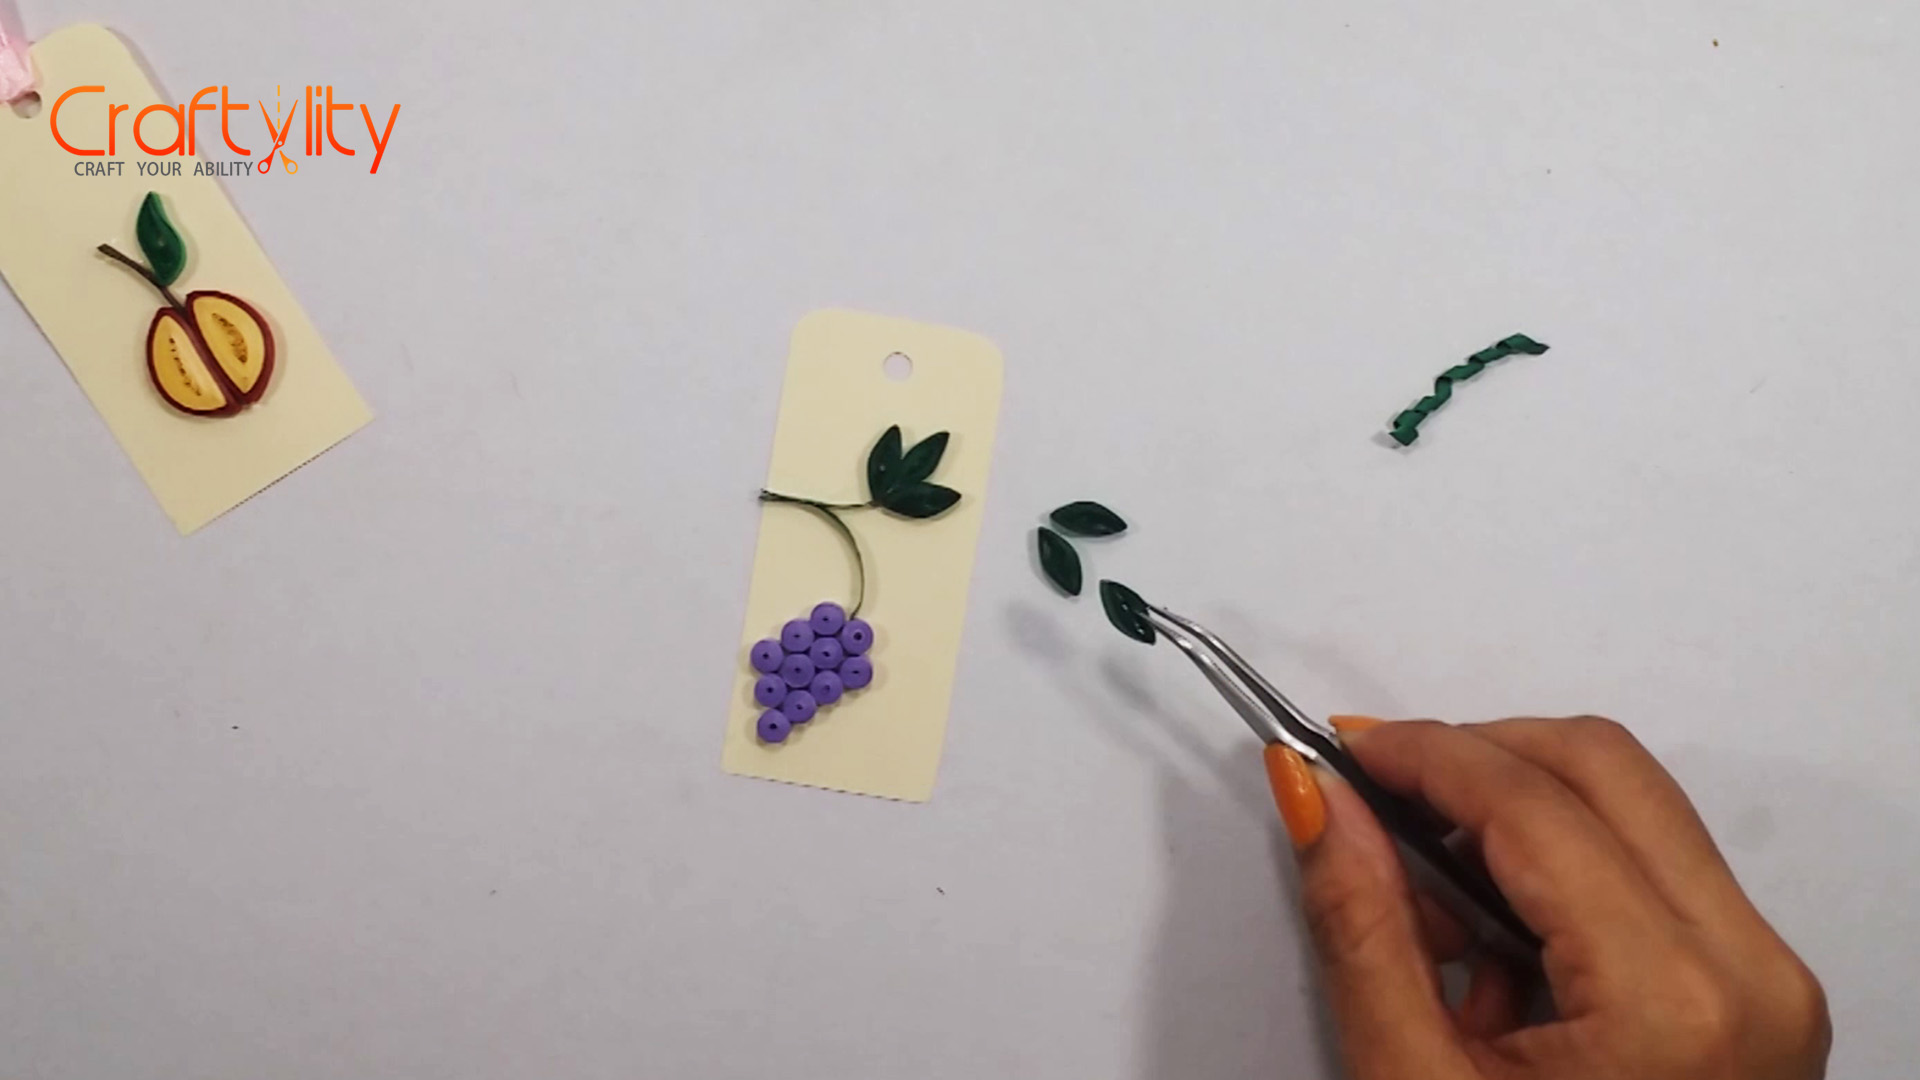
Stick all the elements as shown in above image.
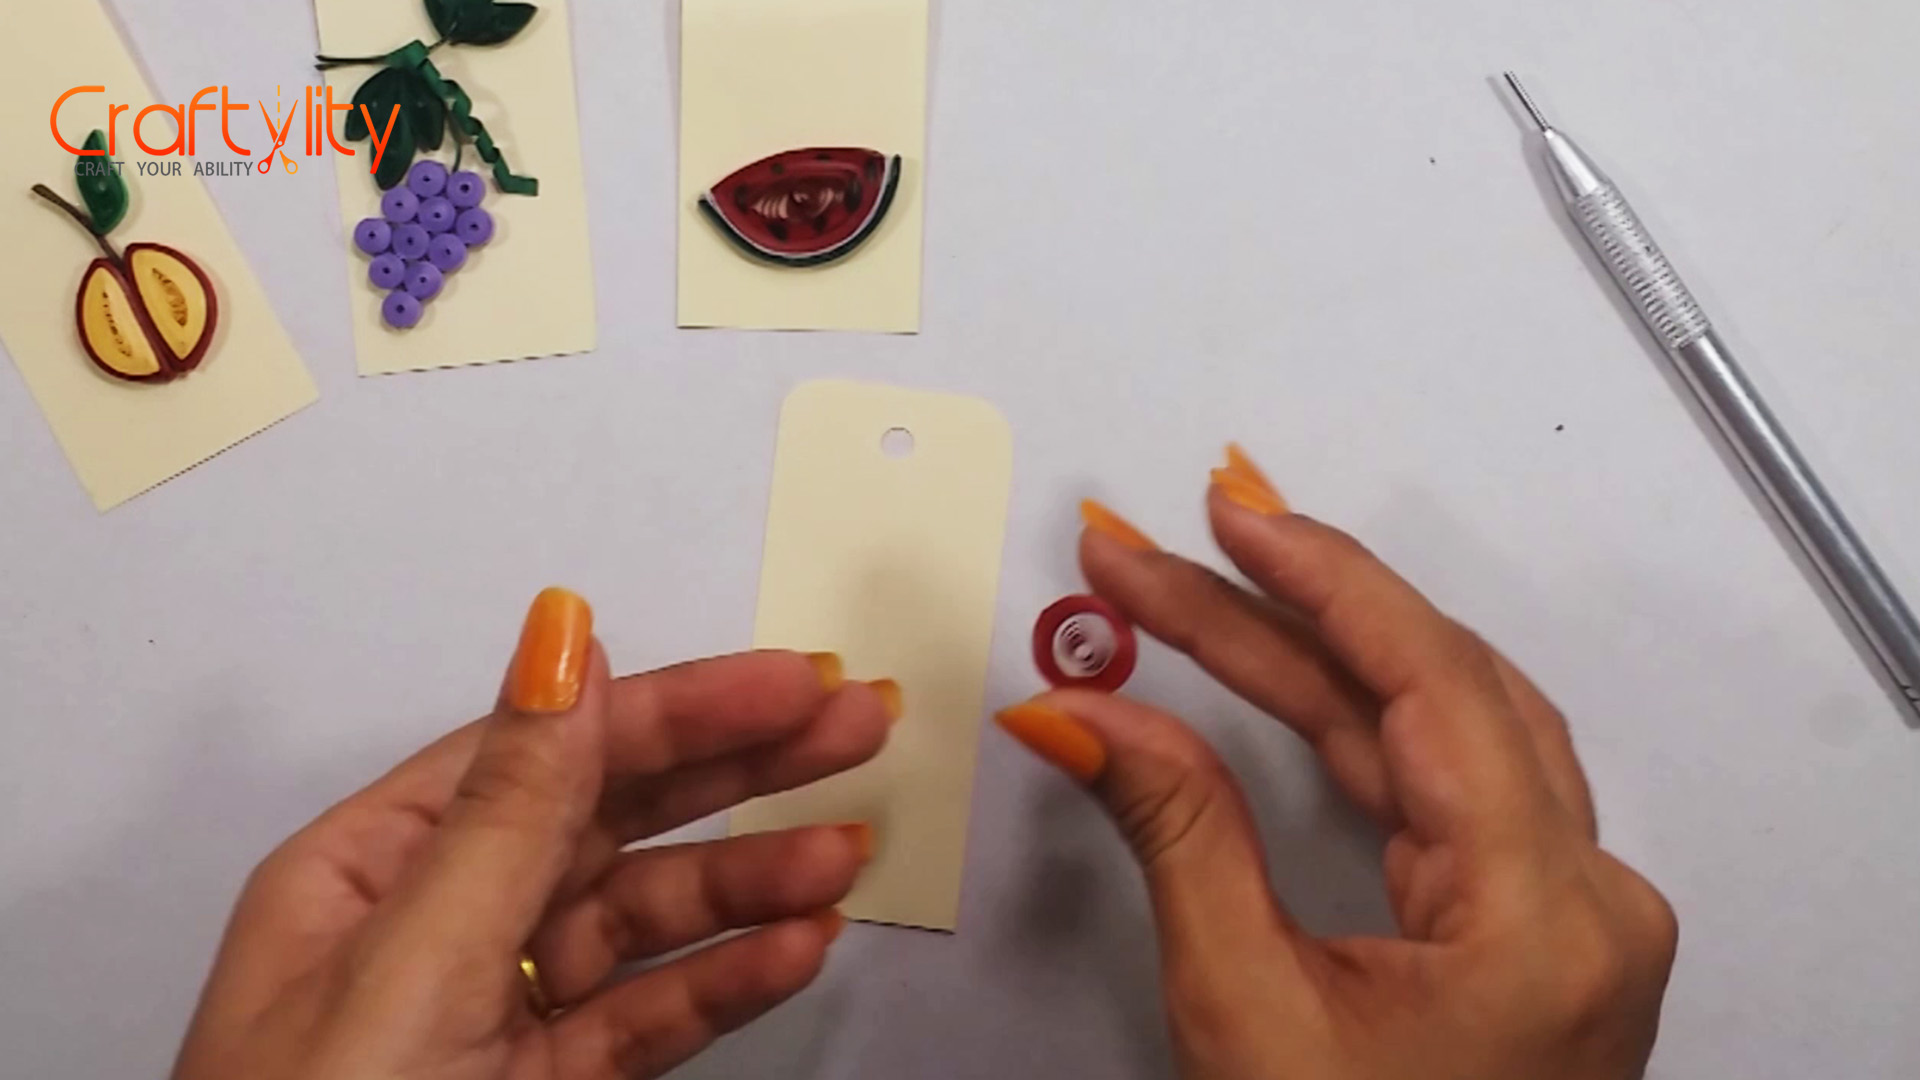
Paper Quilling Watermelon Gift Tag
Step 1:

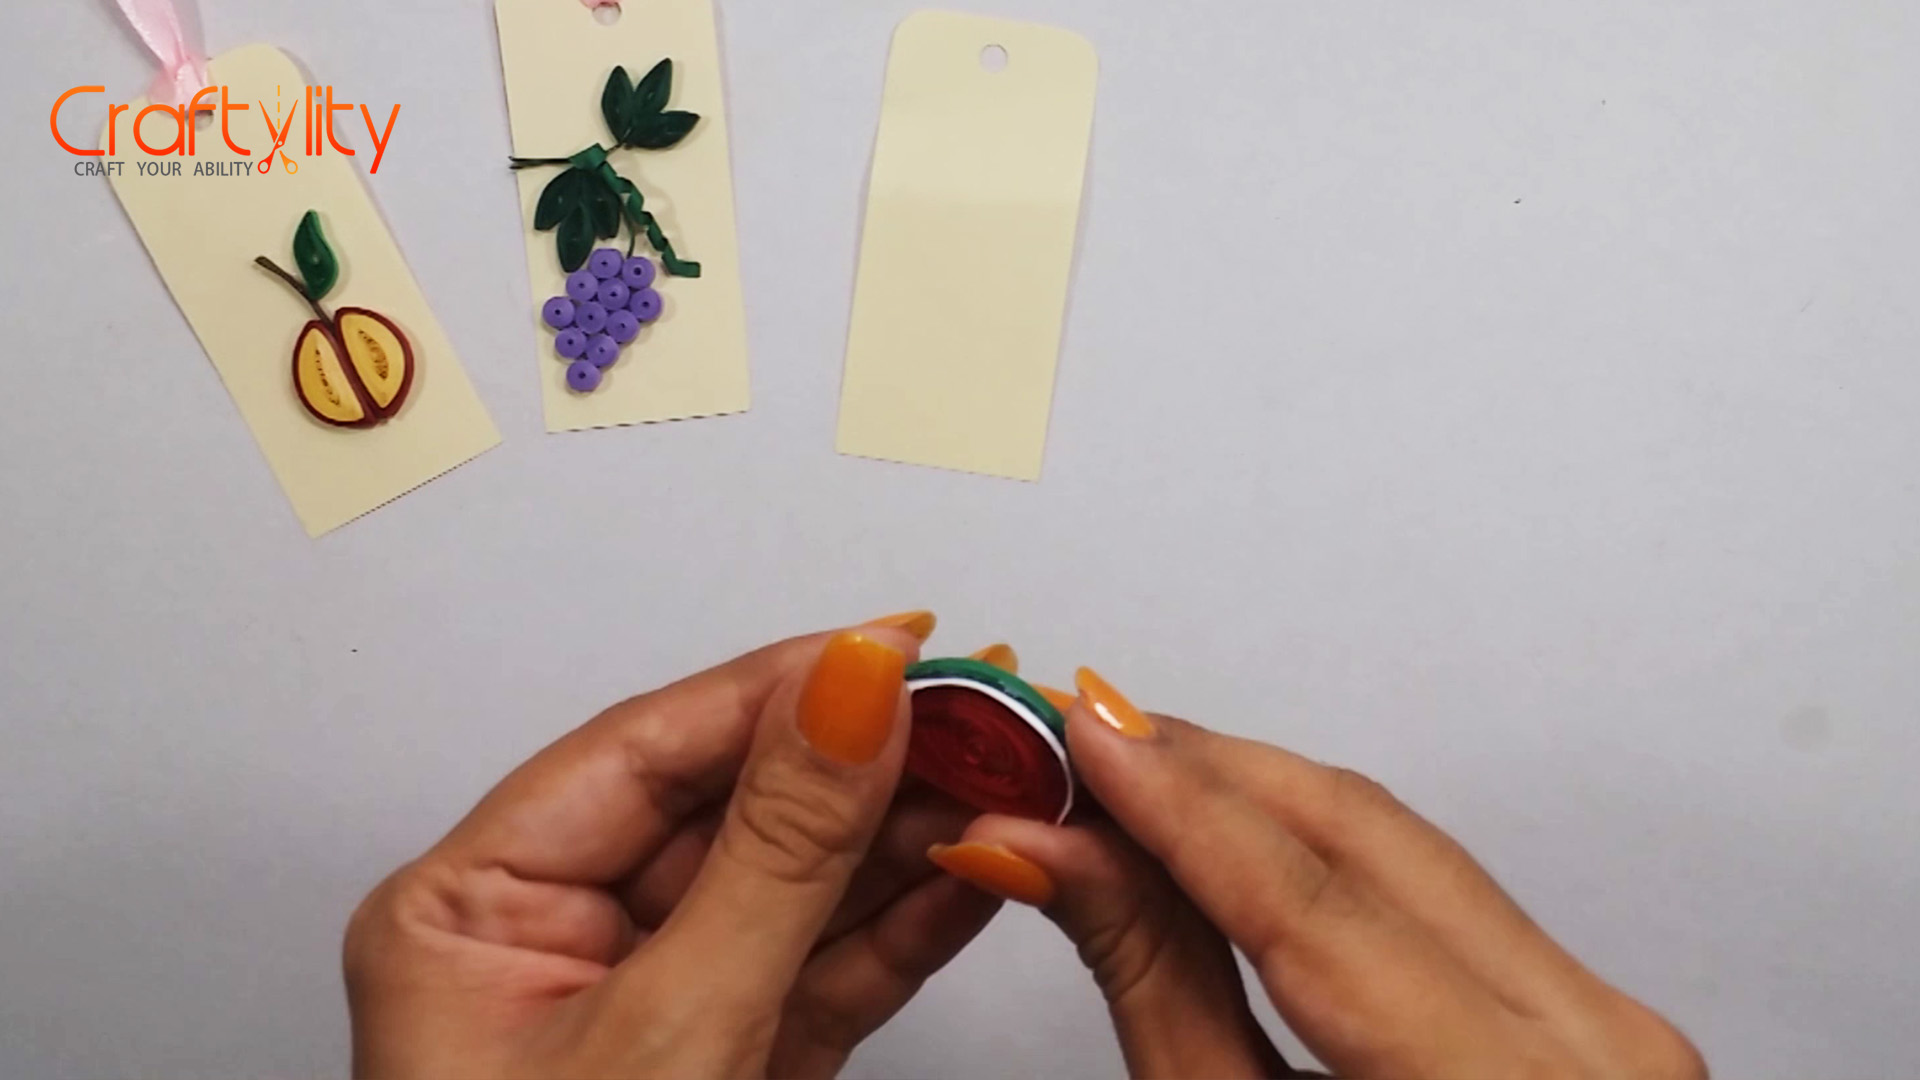
Take 4 quilling strip of 3mm each 17 inches long and glue all together. Roll the strips with slotted tool and take the coil out form the tool. Allow the coil to unroll a bit and now glue the edge of the coil. Hold the coil with both the hands and pinch it from both sides to create gum drop shape as shown in above image.
Step 2:

Take 3mm of white quilling strip and glue it on curve side of coil.
Step 3:
Glue green strip over white strip as shown in above image.
Step 5:
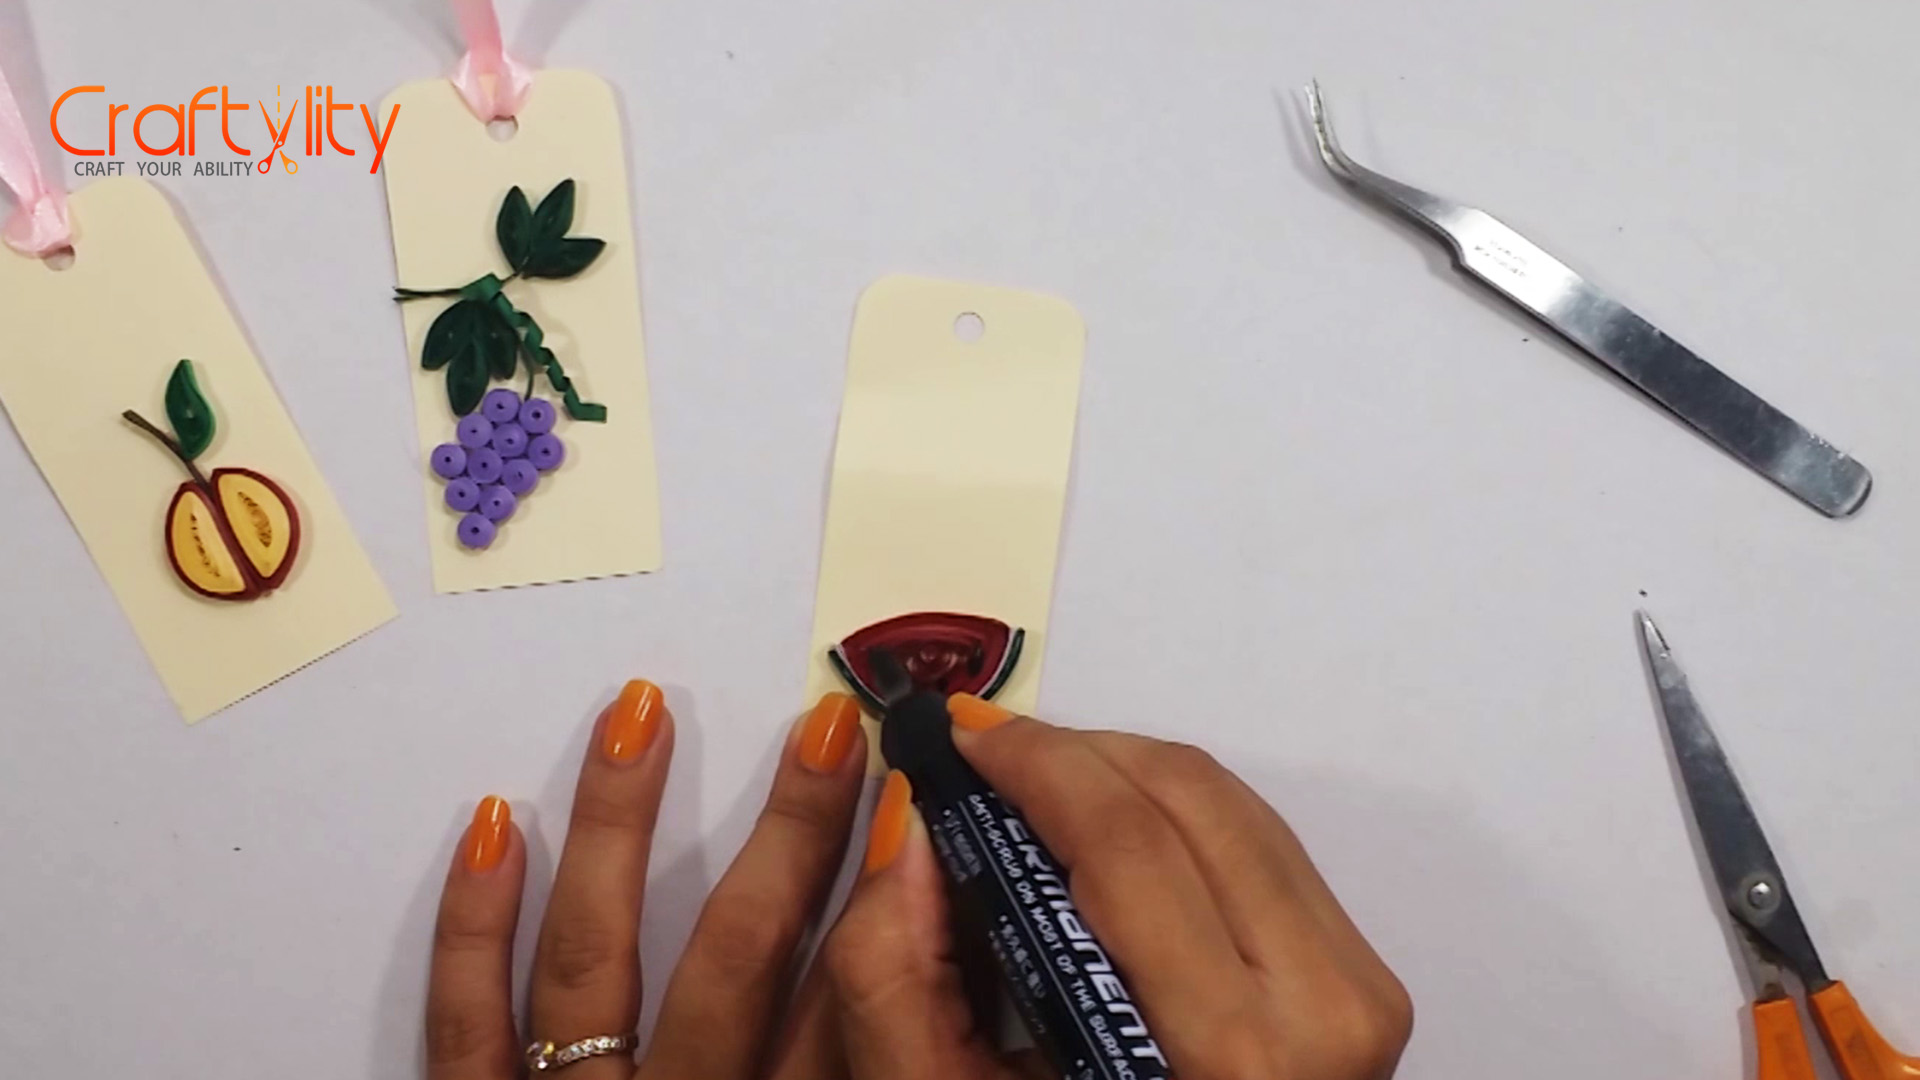
Glue it on tag and draw small dots with black marker as shown.
Paper Quilling Cherry Gift Tag
Step 1:
Take 3mm of red quilling strip of 34 inches long and roll it with slotted tool. Take the coil out from the tool without apply glue. Allow the coil to unroll a little and now glue the edge of the coil to secure it. Create two such coils.
Step 2:

Take 6 inches long 3mm green strip and roll it. Take the coil out from tool and turn it form both ends to form “S” shape.
Step 3:

Stick two curves of green strip and both cherries and leaves as shown in above image.
Paper Quilling Mango Gift Tag
Step 1:

Take 3mm of yellow quilling strip 34 inches long and roll it. Allow the coil to unroll a little and pinch the coil form one side and twist it as shown in above image.
Step 2:
 Create a small leaf and stem and glue them on tag as shown above.
Our Quilling Fruit tags are ready.

Hope you like it.
Happy Crafting!!!
These are perfect for any time of the year. Just add age/occasion appropriate quilling & a gift goes from good (great), to fabulous!
Better yet, we have time to make them before Christmas.
What size are the gift tags, please? Thank you.