

Quilling is awesome and creative art. One can bring their creativity and imagination on paper with the help of thing paper strips. There are variety of different flowers that you can create using paper strips. In this post you will find instructions of very easy and simple Quilling Floral Tags which even beginners or non crafts person can easily follow.
To create these tags you will need following materials:
- Quilling Strips – 3mm
- Card stock
- Quilling slotted tool
- Curved tweezers
- Scissors
- Glue
- Circular guide
- Bull dog clip/li>
- Ribbons
Creating Red Flower tag:
Step 1:
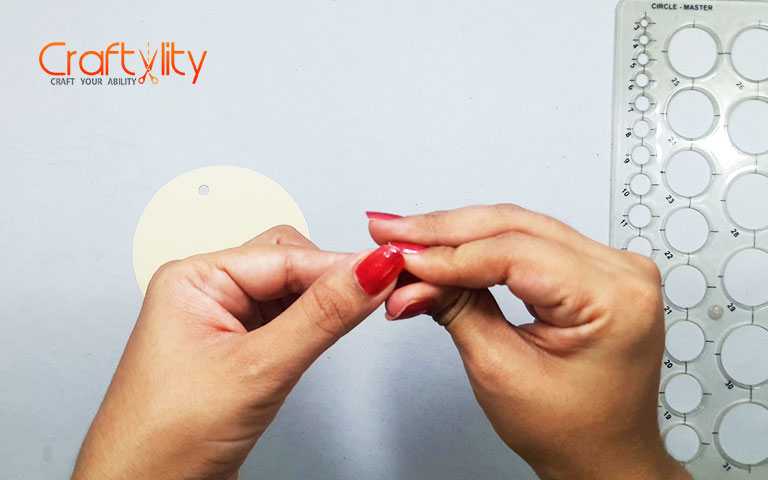
Take 3mm red Strip 17 inches long and create a coil with the help of the slotted tool. Take the coil out from tool without applying glue and place the coil in 10th diameter circle, allow the coil to unroll and take it out and glue it. Hold the coil in both the hands and pinch it from one side to create the teardrop shape.
Step 2:
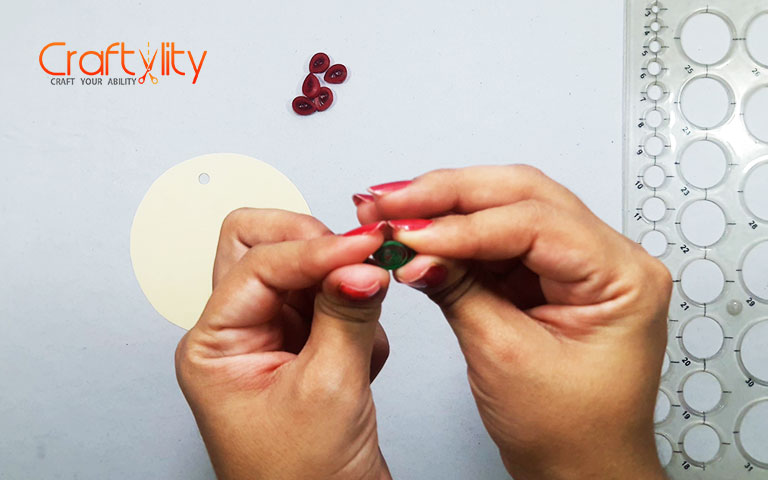
For creating leaf, take 3mm green strip 8 inches long and roll it with slotted tool. Take the coil out from tool without apply glue and allow it to unroll a little. After unrolling apply glue on the edge of the coil. Hold it with both hands and pinch it from both sides to create marquise shape.
Step 3:
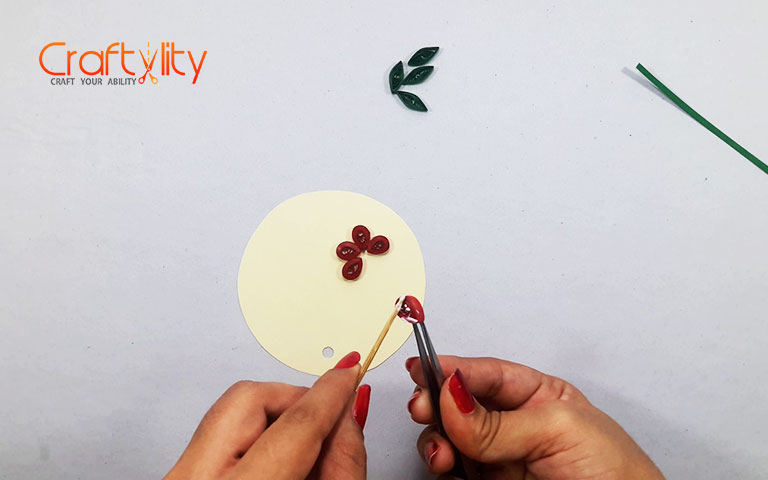
Stick all the petals on tag.
Step 4:
Take 3mm green strip of 3 inches long and stick it over the flower as shown in above image.
Step 5:
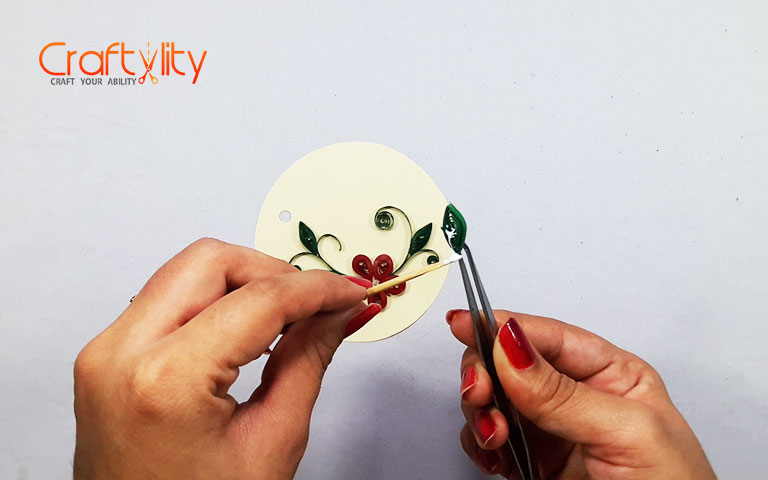
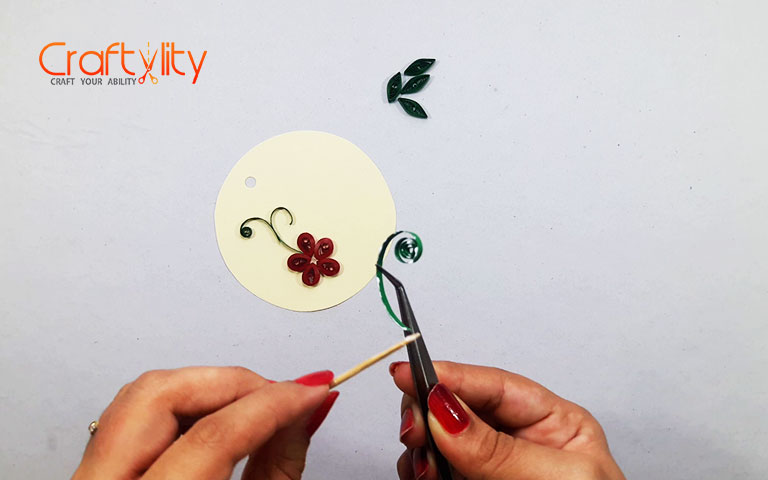
Now Stick all leaves on tag.
Step 6:
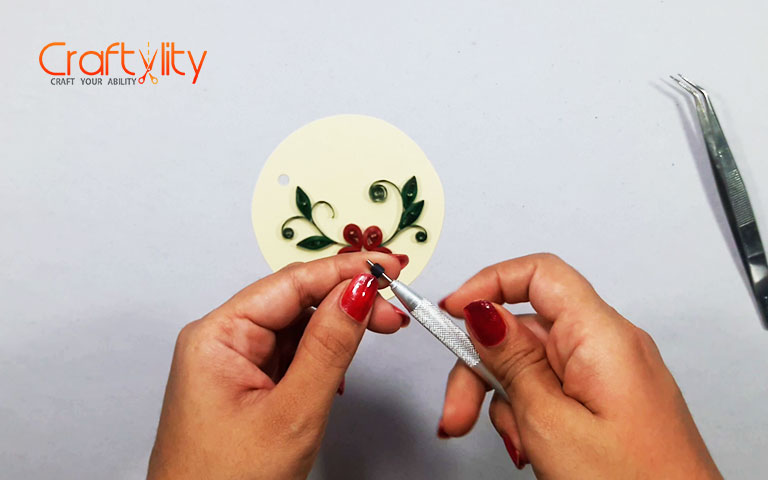
Also create small black tight coil from 3mm black quilling strip of 4 inches long and stick it on the center of the flower. Thus our red floral card is ready.
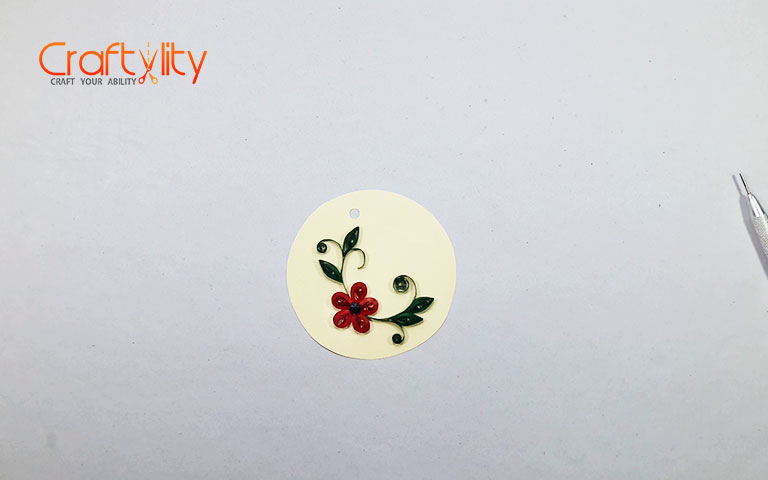
Final look of first tag.
Creating Pink Flower tag:
Step 1:
Take 3mm pink Strip 6 inches long .Fold it from center and hold it bull dog clip in such a way that one fourth (1/4) part of strip should be between clip. By using this clip you can prevent by cutting entire strip. Start cutting ret three fourth (3/4) strip with sharp edge scissors. Gap between each cut should be equal and should not exceed 2mm.
Step 2:
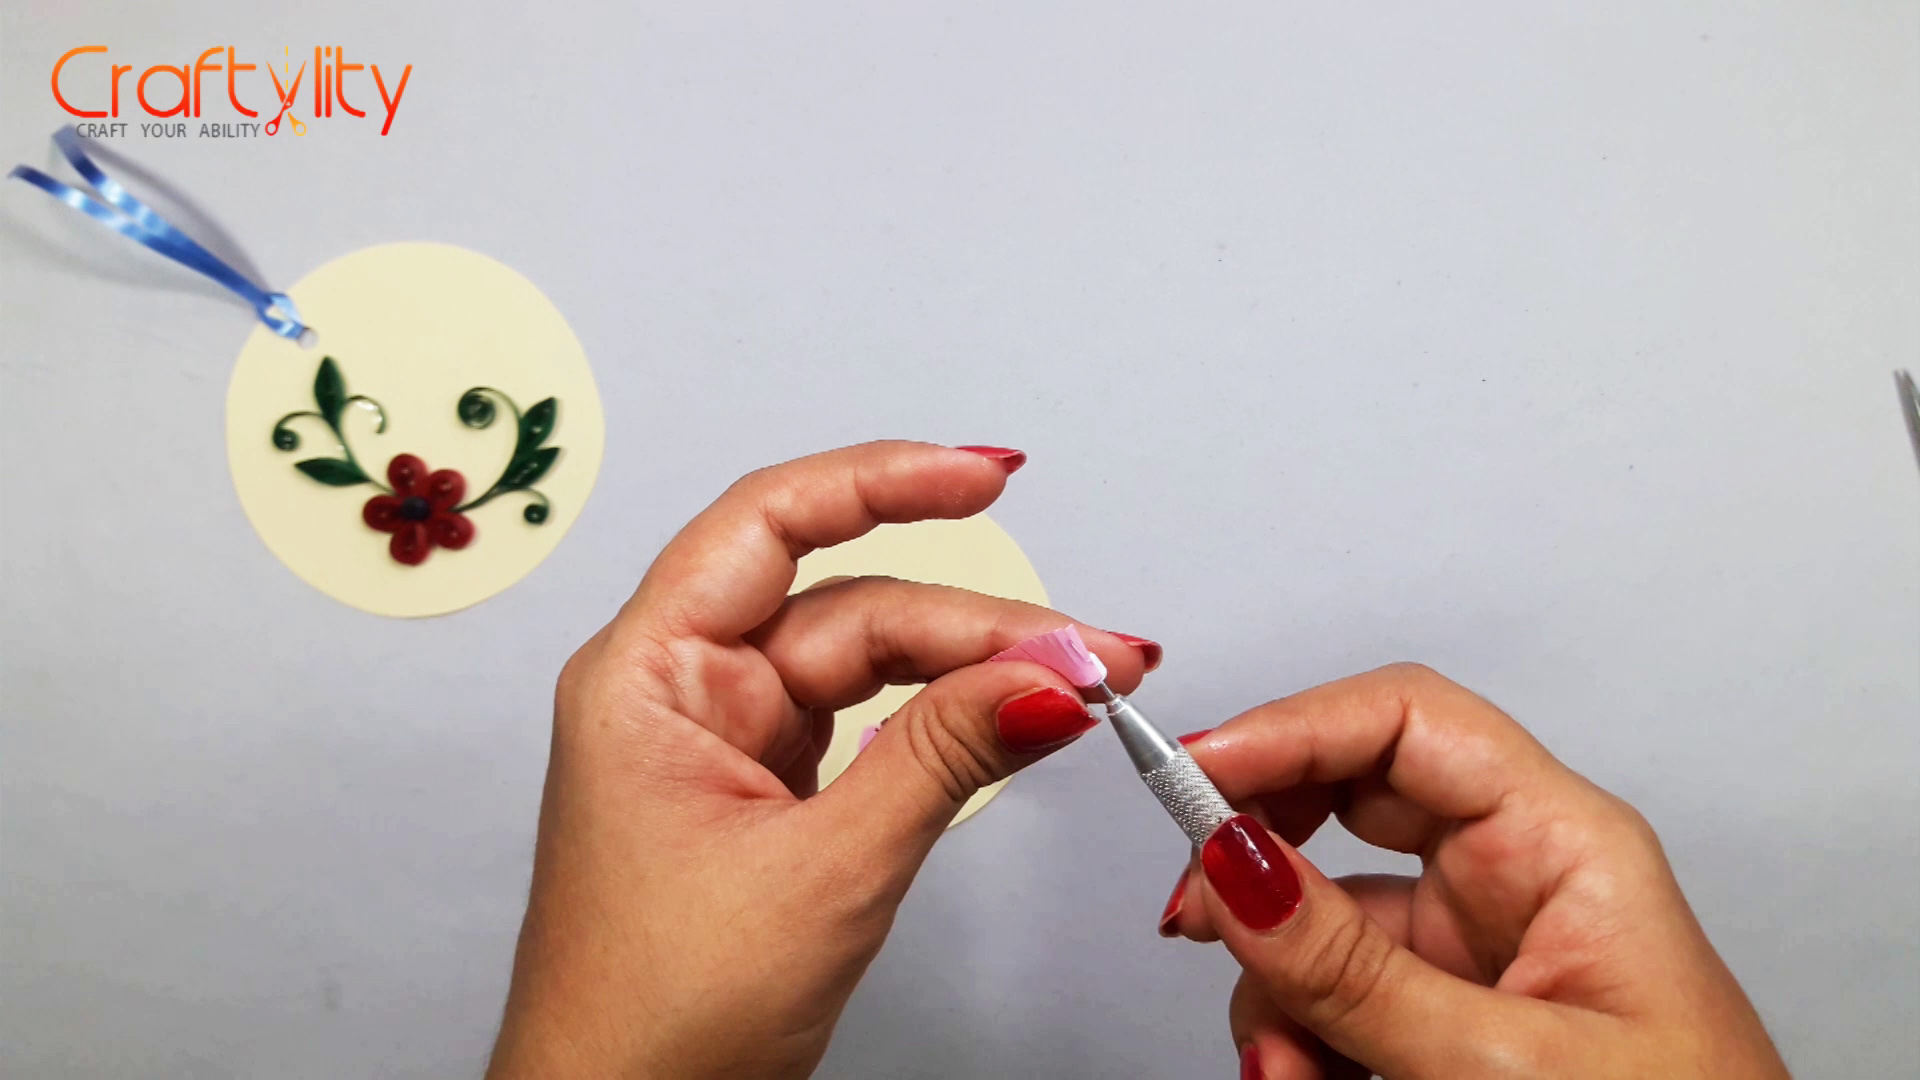
Glue one end of the pink strip with 3mm white strip which is 4 inches long. Roll the strip with slotted tool. Start rolling it with white strip because we want white strip as the center of the flower. Apply glue at the end of the strip before taking it out from the tool. Open the flower with fingers.
Step 3:
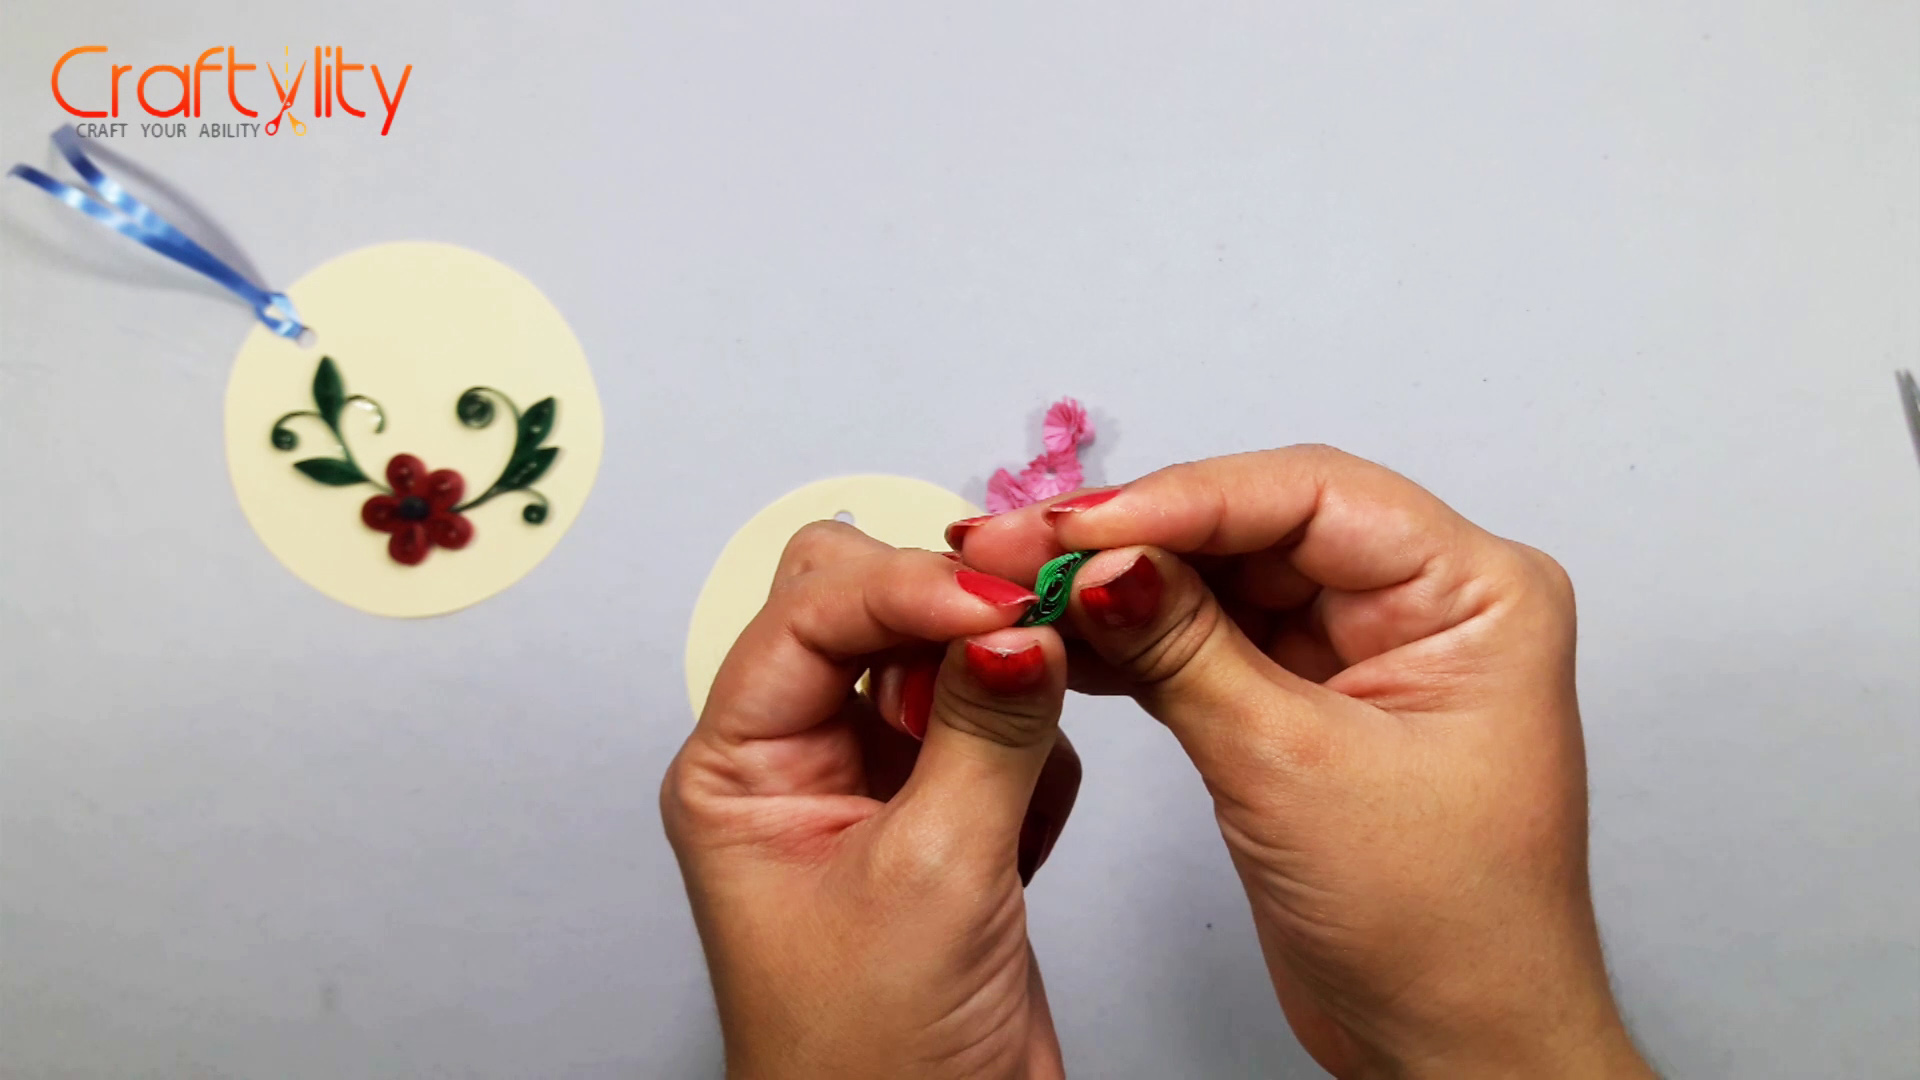
For creating leaf, take 3mm green strip 8 inches long and roll it with slotted tool. Take the coil out from tool and Allow it to unroll a little. Afer unrolling apply little glue on the edge of the strip to secure it. Hold the coil with both the hands and pinch it from both the sides to form marquise shape and now twist that shape to form “S” like shape.
Step 4:
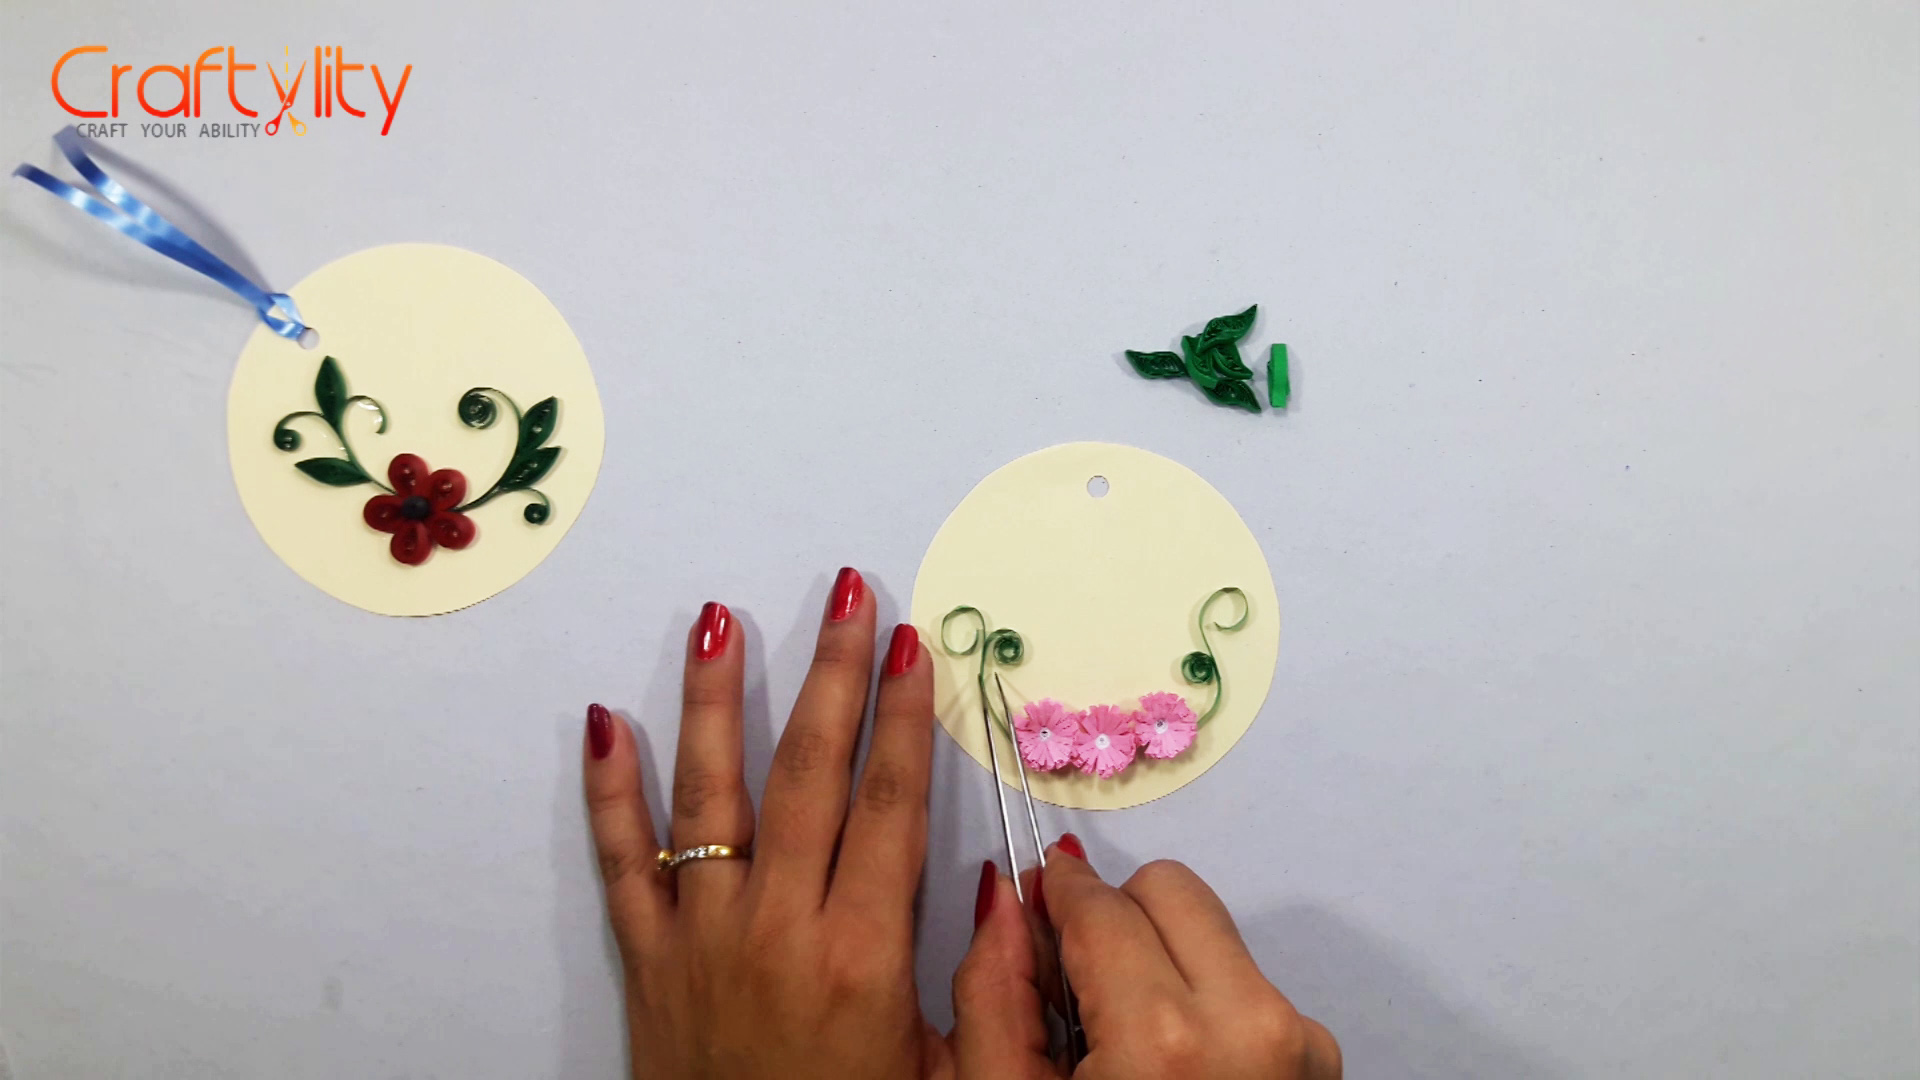
Start sticking all the flowers on the tag as shown in above image. Also glue curves, for creating these curves you will need 3mm green strip of 3 inches long.
Step 5:
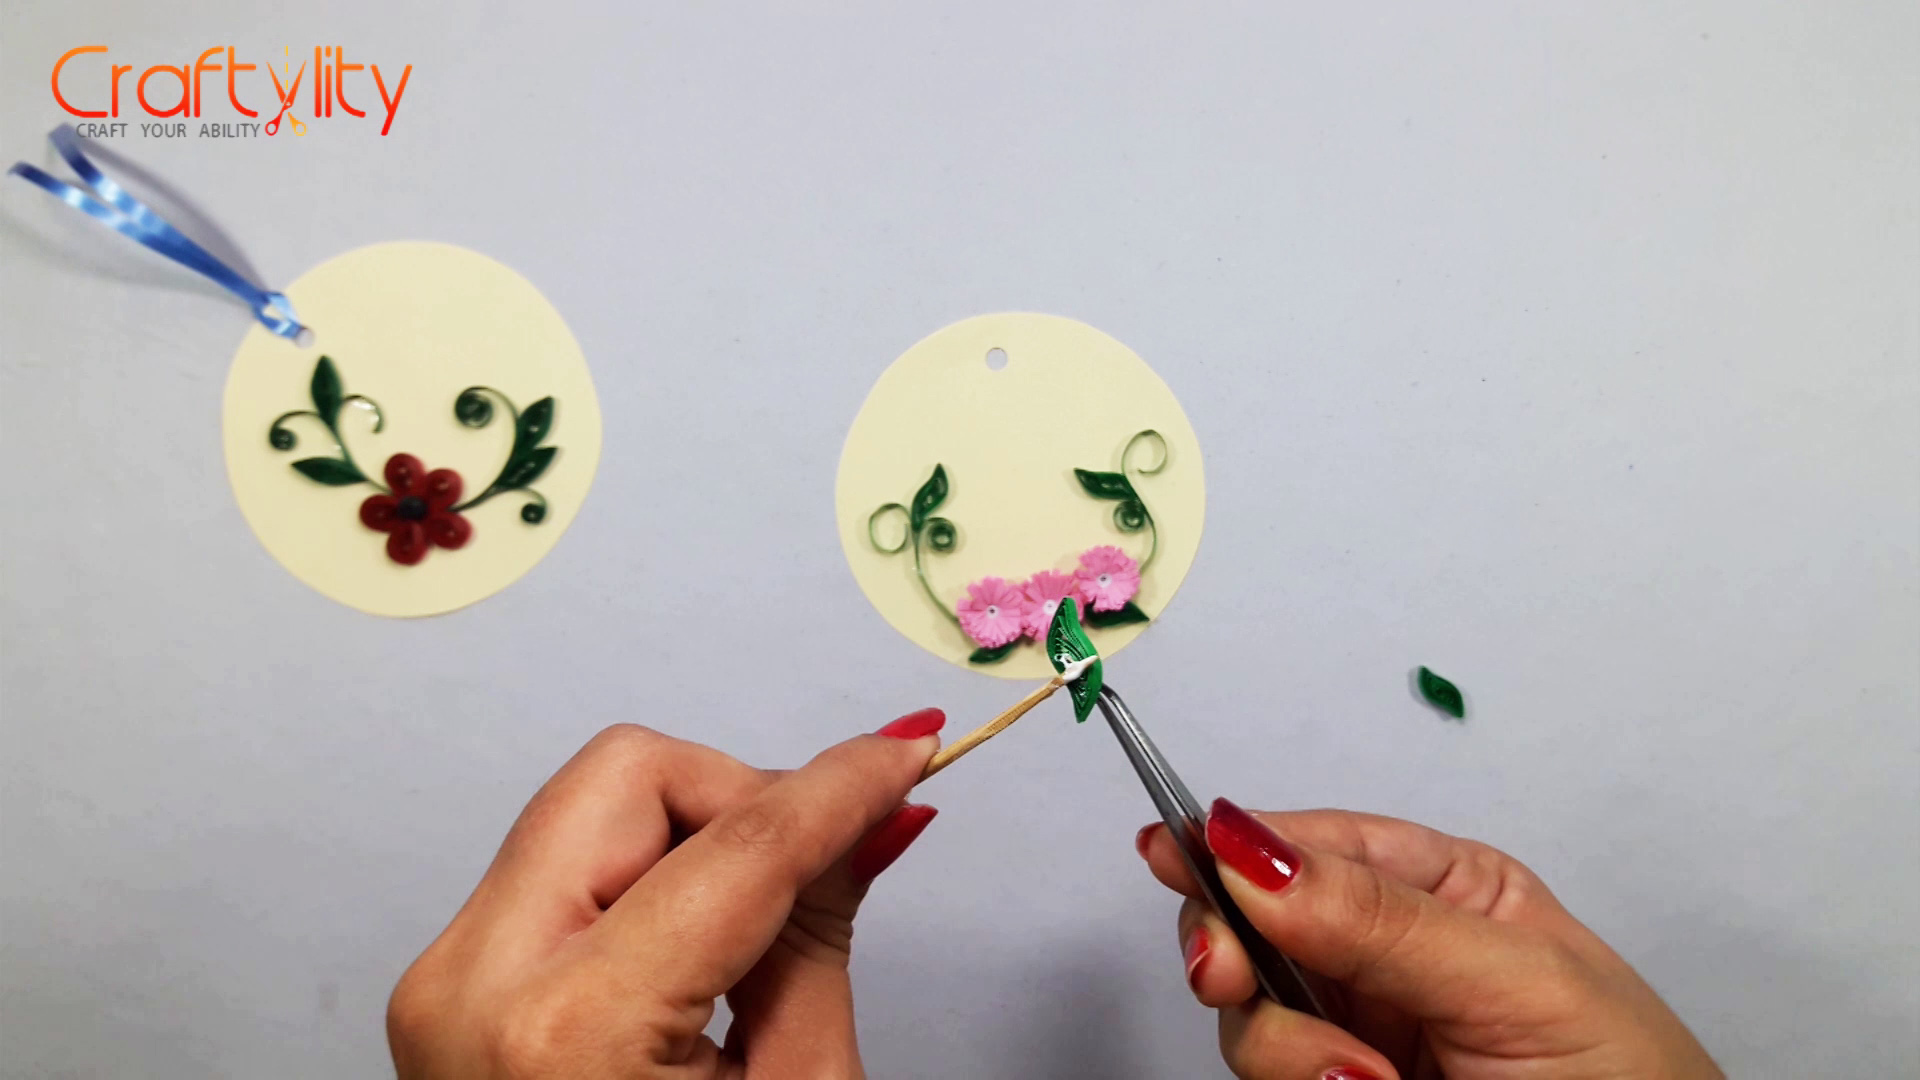
Its time to glue leaves.
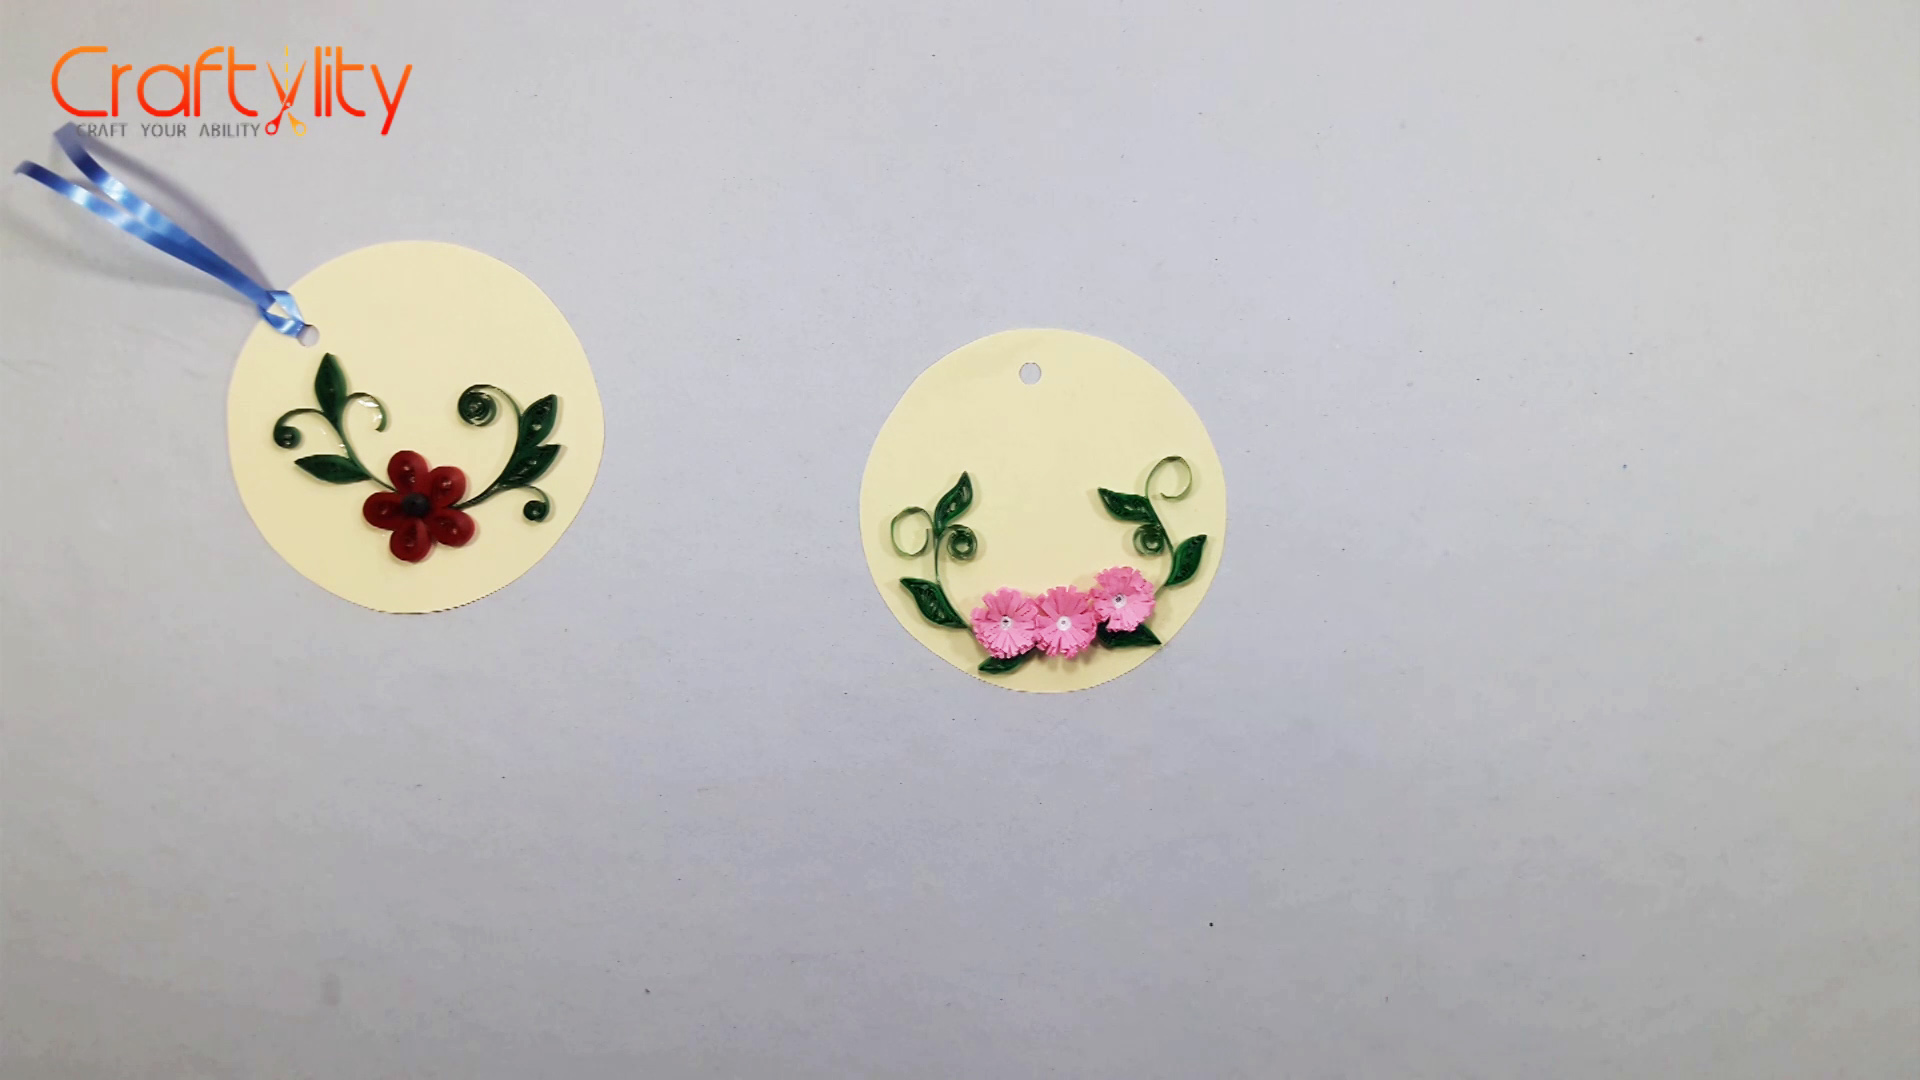
Final look of second tag.
Creating Yellow Flower tag:
Step 1:

For yellow flower, create few marquise shapes by using 3mm yellow strip 8 inches in length and also create few green marquise shapes for leaves.
Step 2: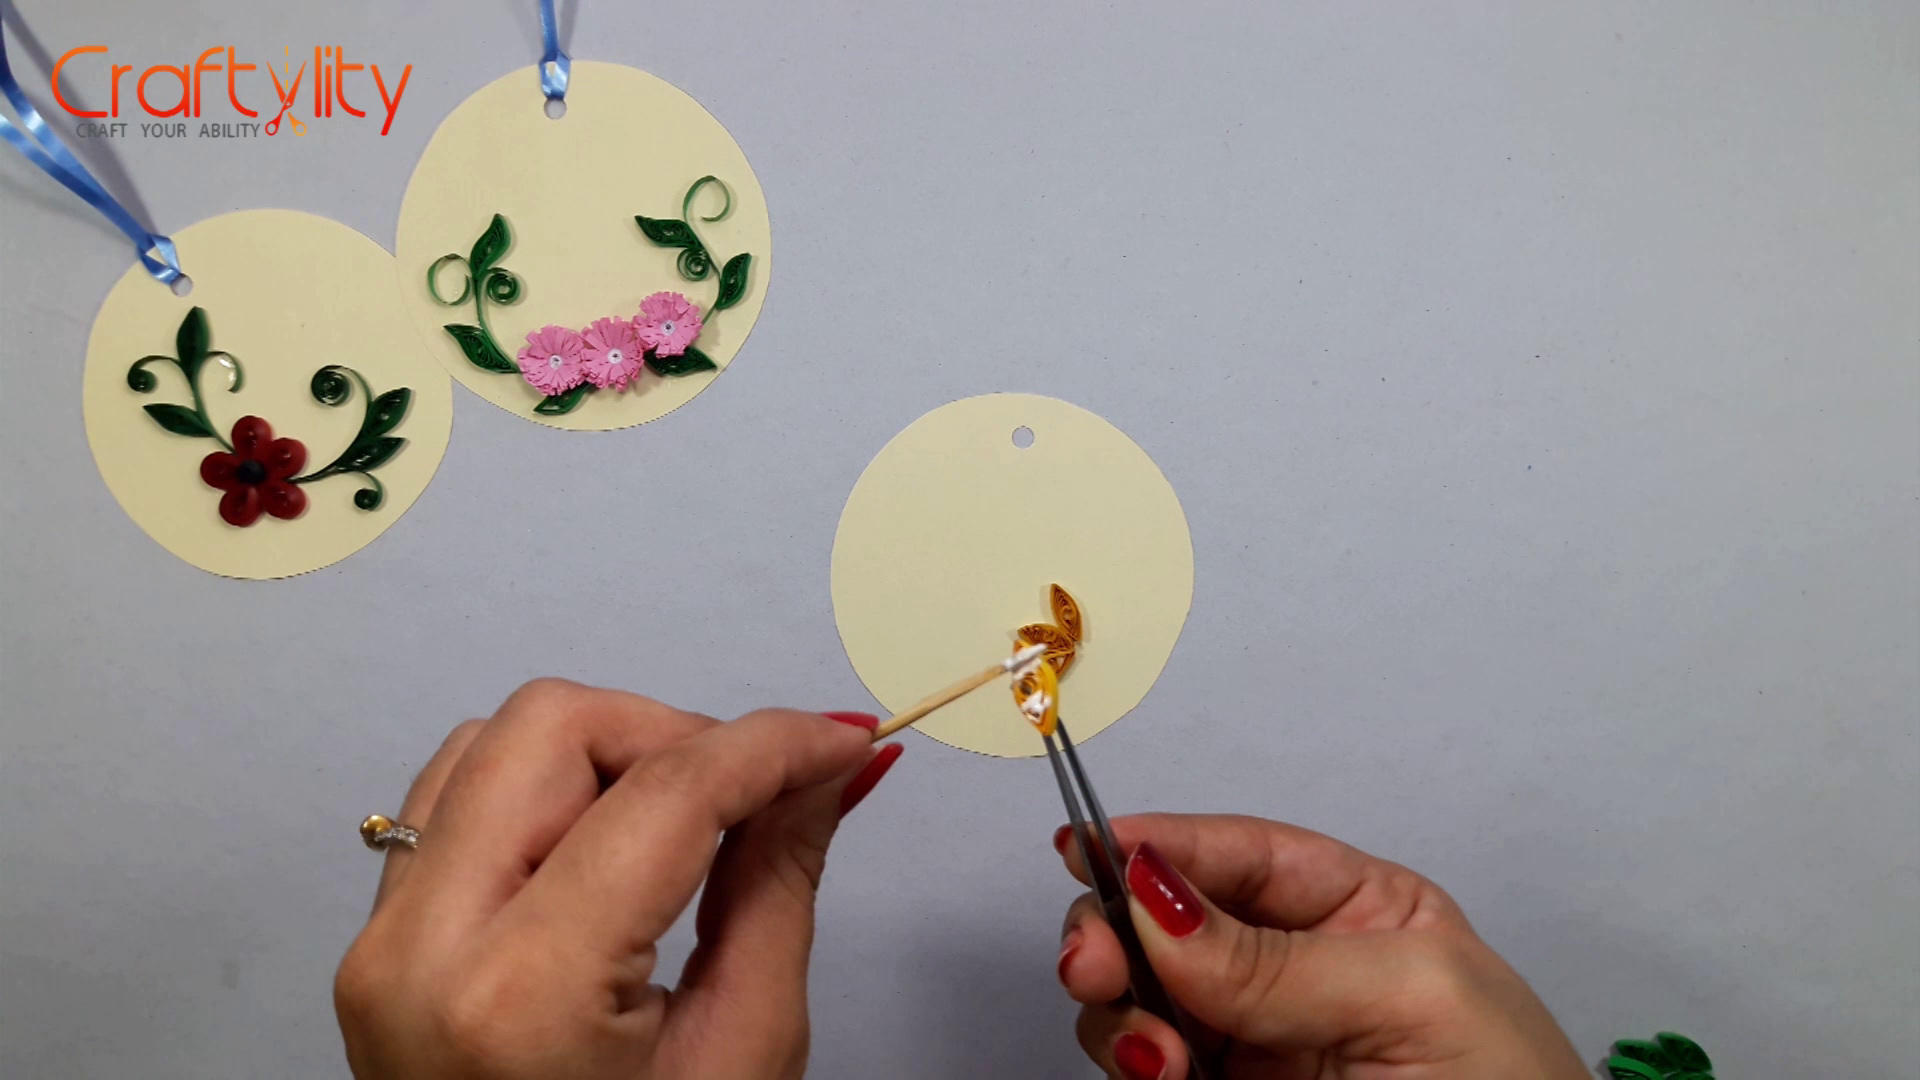
Glue yellow marquise in 2 sets of 3, as shown in above image.
Step 3:
 Take 4mm green strips of 4 inches long to create curves and stick them as shown in above image.
Step 4:
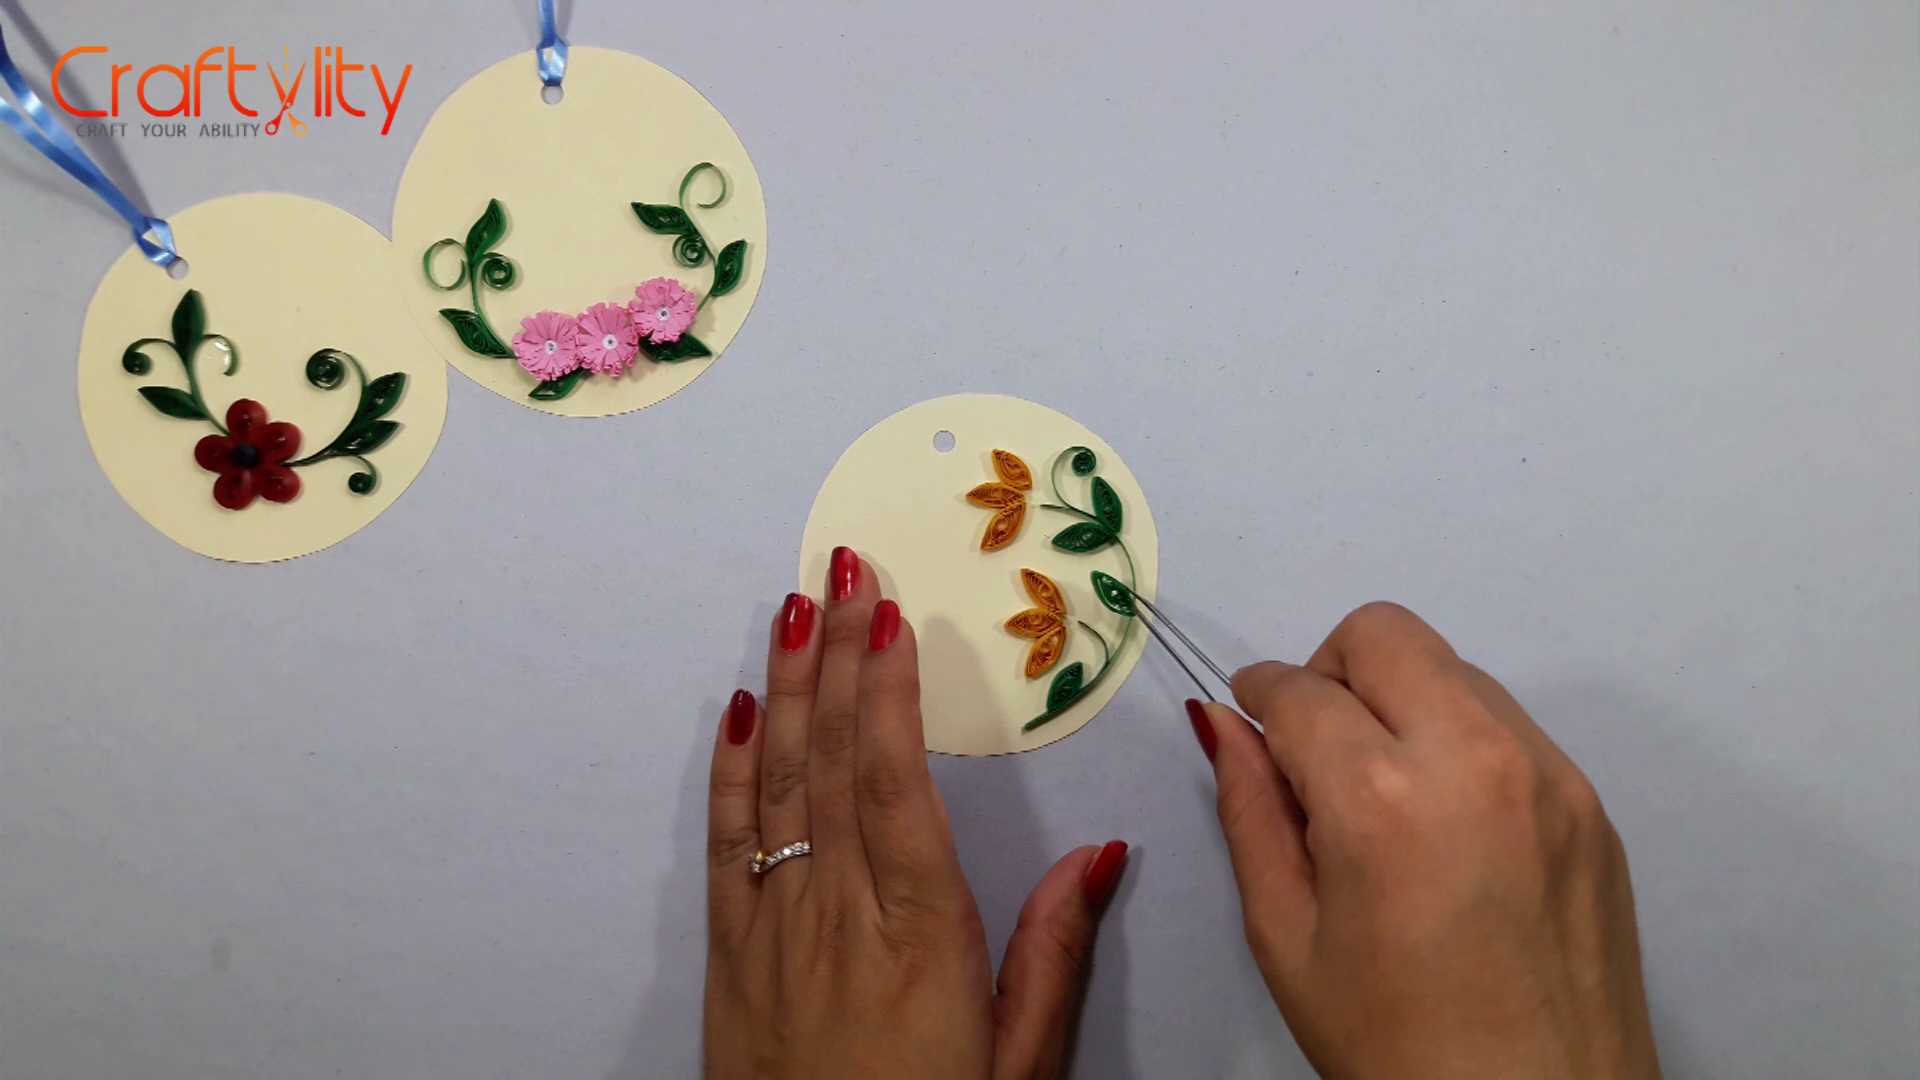
Stick all leaves.
Step 5: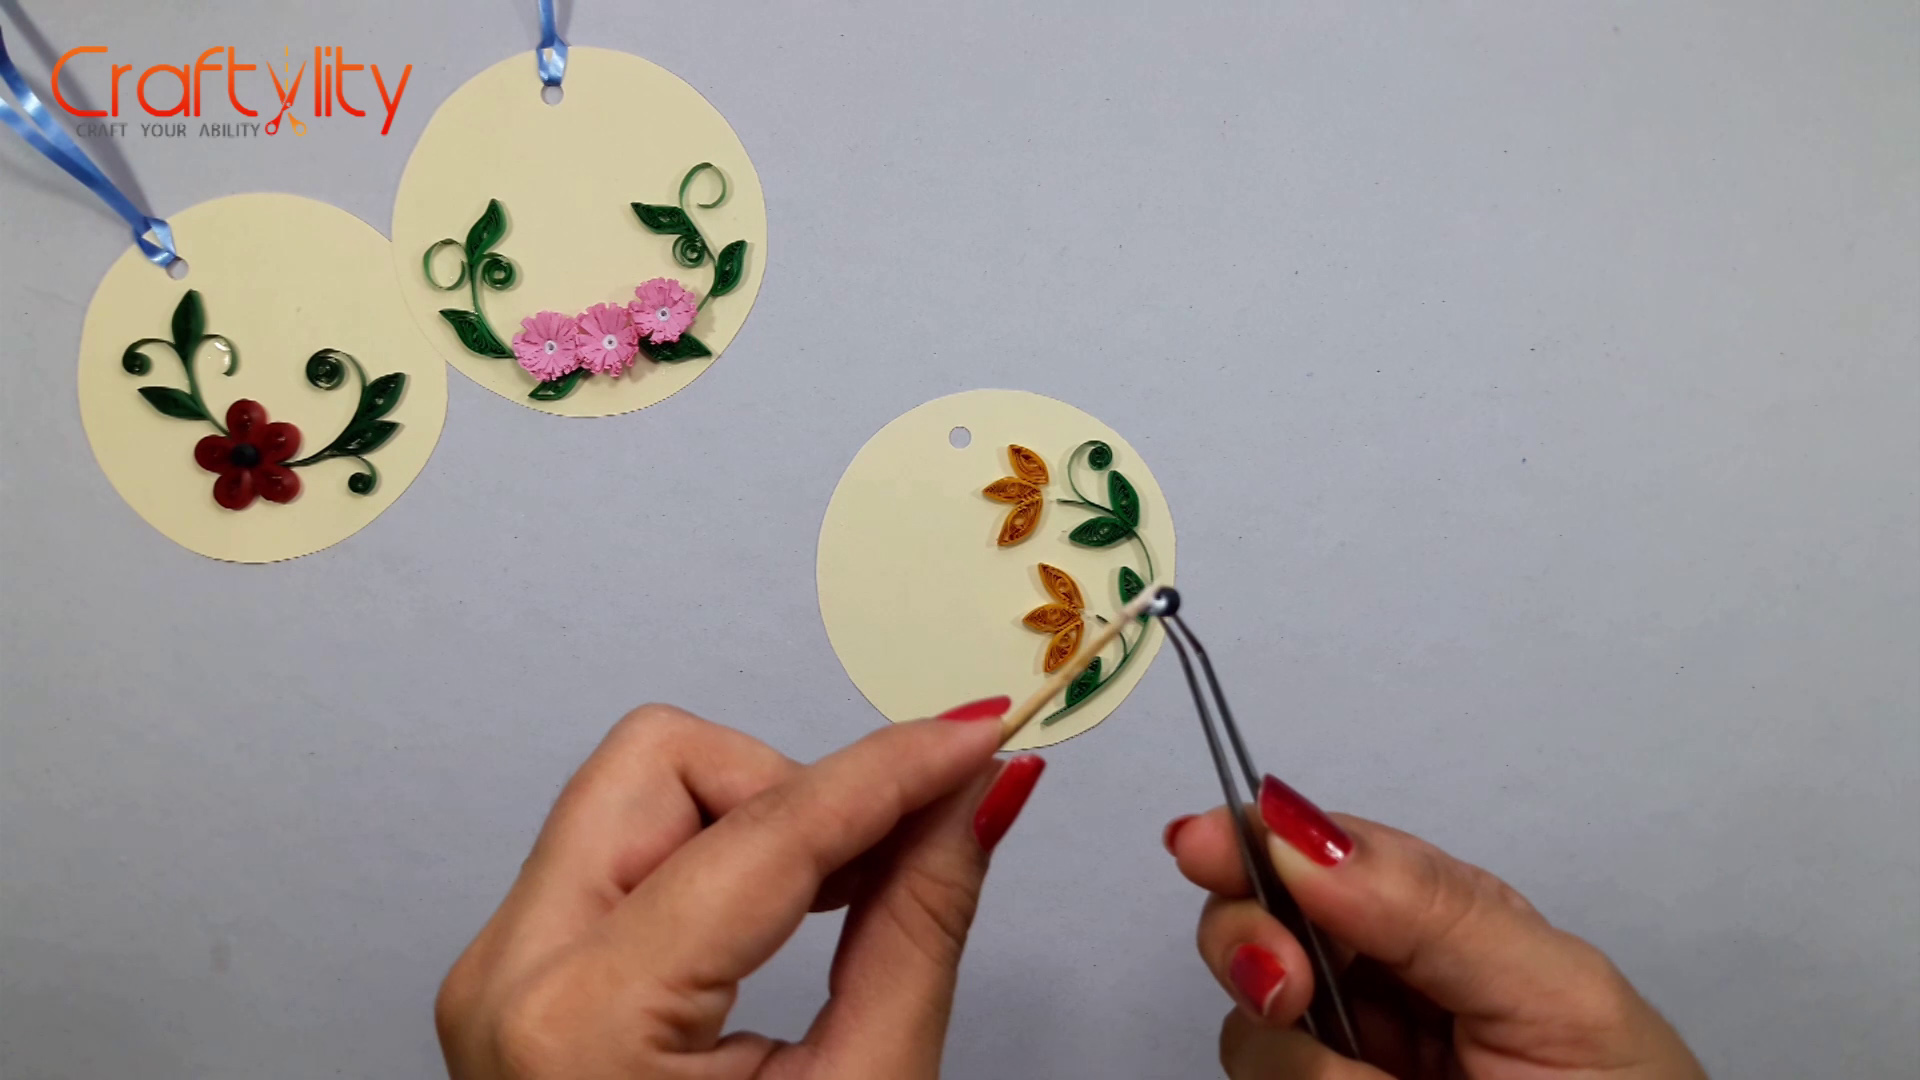
Create small tight coil using 3mm brown strip of 5 inches.
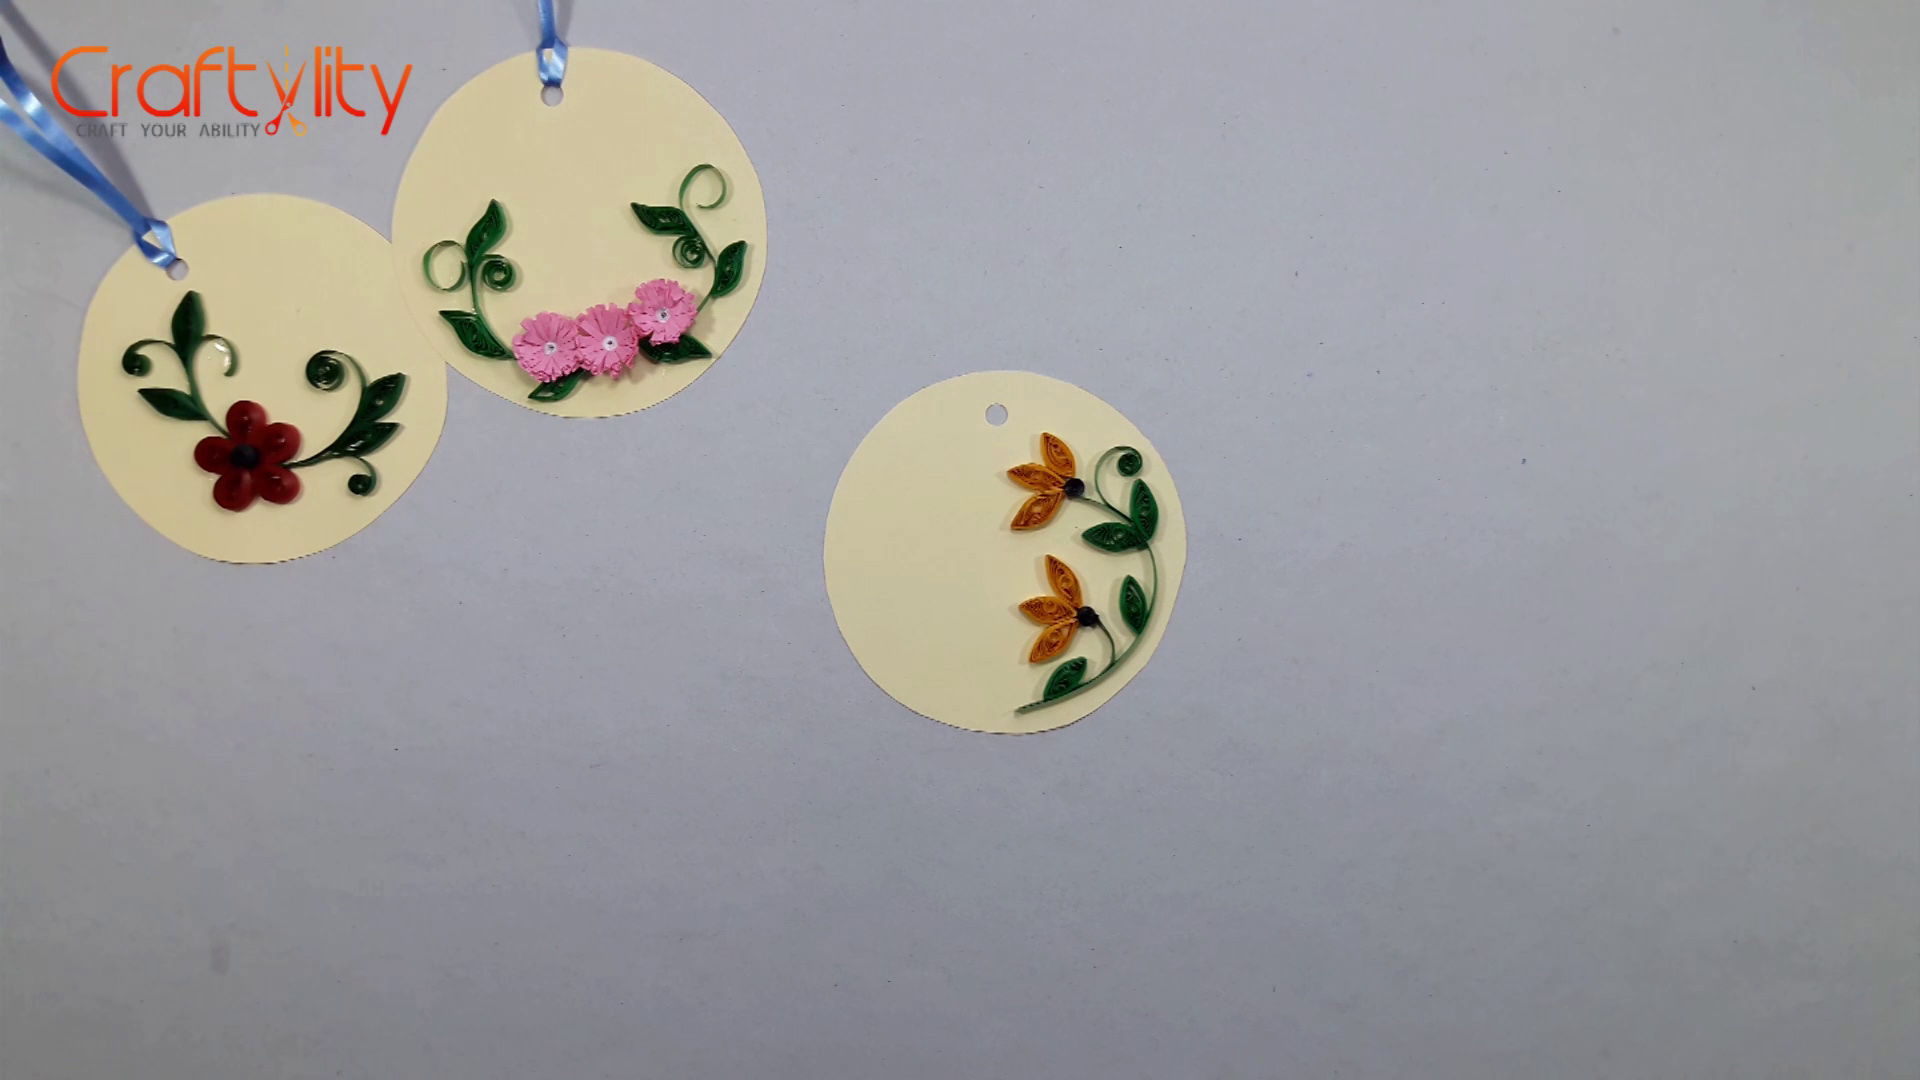
Final look of yellow tag.
Creating small Pink Flower tag:
Step 1:
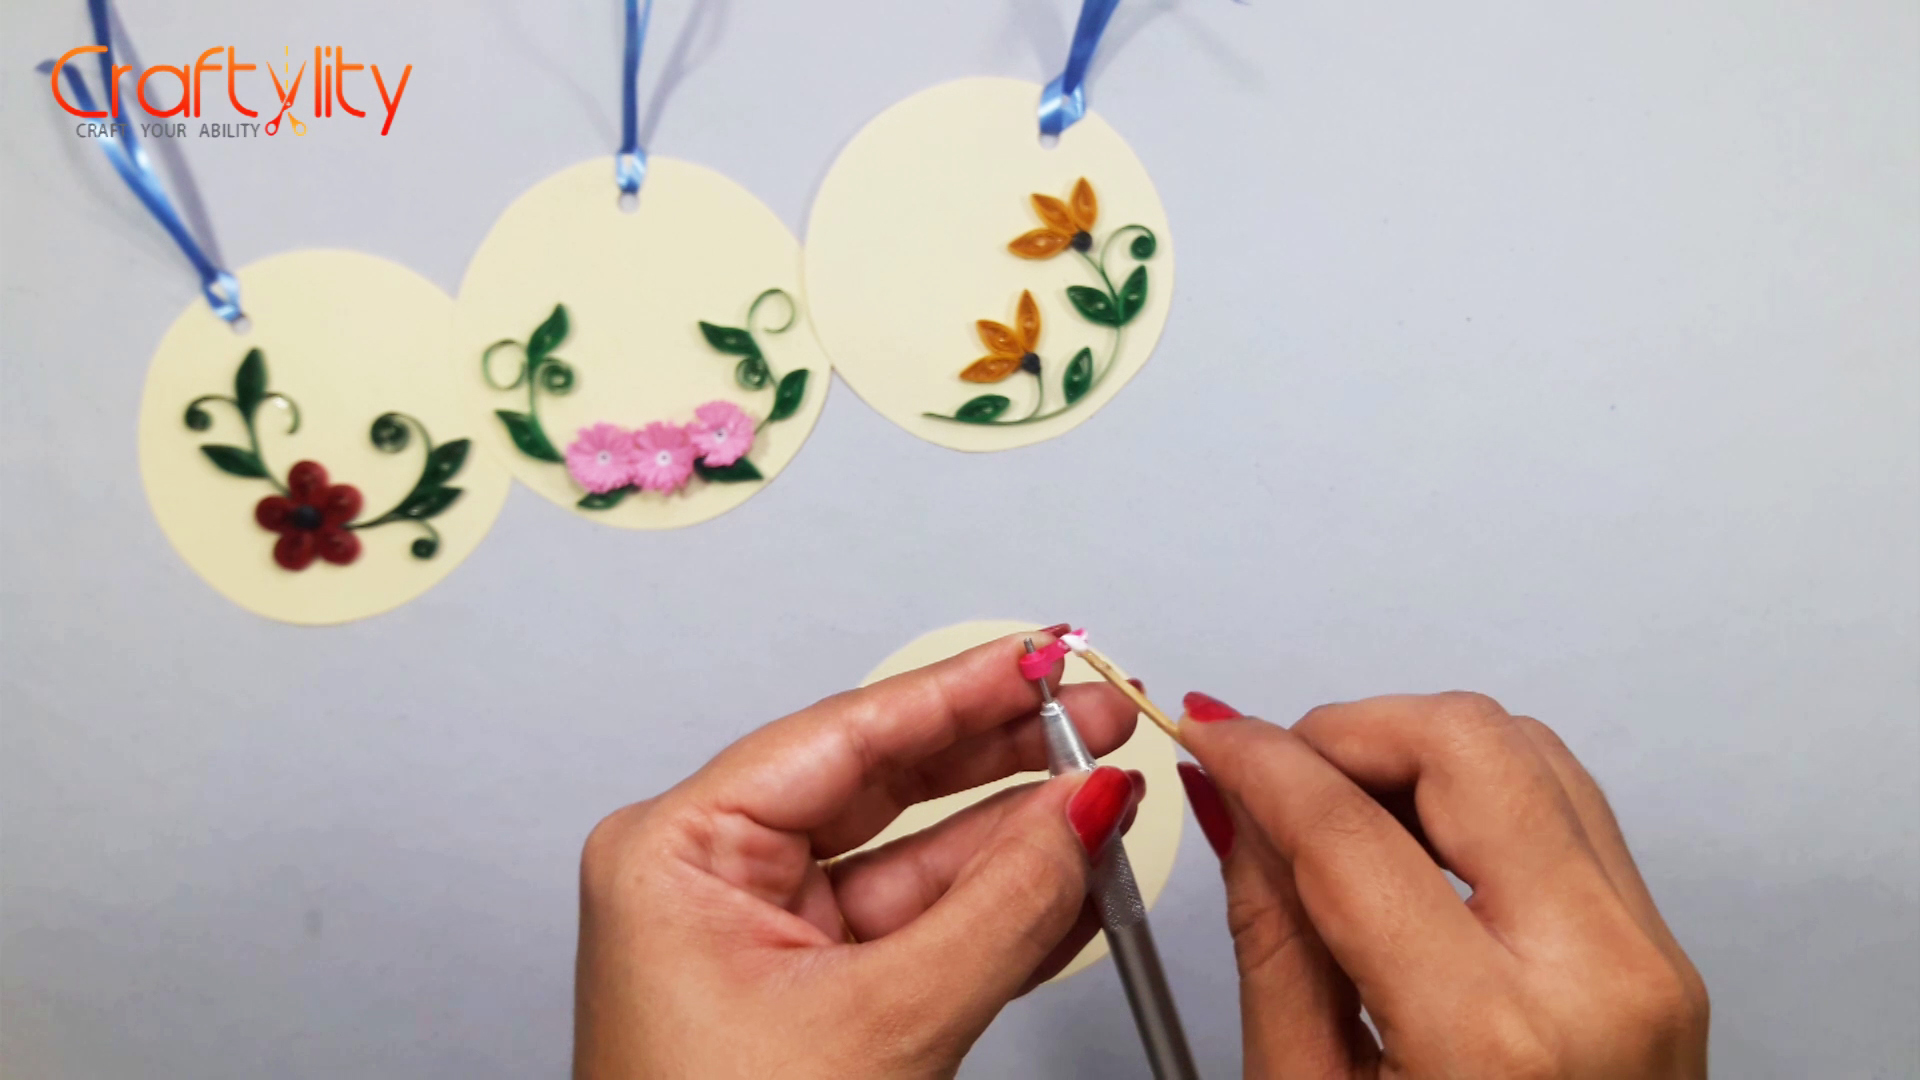
Create small tight coil if 3mm pink strip of 5 inches long with the help of slotted tool. Glue the coil at the end before removing it from the tool. Also create tight coils of 4 inches long white coil.
Step 2:
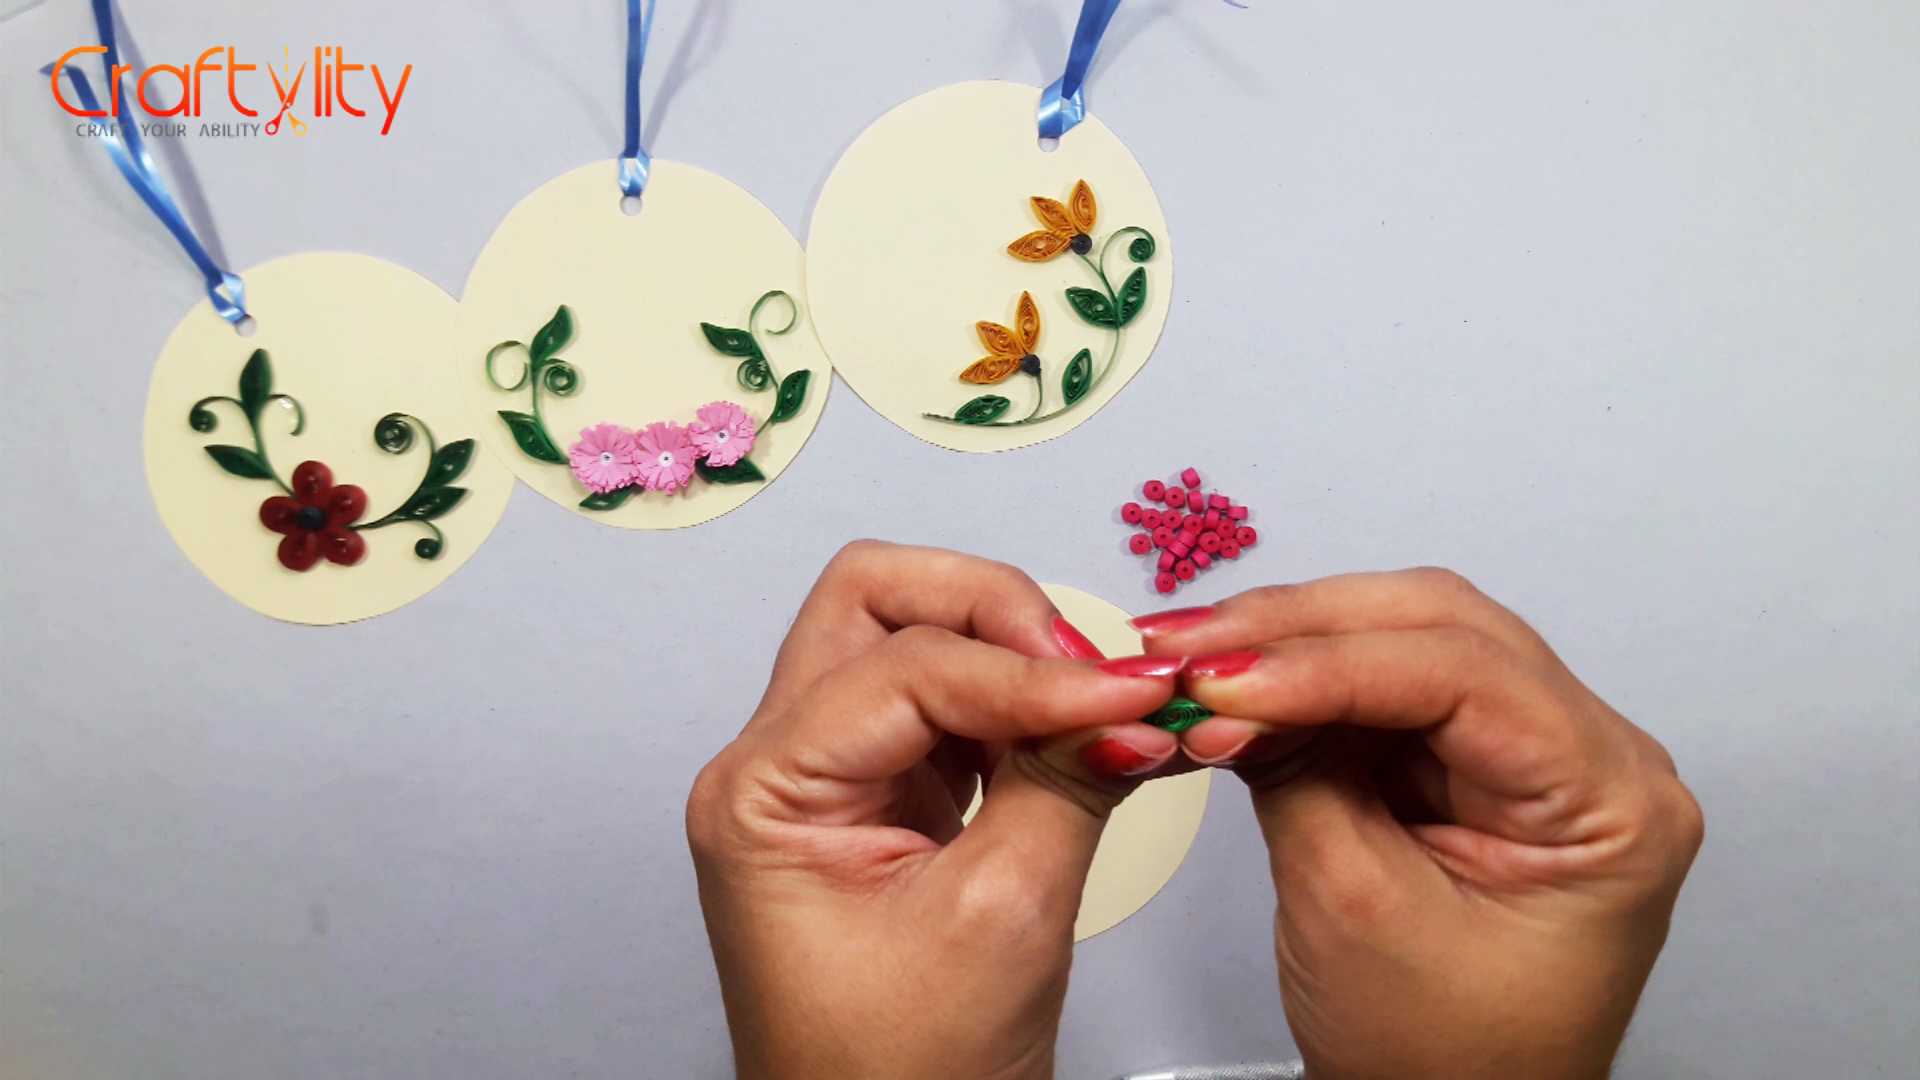
For creating the leaves, take 3mm green strip of 6 inches in length and roll it with slotted tool. Take the coil out from the tool without applying glue to it. Allow the coil to unroll a little and now apply glue at the end of the coil. Hold the coil with both the hands and pinch it from both side to create marquise shape.
Step 3:
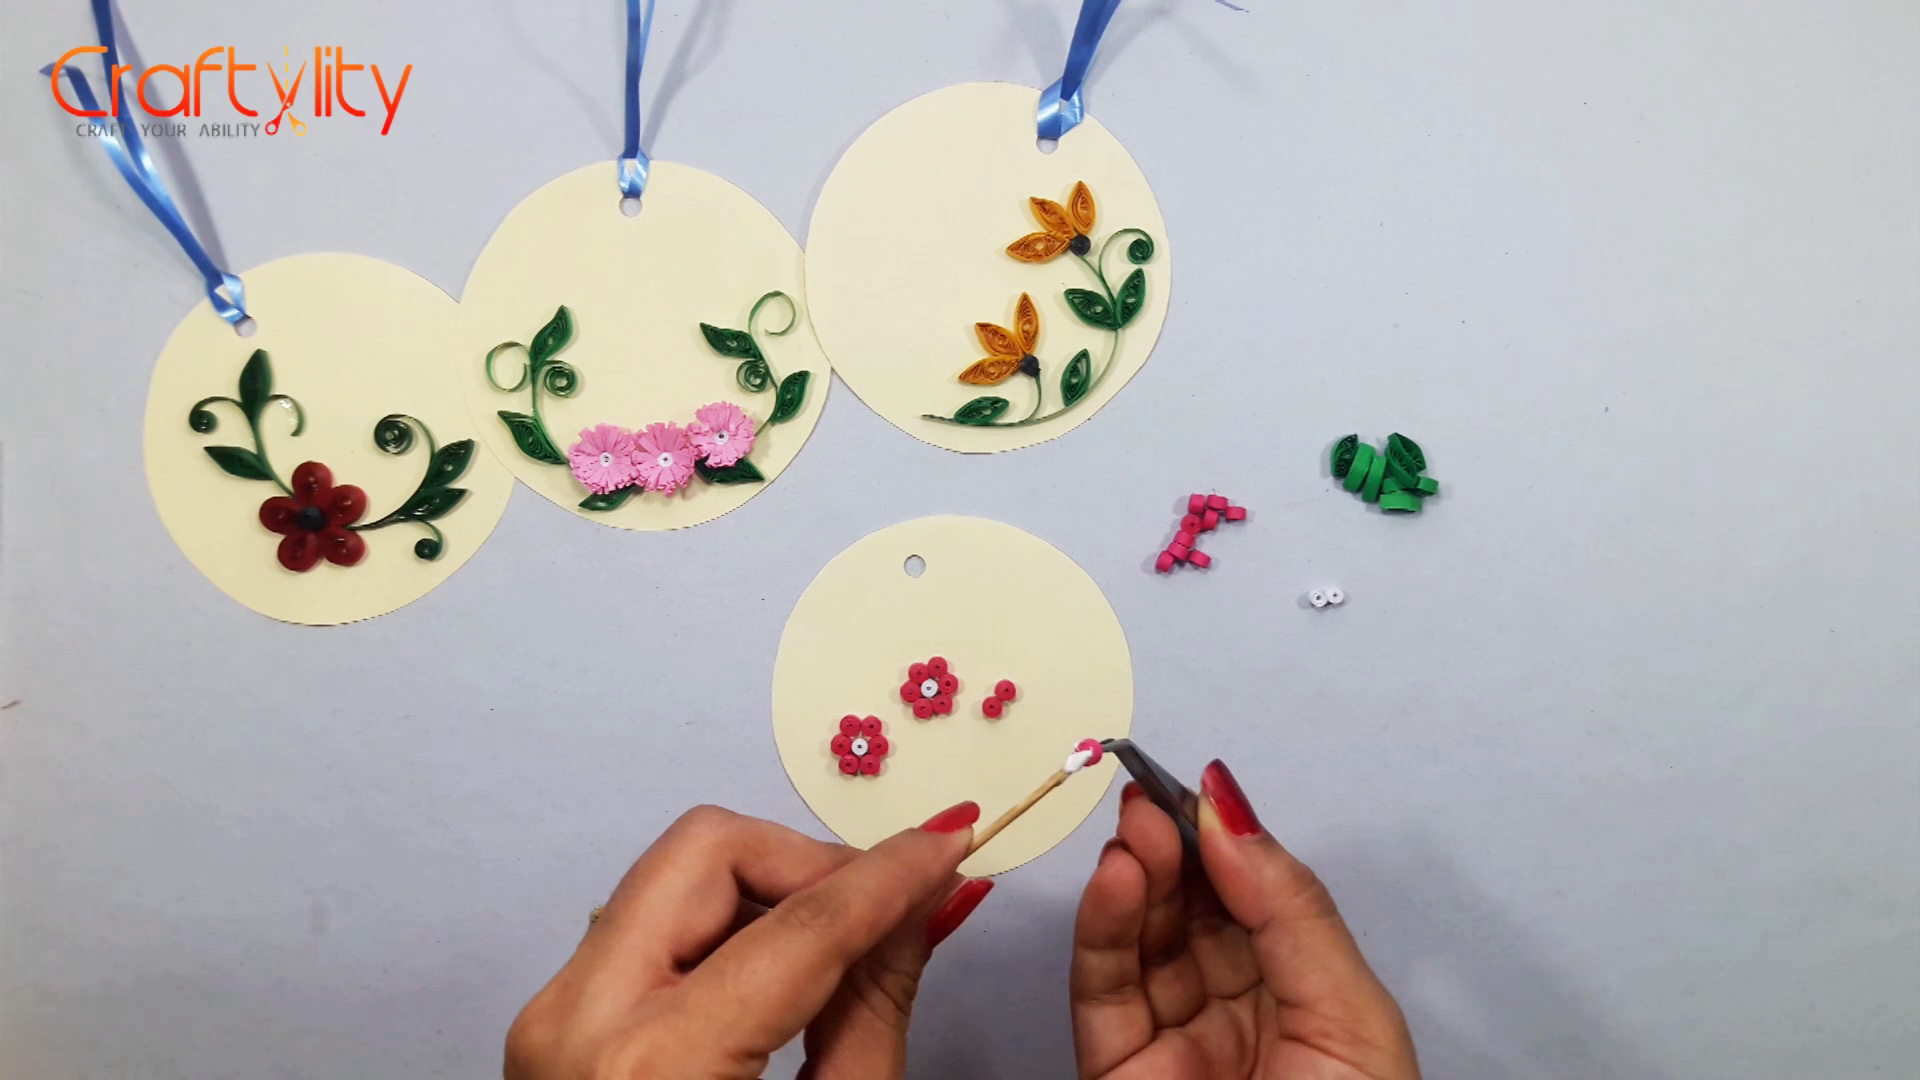
Glue the pink and white coils forming flower shape as shown in above image.
Step 4:
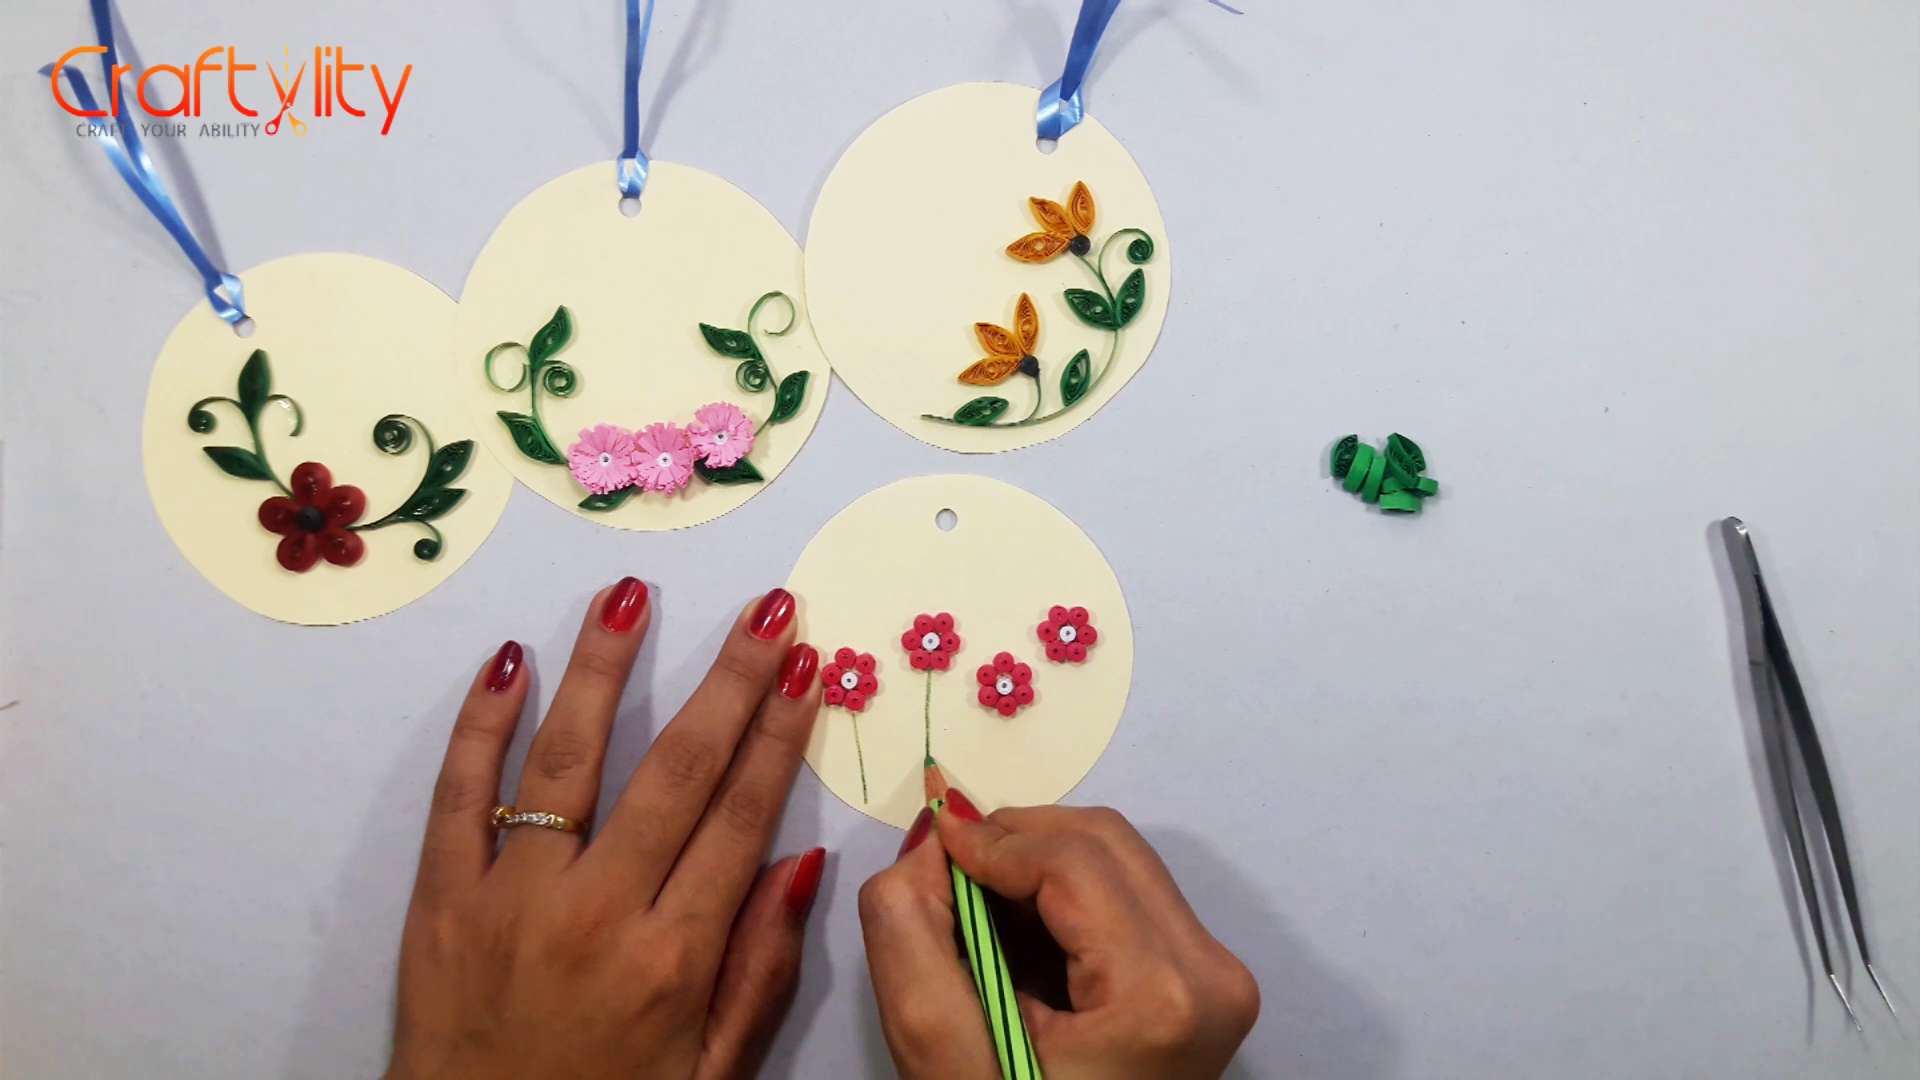
Draw stem of flowers with green pencil or pen.
Step 5:
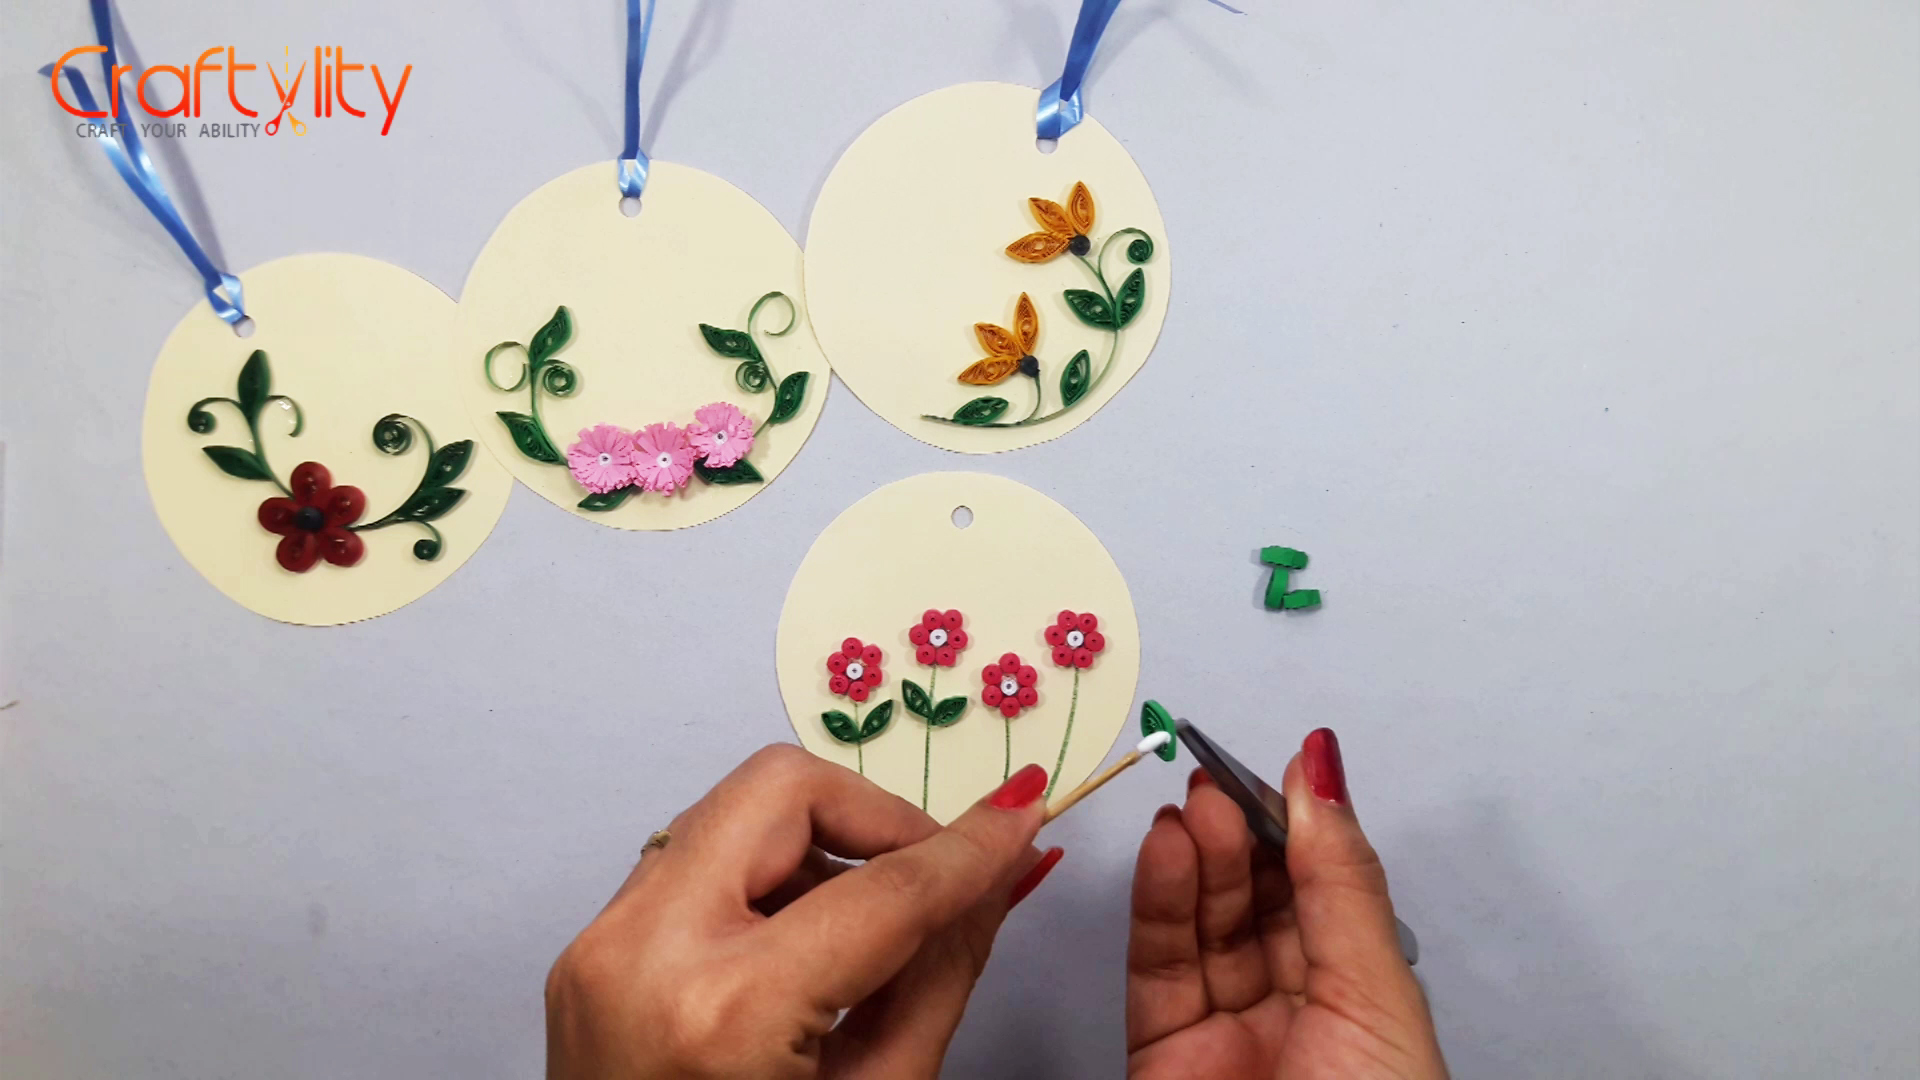
At the end glue all the leaves on the tag.
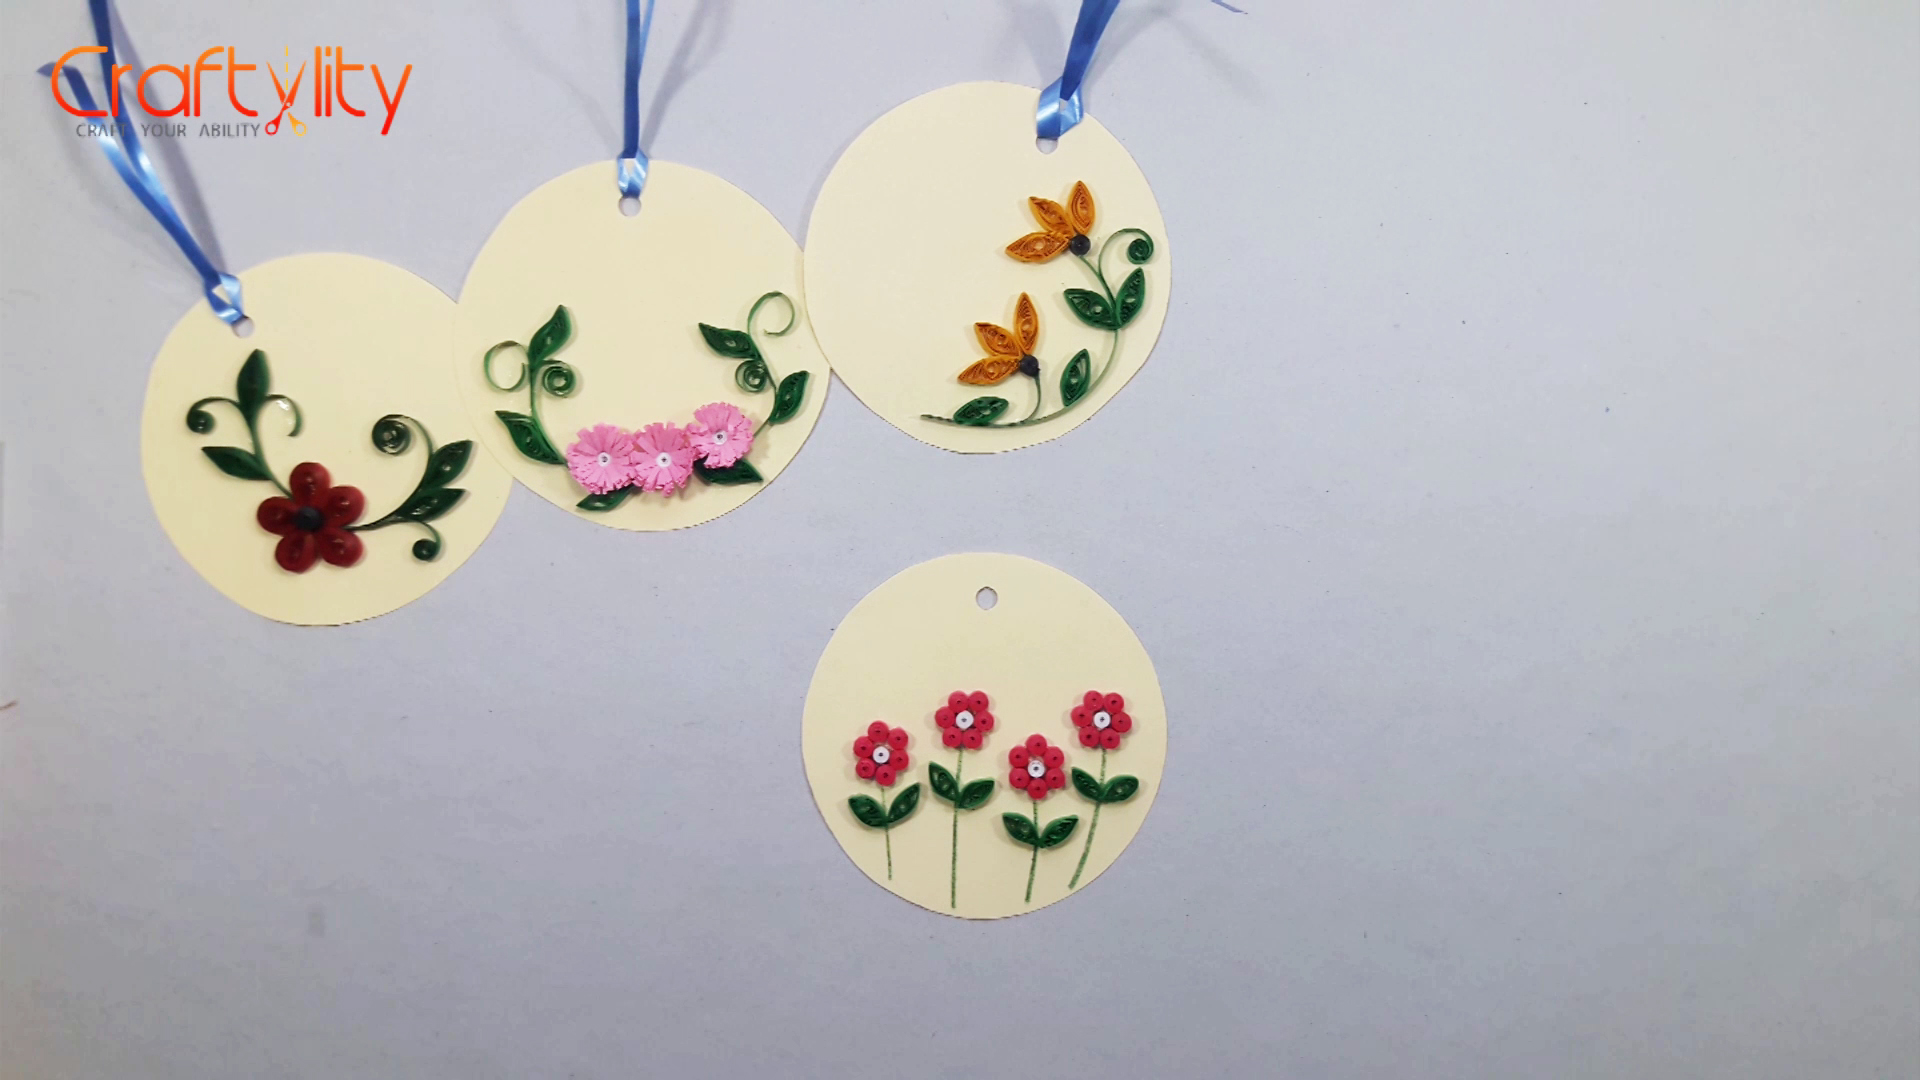
Final look of small pink flower card.
Creating Blue Flower tag:
Step 1: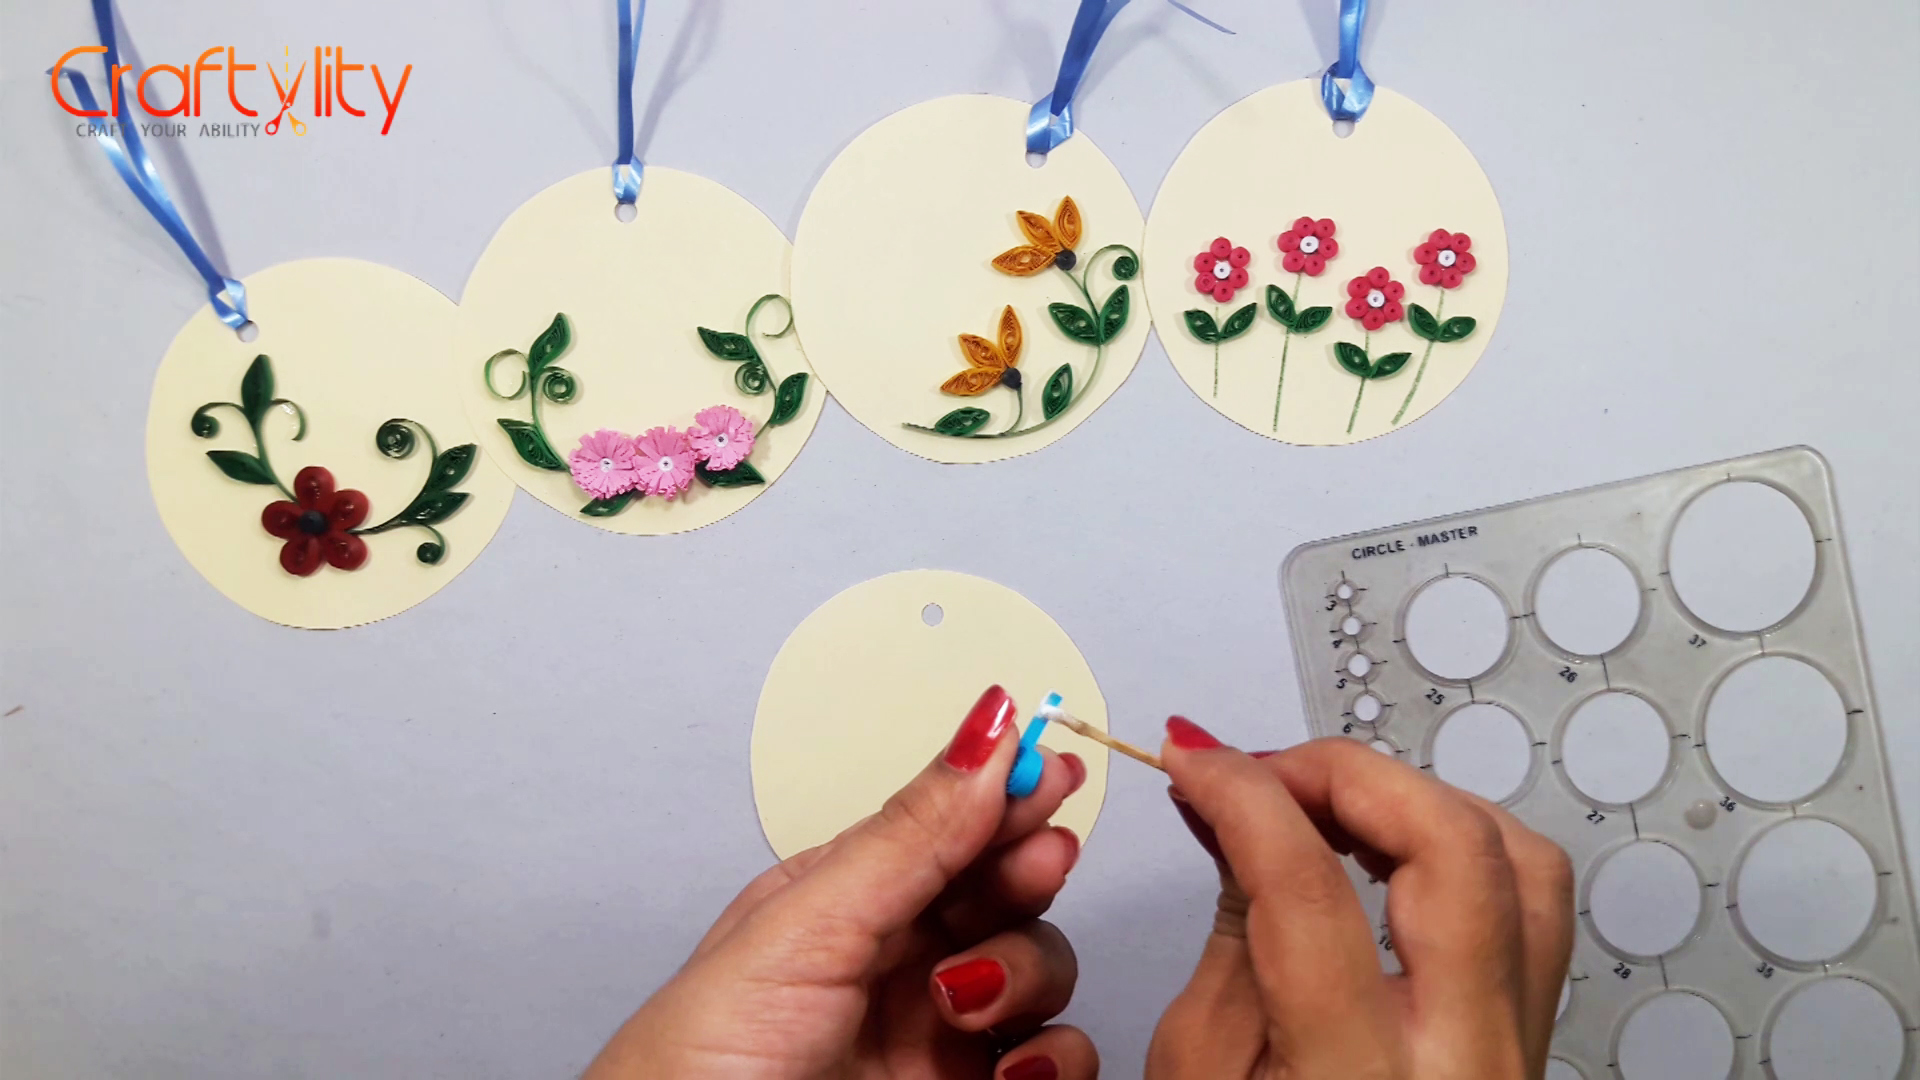
Take 3mm blue strip of 6 inches long in length and roll it with slotted tool and take the coil out from tool and place it 8th circle of circular guide. Also create few leaves of green strip of 6 inches long.
Step 2:
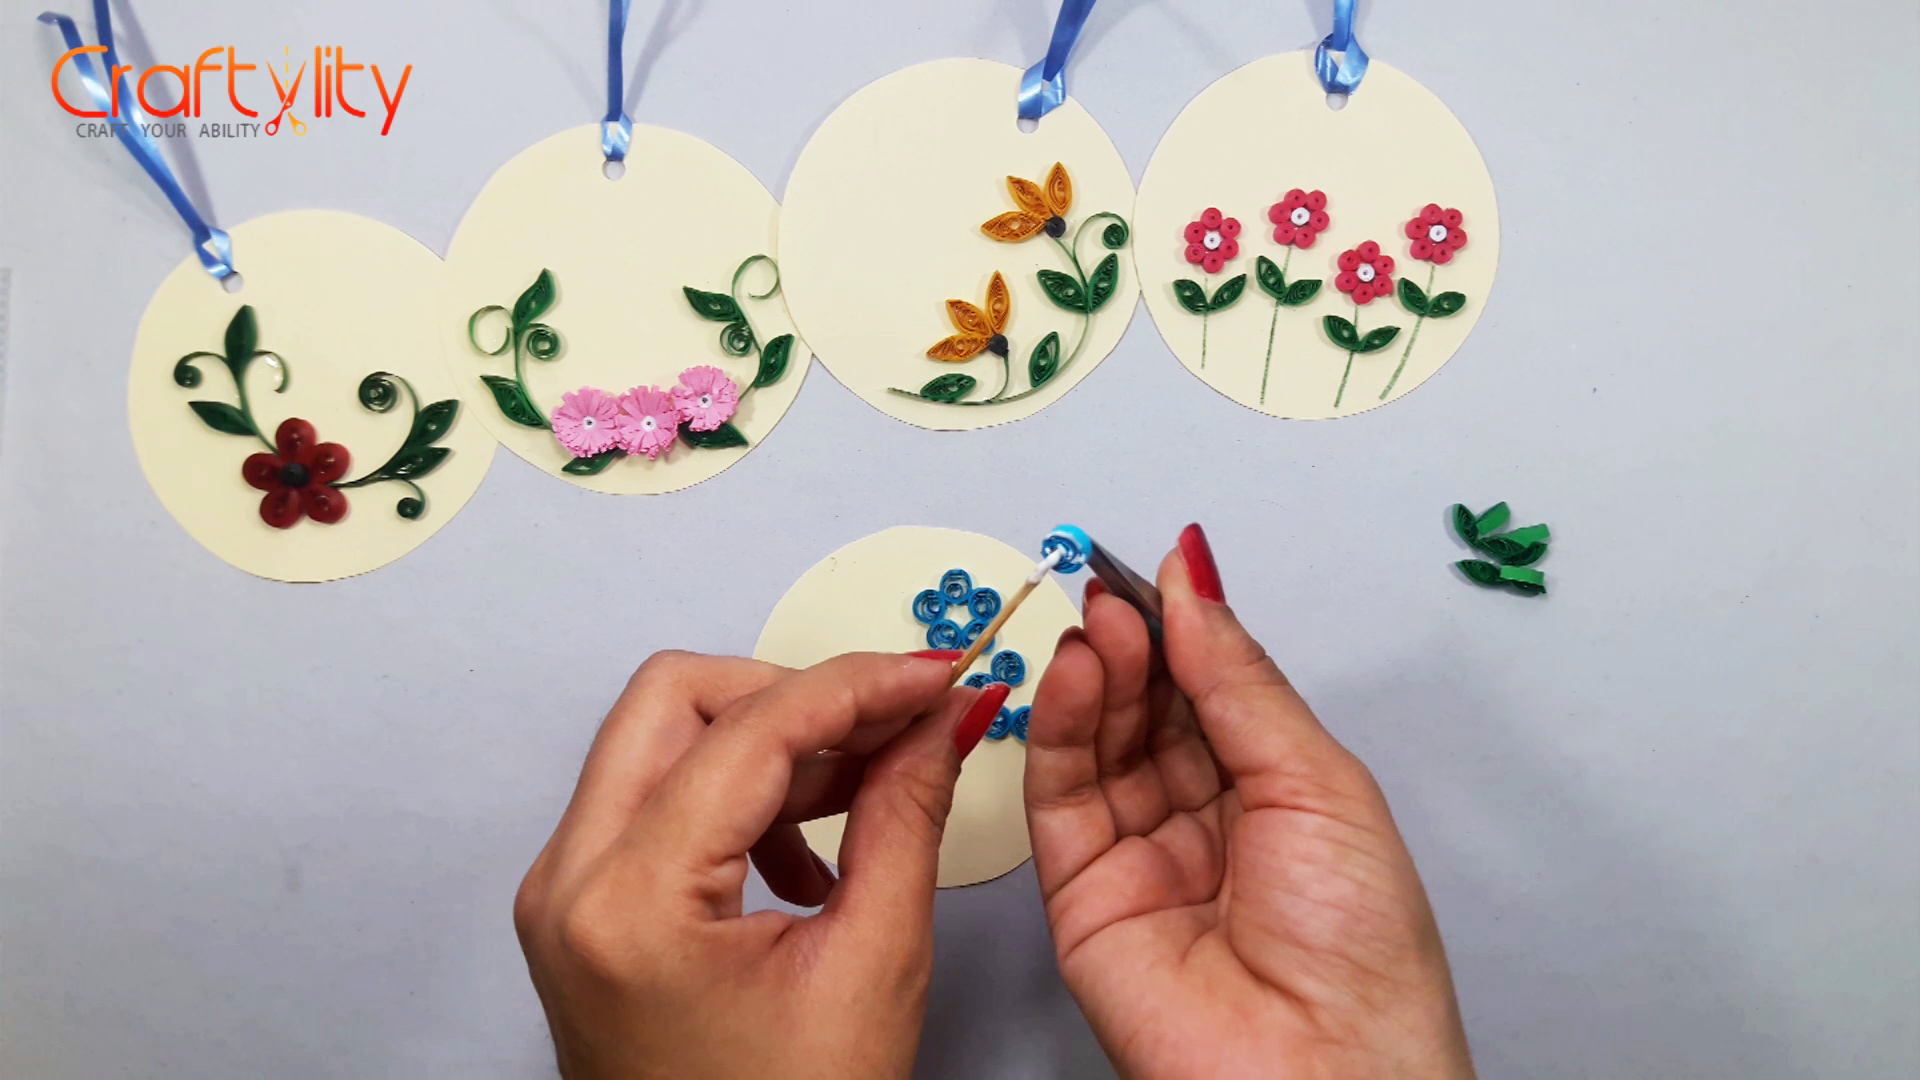
Glue blue coils in 2 sets of 5 each forming flowers.
Step 2:
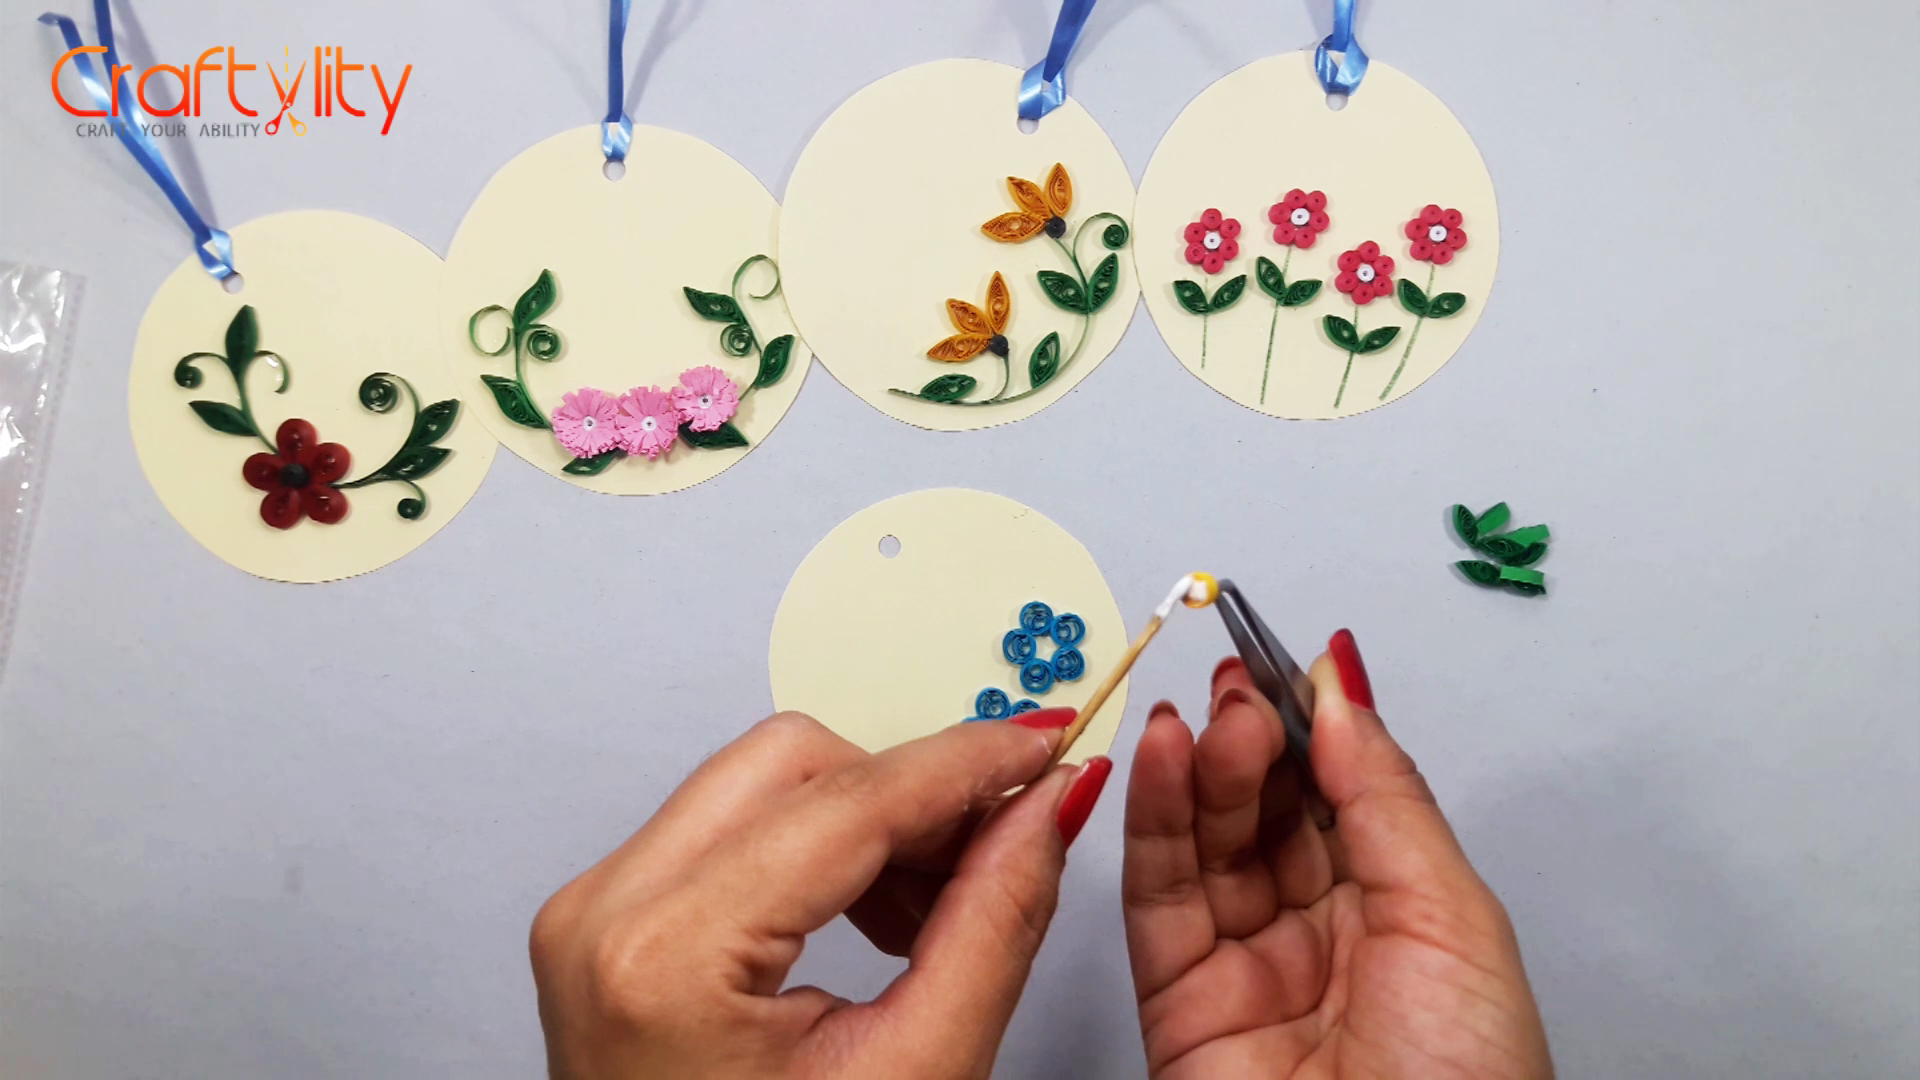
Now create tight coil for center of the flower with yellow strip of 6 inches long in length.
Step 3:
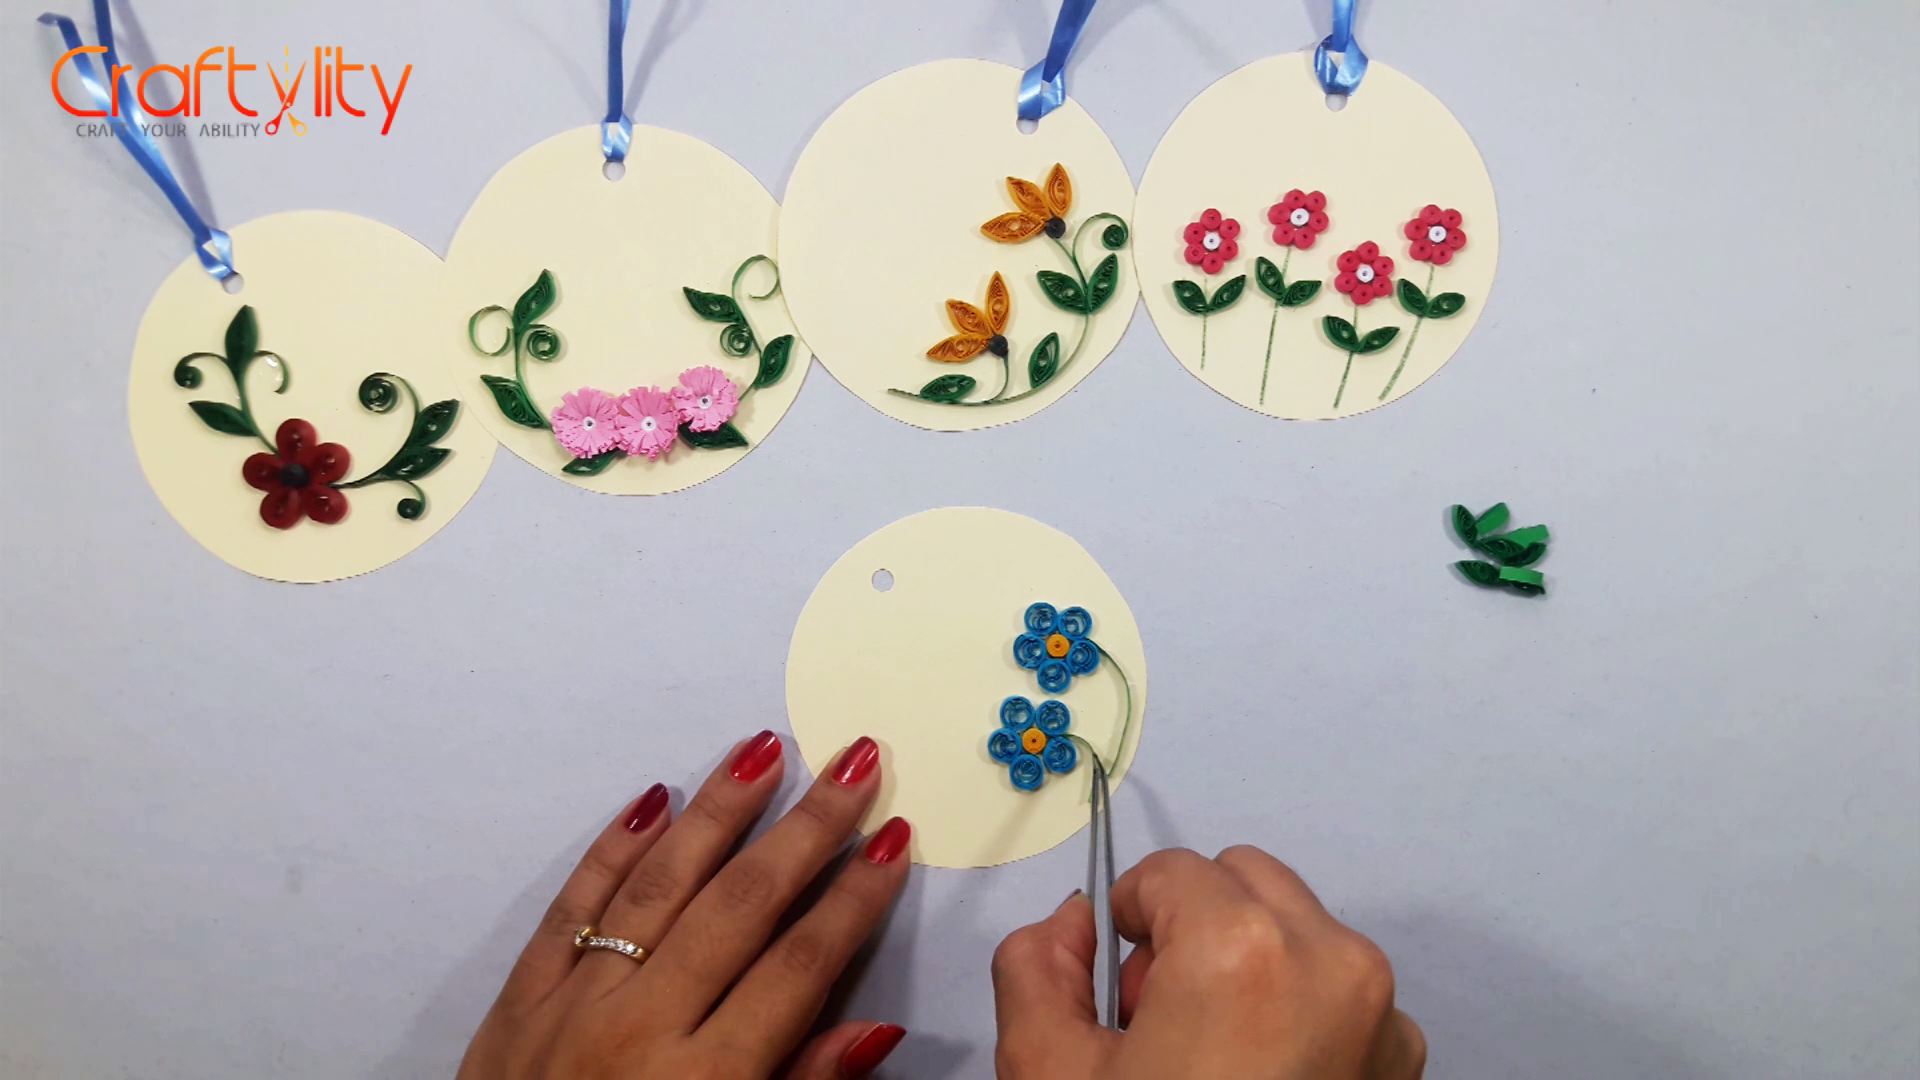
Create slight curves of green strip of 2 inches long.
Step 4:
For creating above swirls use 5 inches of green strip. Stick all the leaves on tag as shown in above image.
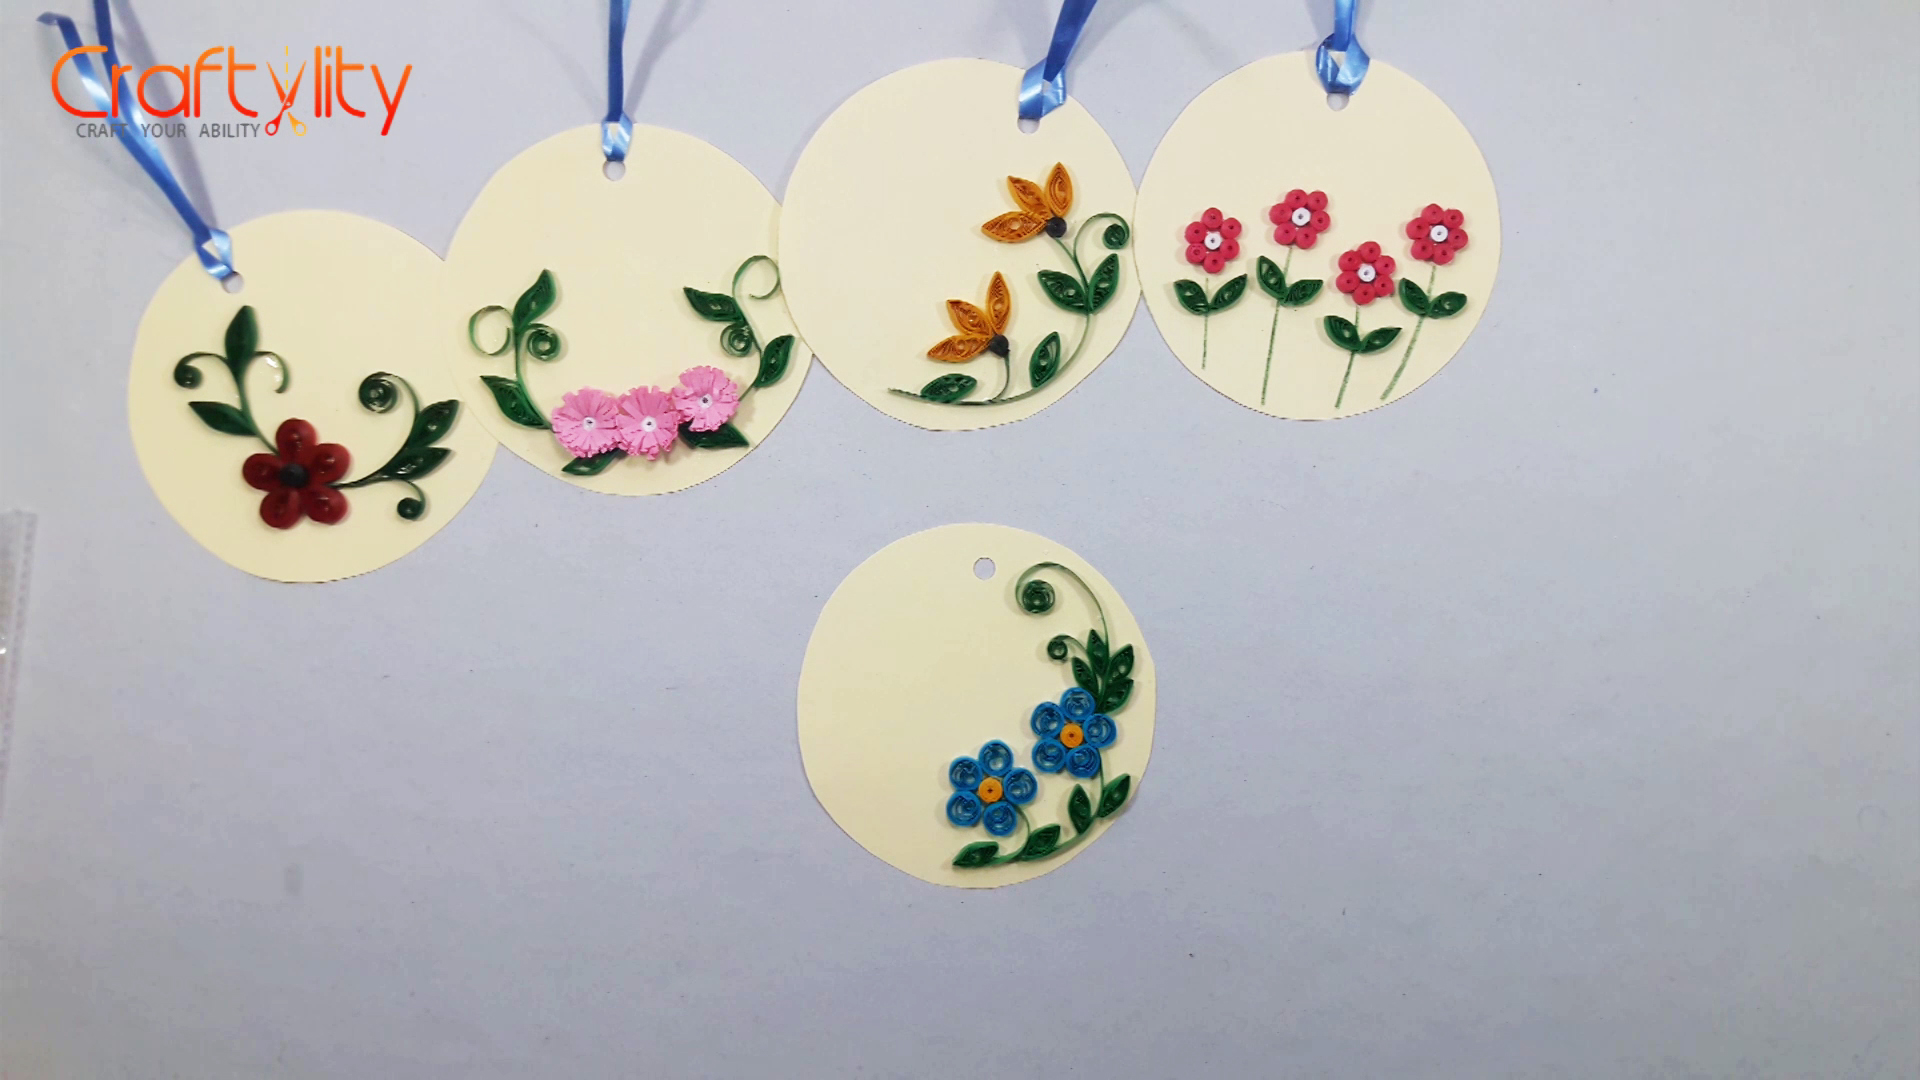
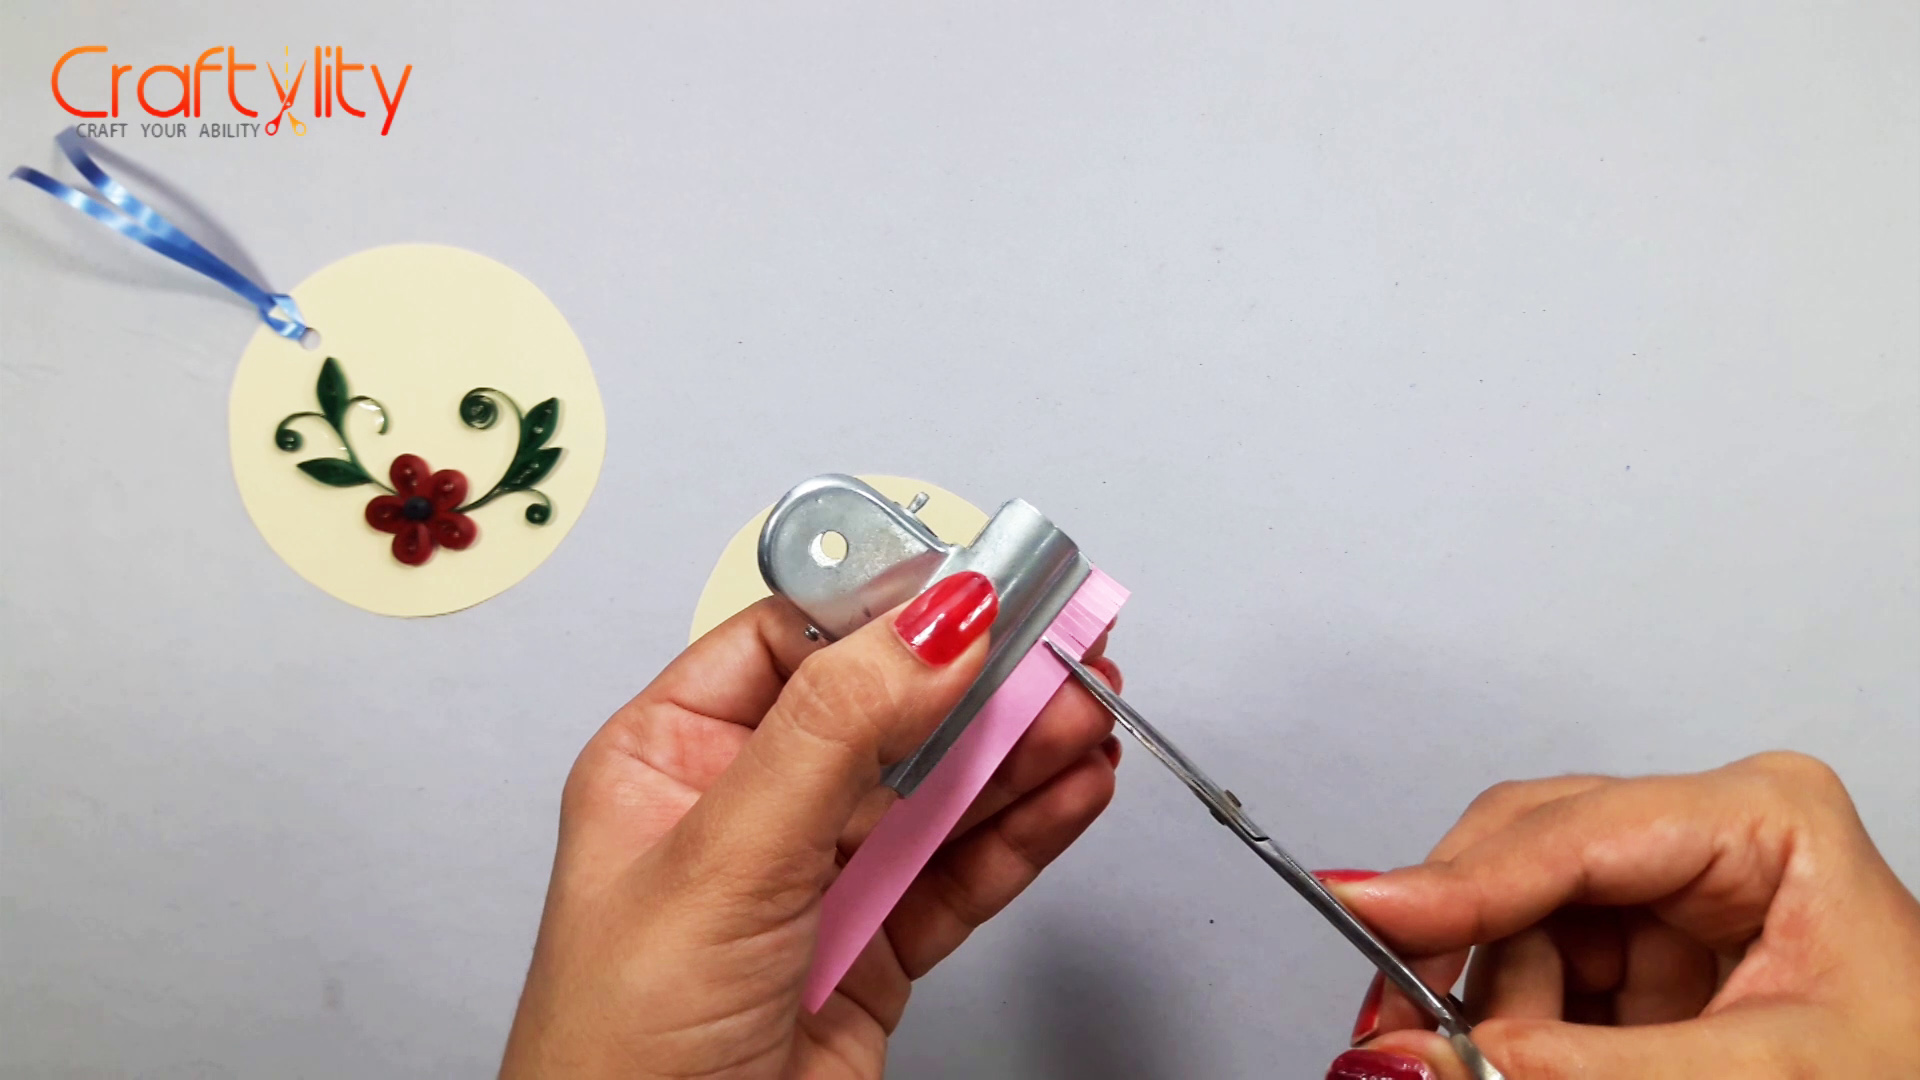
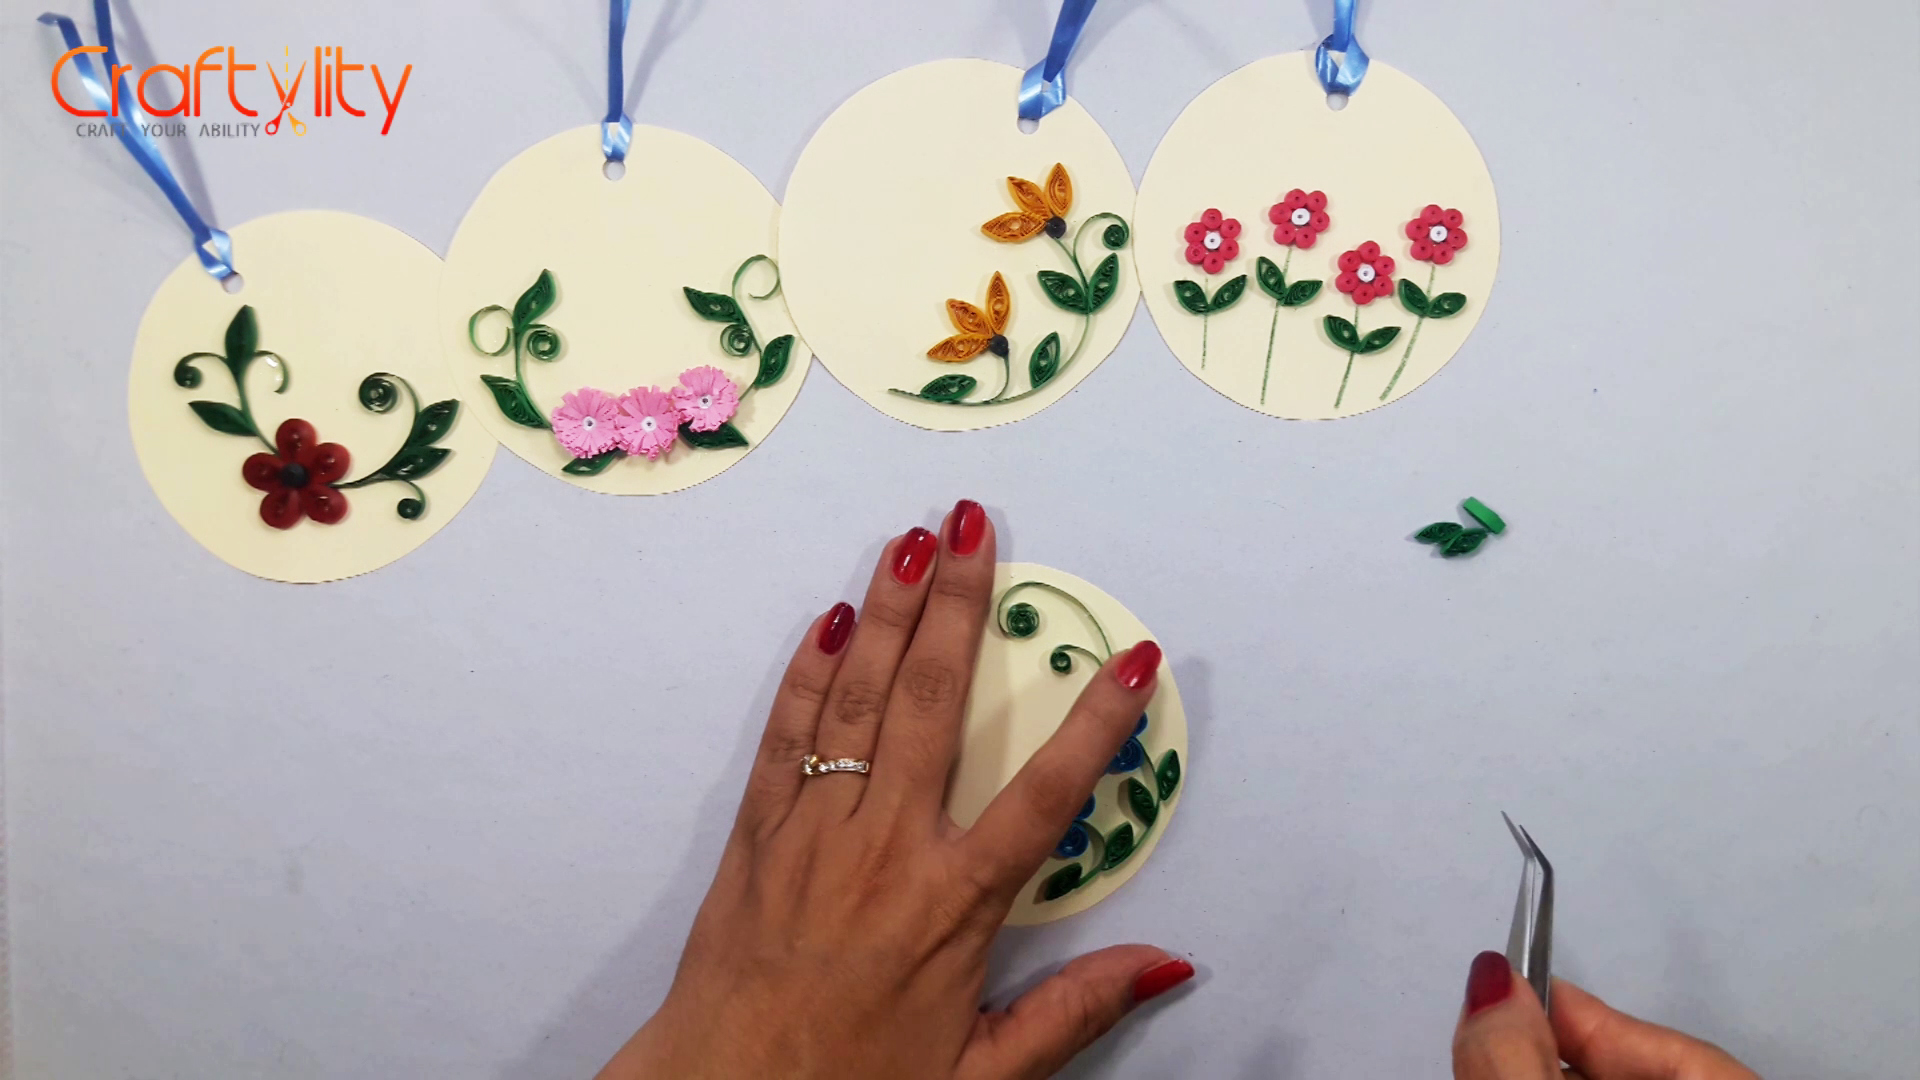
Final look of blue tag.
Attach ribbon to the tags and its ready…
Happy Crafting!!!