

In this video, you will find how to make this super easy and adorable. This DIY Mickey and Minnie Keychain are simple and easy to make for beginners.
Materials required for making these keychains are:
- Quilling Strips
- Quilling Tool
- Quilling Mould
- Keychain Holders
- Jumprings
- Scissors
- Glue
- Jewelry Pliers
- White paint and brush
Step 1:
Take 9 strips of black color each 18 inches long and create a tight coil. Similarly, create one more tight coil of red color.
Step 2:
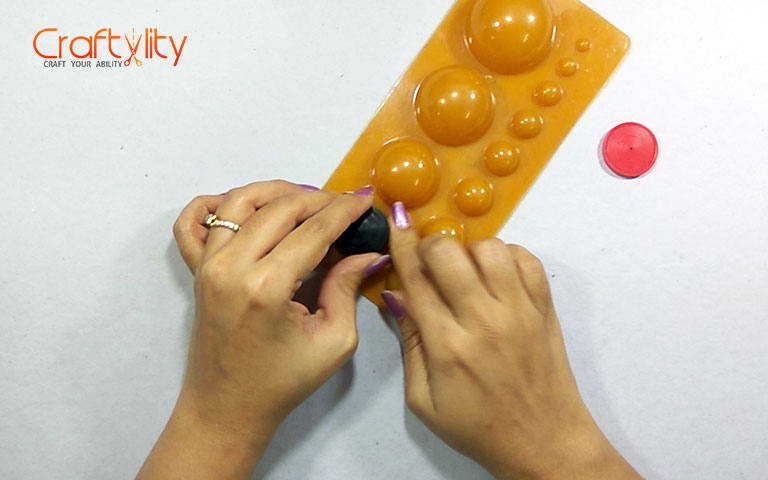
Create a dome shape by using quilling mould.
Step 3:
Apply glue inside the dome shape and allow it to dry. Similarly, create the red color dome shape.
Step 4:
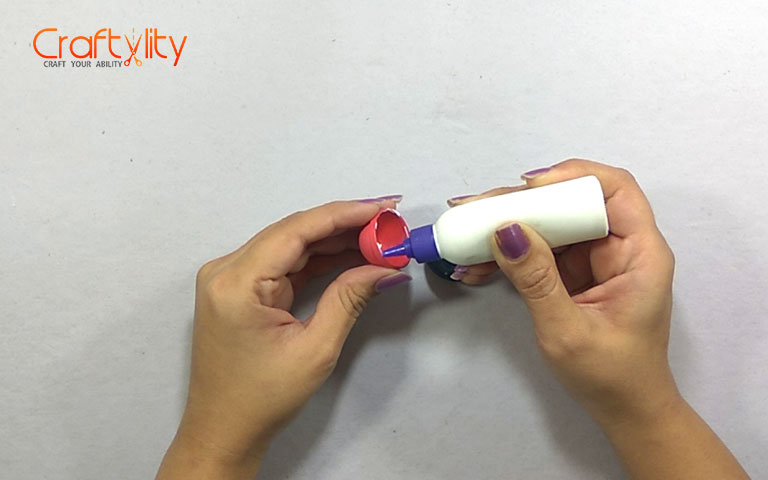
Apply Glue on the edge of the dome.
Step 5:
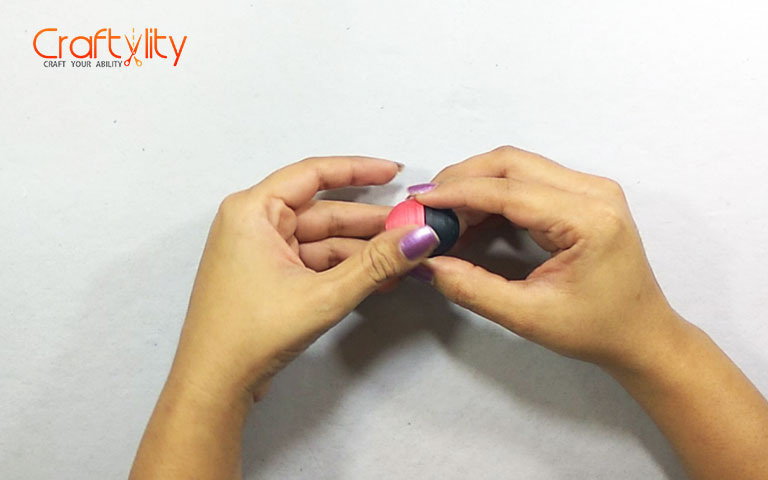
Glue both the shapes together.
Step 6:
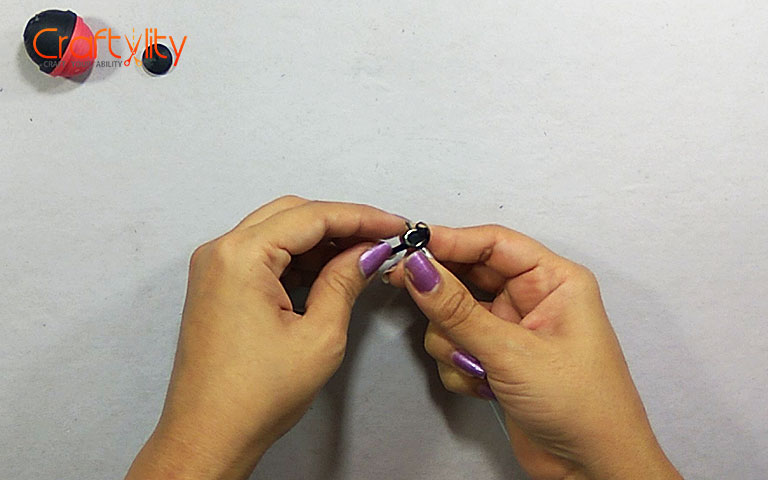
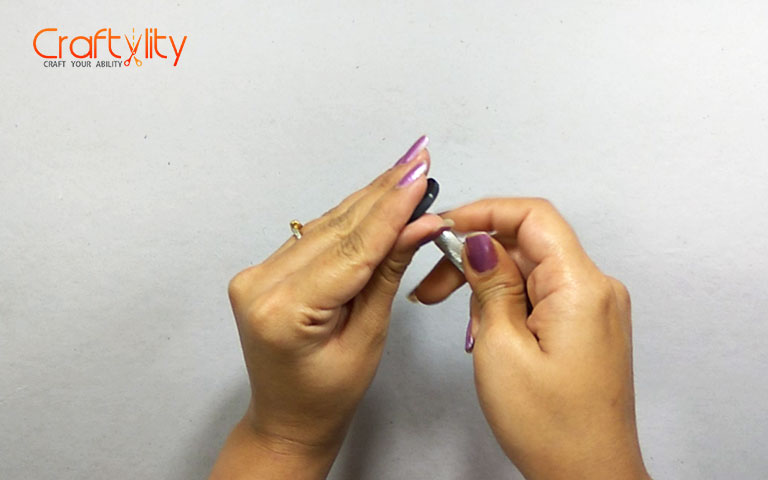
Take 2 strips of black color each of 18 inches long. Glue both the strips together and roll it with a quilling tool till 1 strip. Insert jumpring trough quilling strip and continue rolling through jumpring.
Step 7:

Glue both the coils on the black dome. These would be the ears of Mickey mouse.
Step 8:
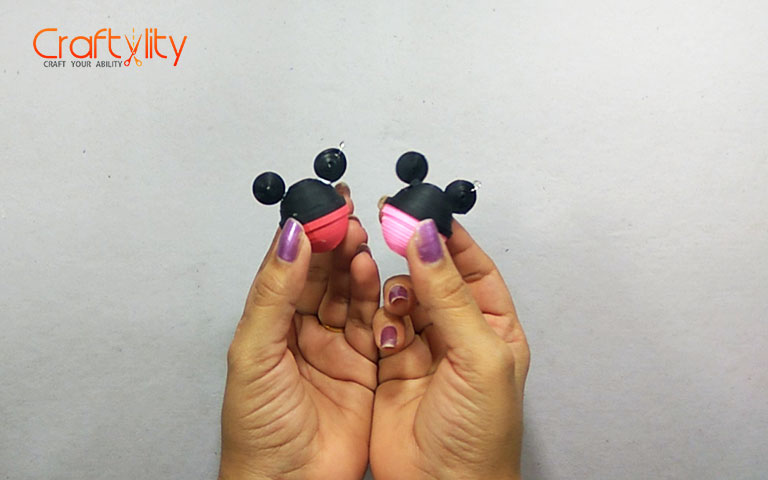
Thus our mickey mouse is ready, create one more in pink color.
Step 9:
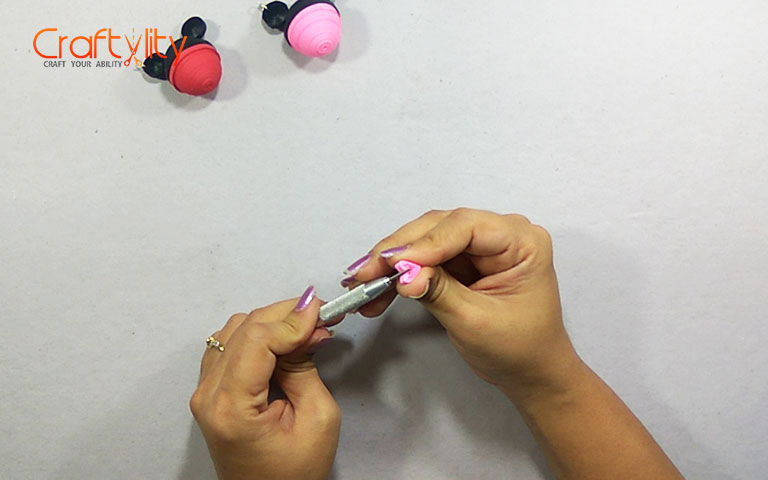
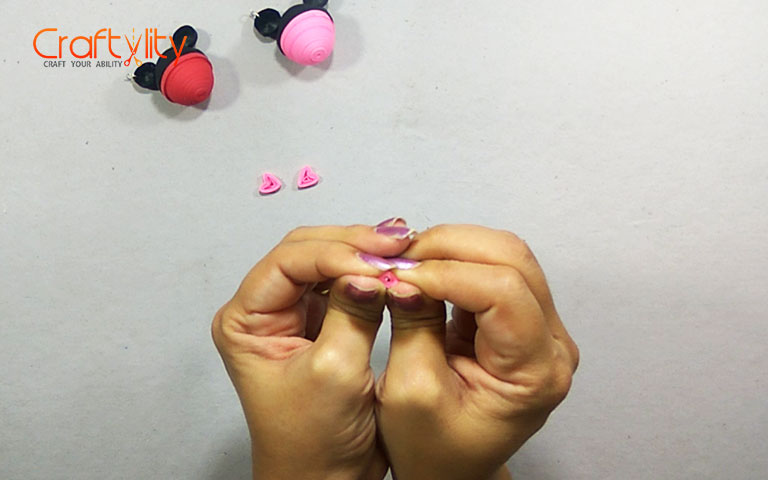
To create the bow of Minnie mouse, take 1 pink strip and create a loose coil. Pinch the coil from one side and create the heart shape, refer image.
Step 10:
Now create the small square by using 8 inches of pink strip.
Step 11:
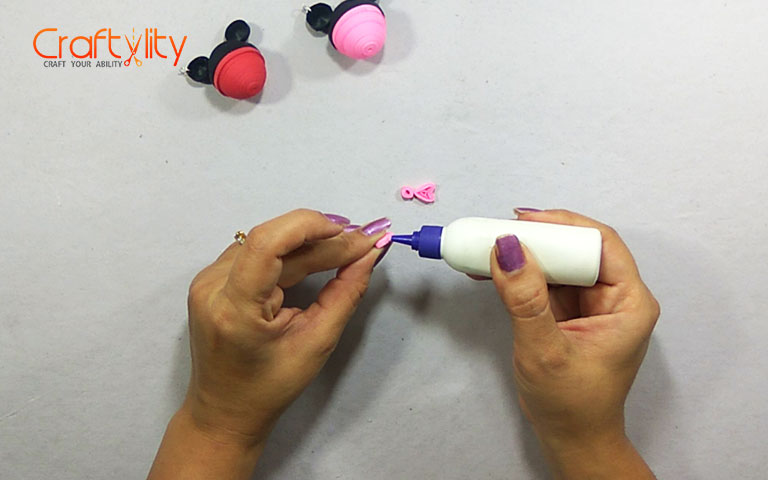
Glue all the shapes together to create the bow.
Step 12:
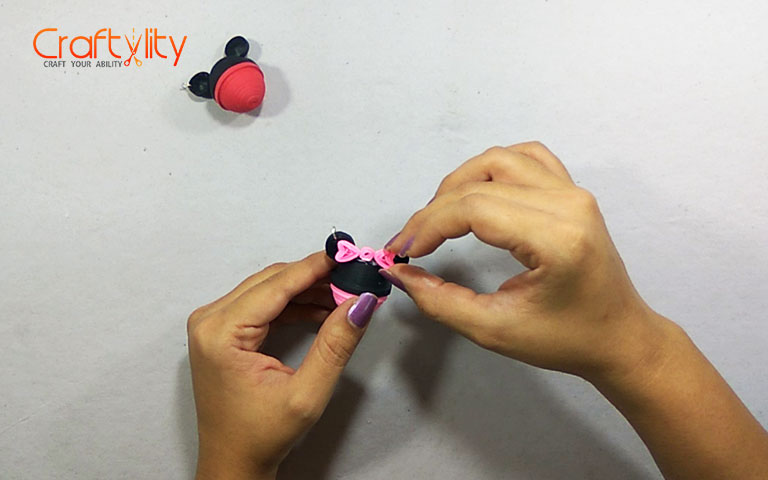
Glue the bow as shown in above image.
Step 13:
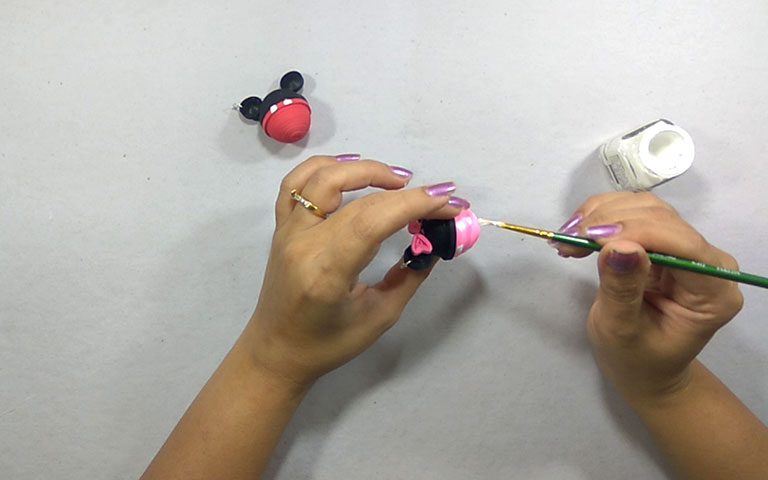
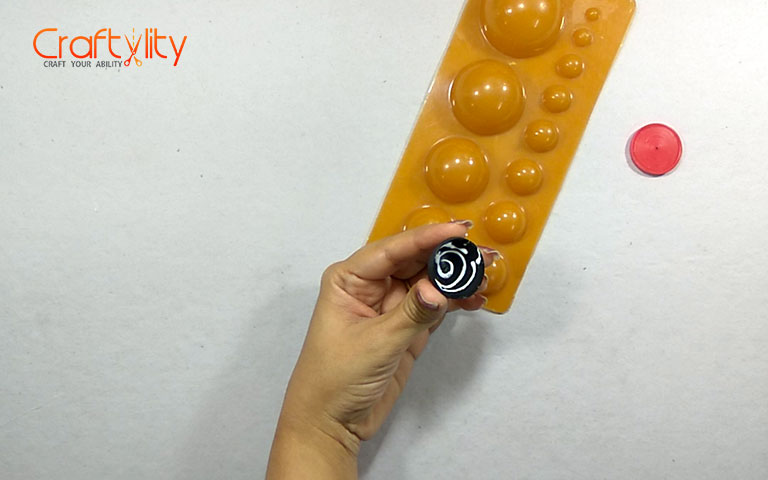
Paint dots as shown in above image.
Step 14:

Take plier and open the jumpring and insert keychain holder in it and close it.
Thus We have completed our Mickey and Minnie Keychain. Don’t forget to leave your comment below and Happy Crafting!!!