

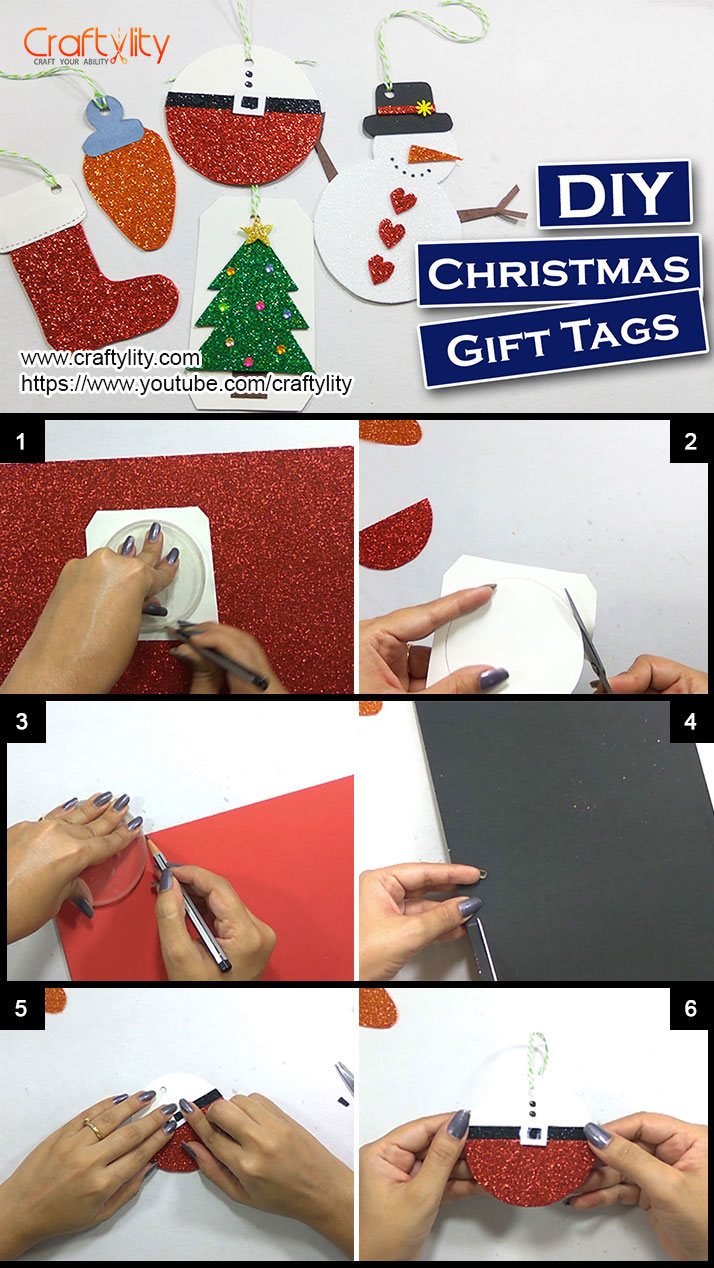
As Christmas is coming next month, we all are super excited to try new DIY crafts with kids. As this is a season of Holidays, celebrations and gifts, why don’t you try these easy and beautiful Christmas theme gift tags. These tags are made from foam and it includes Christmas stocking, Chistmas lighs, Our dear Santa,Christmas tree and also cute little Snowman.
So Lets get started.
Materials Required for creating Christmas tags:
- Glitter foam sheets
- Card paper
- Hole Punch
- Scissors
- Glue
- Black marker pen
- Craft floss
- Pencil
- Rhinestone sticker
- 2 round objects of different sizes
- Flower punch
Christmas Stocking Gift tag
Step 1:
Take Red Glitter paper, flip it and trace/draw stocking as shown in above image. Cut it.
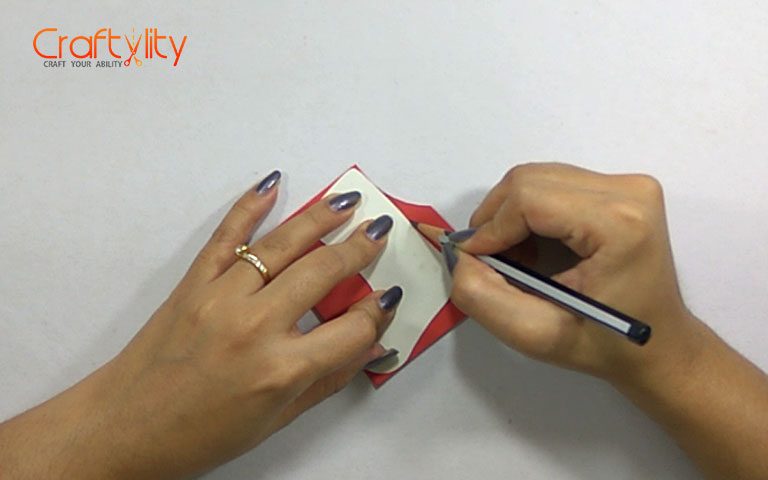
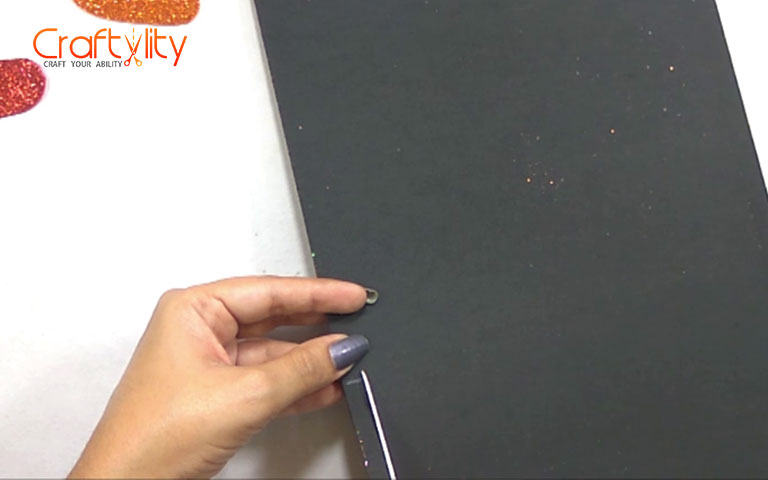
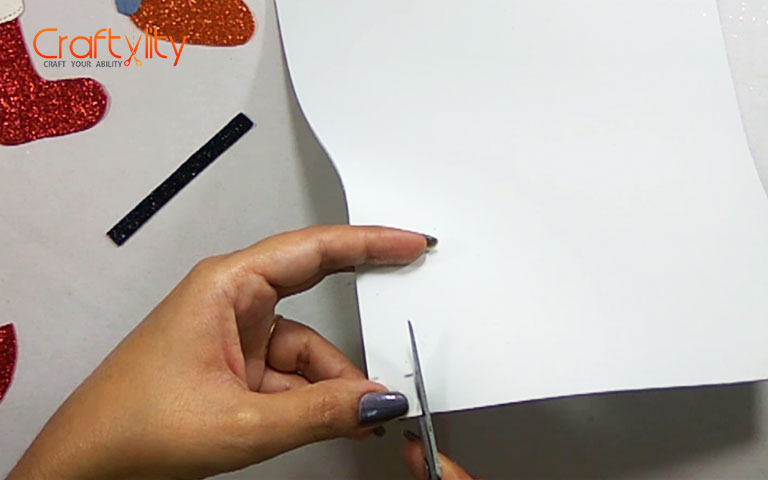
Step 2:

Now take white paper and fold it. Keep folded side upwards and draw small rounded rectangular shape. Cut the shape and punch a hole at top corner.
Step 3: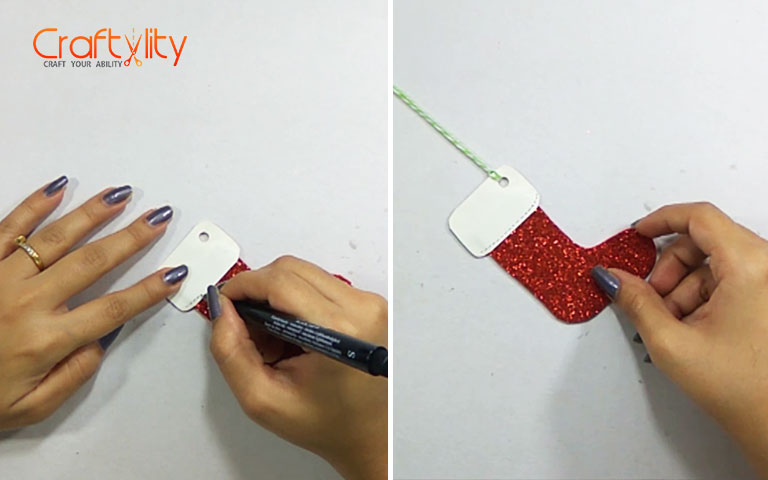
Apply glue inside of the fold and stick glitter stocking in-between and allow it to dry. Also draw small dash lines at the bottom which will look like stitches.Take craft-floss of around 5-6 inches and attach it with stocking. Thus we have completed our first Christmas Stocking Gift tag.
Christmas Lights Gift tag
Step 4:
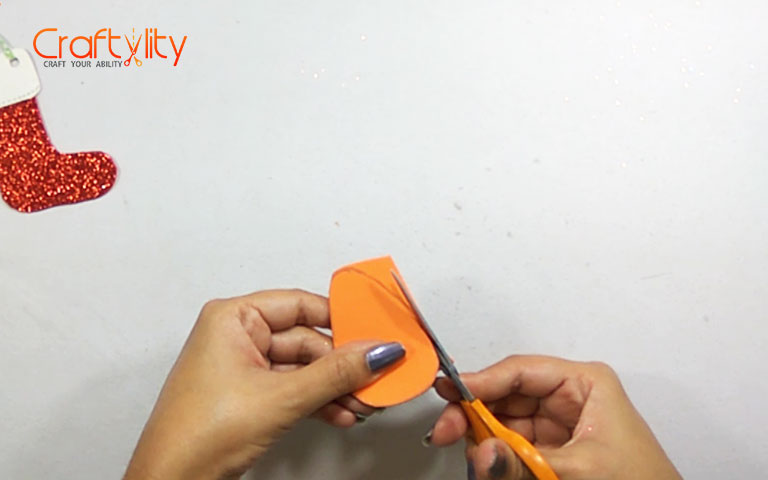
We all look bright and vibrant color of lights, So why don’t create same as gift tags. Take Bright color glitter foam sheet, I am using orange color. Draw or trace light shape on it and cut it.
Step 5:

Take gray color paper and draw holder of light like shape and cut it.
Step 6:
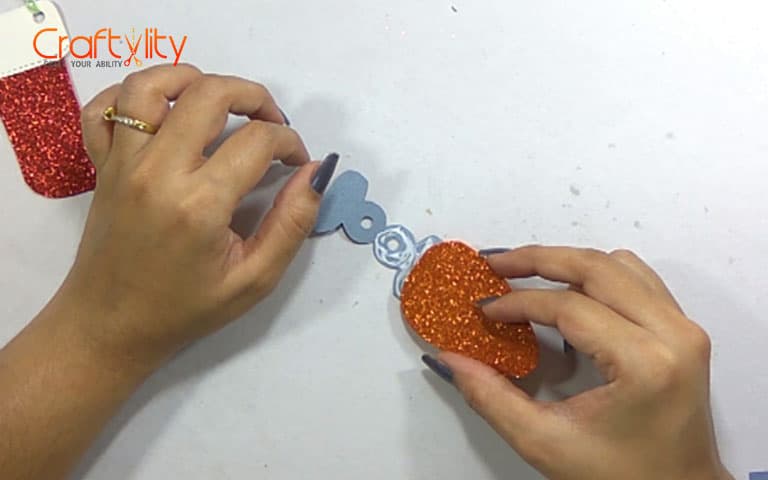
Stick gray holder shape with foam light and attach floss with it. Thus our second Christmas Light Gift tag is completed.
Santa Gift tag
Step 7:
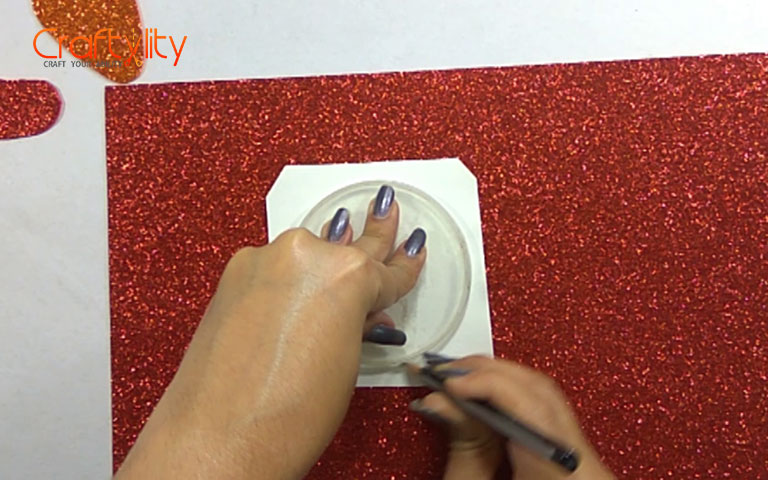
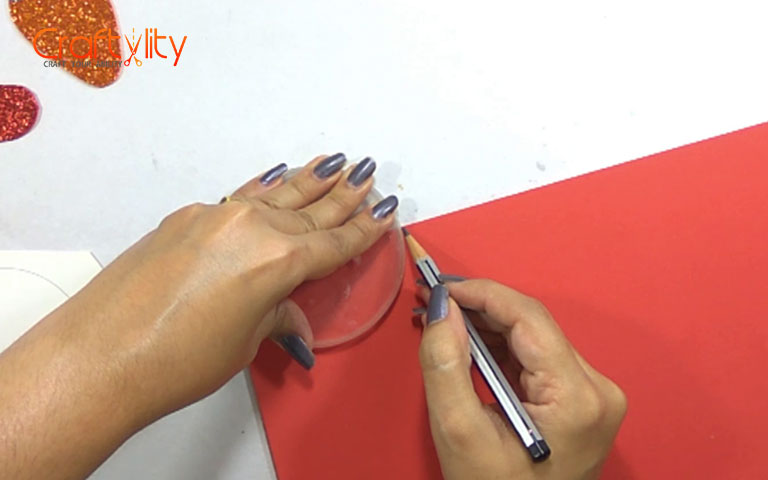
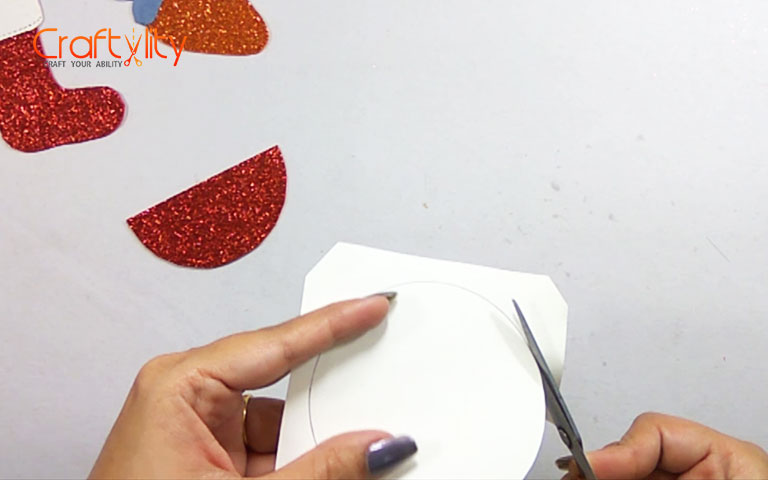
Take circular object (i am using cap of pringles box) or you can also draw circle with geometric rounder compass on white paper. Also draw shape size semi circle on red glitter foam sheet. Cut both the circles.
Step 8:
Take Black glitter foam sheet and cut the belt.
Step 9:
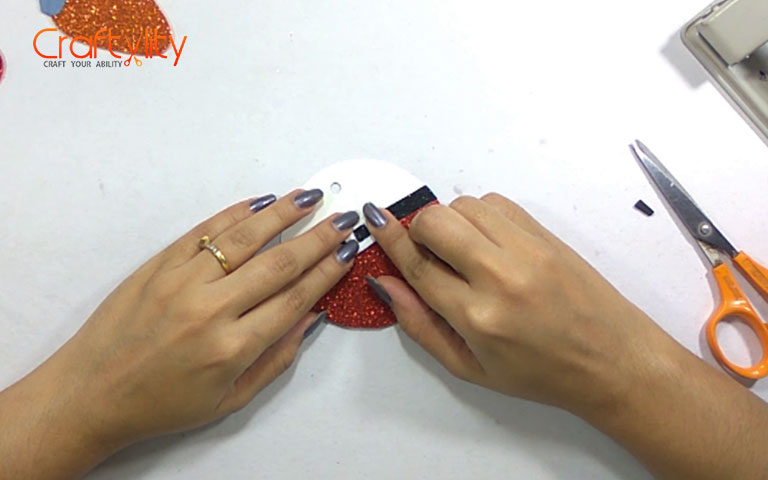
Also take white glitter foam sheet and cut small square as shown in above image. Stick all the elements together and thus out third Santa gift tag will be completed.
Christmas tree Gift tag
Step 10:
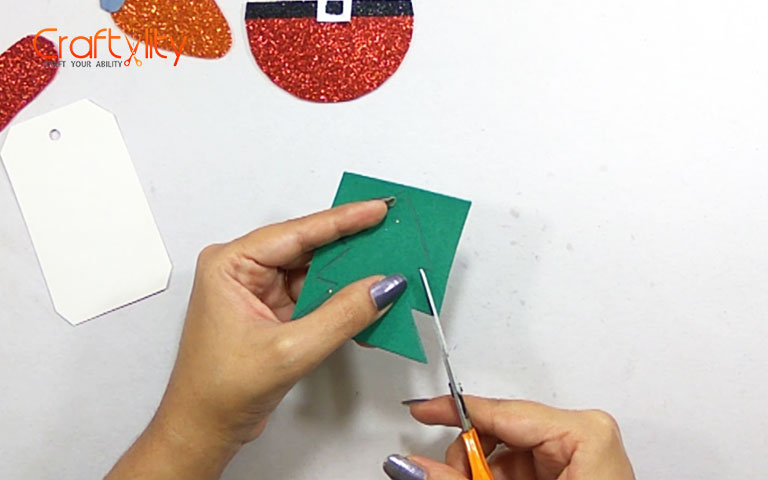
Take green glitter foam sheet and draw christmas tree on it. Cut it out.
Step 11:
Take Brown paper and cut rectangular shape.
Step 12:
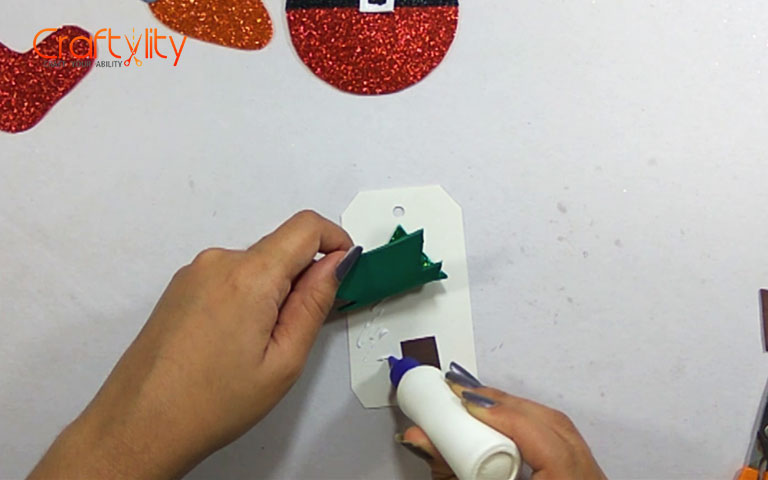
Take White tag and glue Brown rectangle at the bottom of tag. Also glue tree on the tag.
Step 13:

Decorate tree with Rhinestone sticker and small star on the top of tree. Also attach floss with the tag. Thus our fourth Christmas Tree gift tag is completed.
Sonwman Gift tag
Step 14:
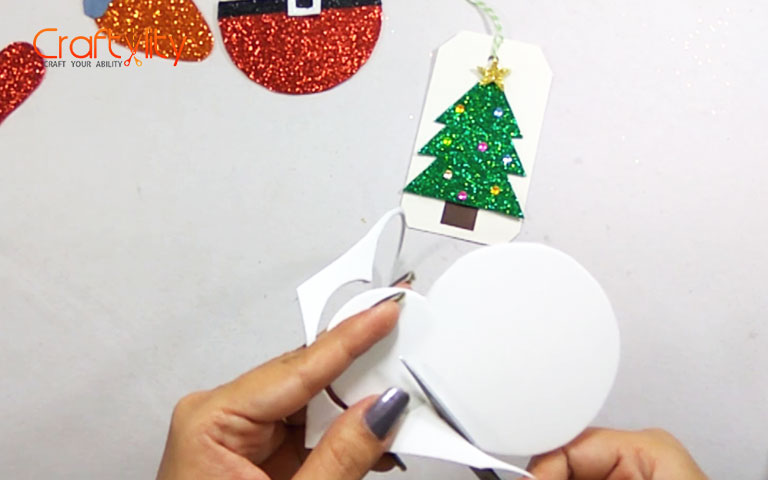
Take white glitter foam sheet and draw large circle on it. Now draw smalled circle above large circle and cut it.
Step 15:
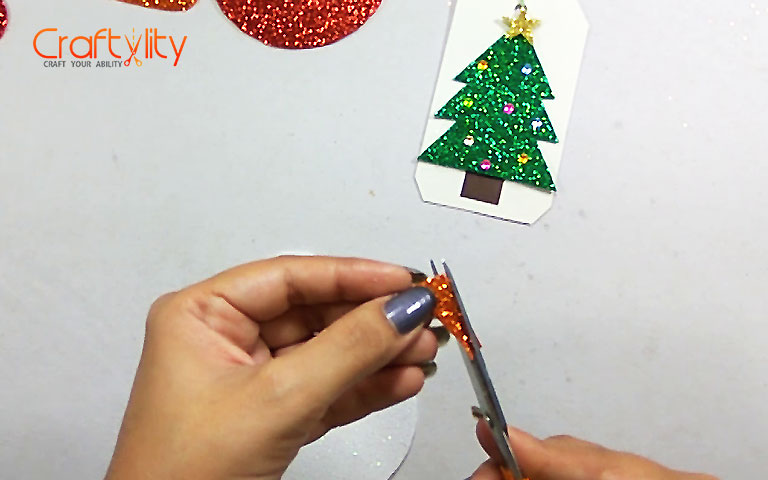
Take orange glitter foam sheet and cut long triangular shape, this will be nose of snowman.
Step 16:
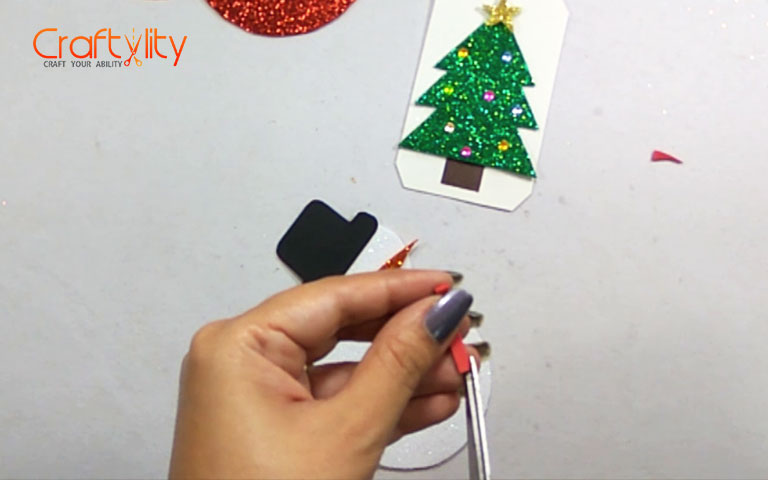
Take black paper and draw hat of snowman and cut it. also cut small belt of red glitter foam sheet to decrate the hat.
Step 17:
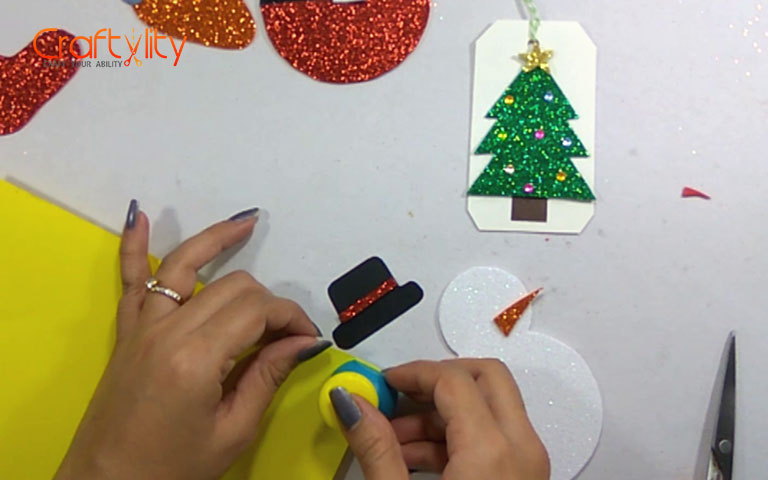
Punch one small yellow flower.
Step 18:
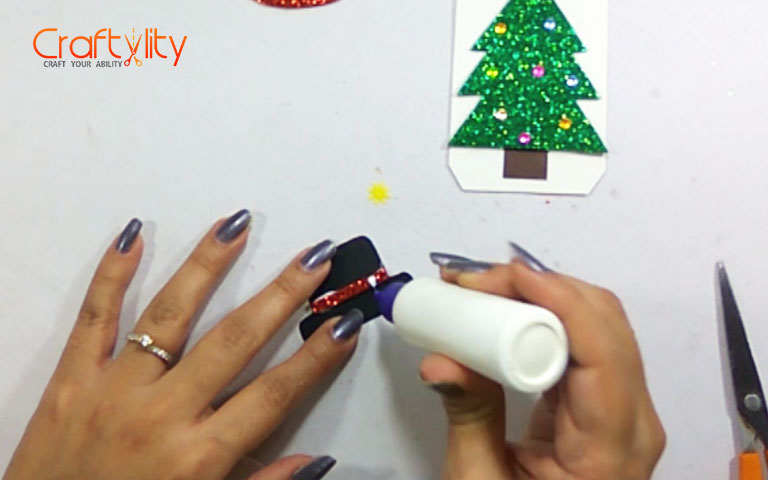
Also decorate the hat by sticking red belt and yellow flower on it.
Step 19:
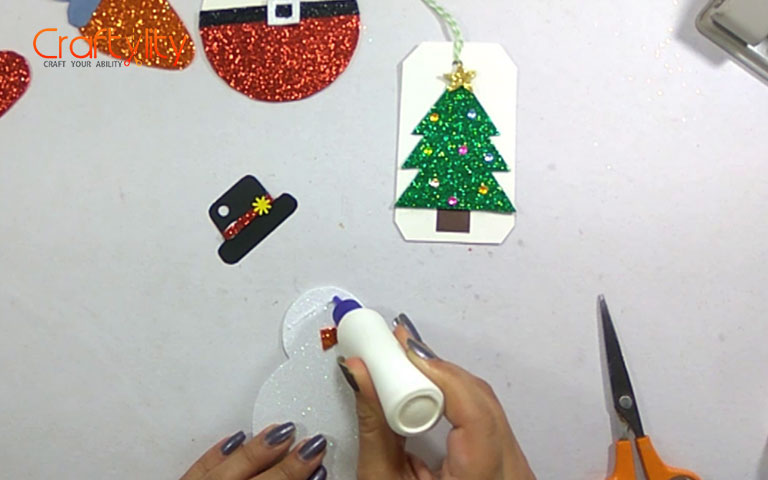
Stick nose and hat with the body of snowman. Thus our fifth Snowman gift tag is complete.
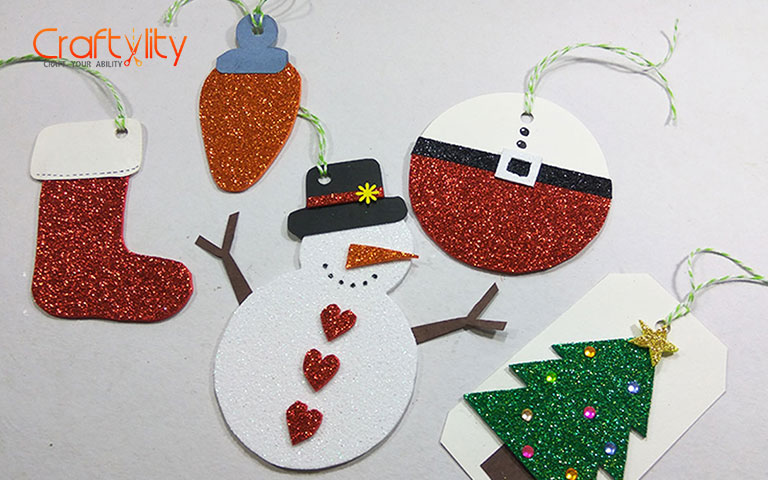
The final look of the card.
Hope you enjoyed this post. Also watch our other videos of craft and drawing on out youtube channel. Dont forget to subscribe our youtube channel for more upcoming videos and also leave your comments below.
Happy Crafting!!!