

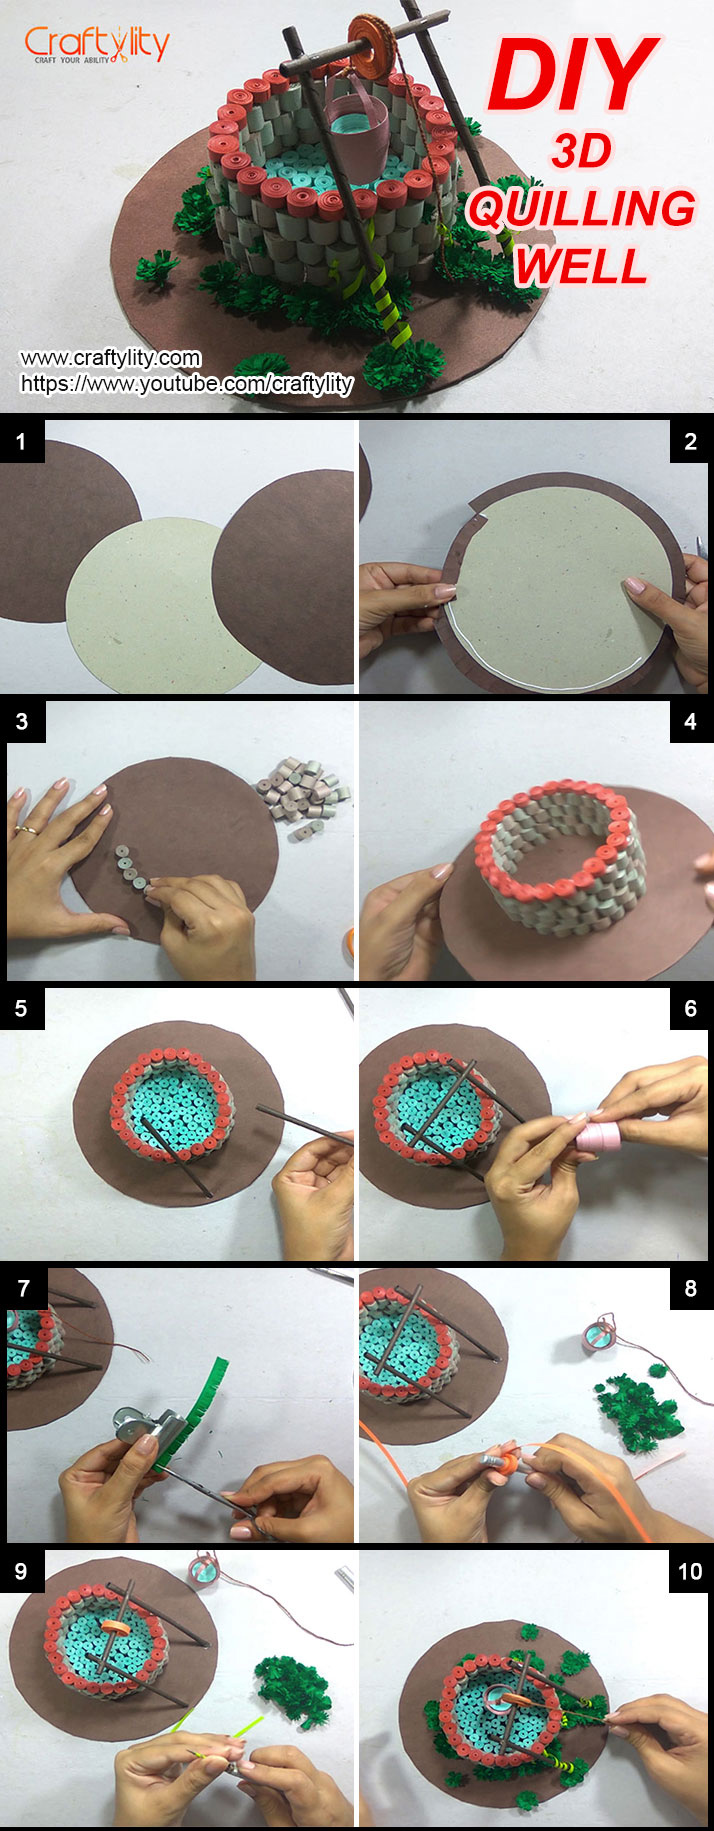
In this post you will find the instructions on How to make 3D quilling wishing well miniature. You don’t need any expertise in quilling to make this project all you need is just few quilling strips and quilling tools so let’s get started.
For making this project you need following materials:
- Quilling Strips
- Quilling slotted tool
- Glue
- Scissors
- Bulldog clip
- card paper
- Thread or floss
- Geometric compass or rounder
For Creating Base for 3D Quilling well
Step 1:
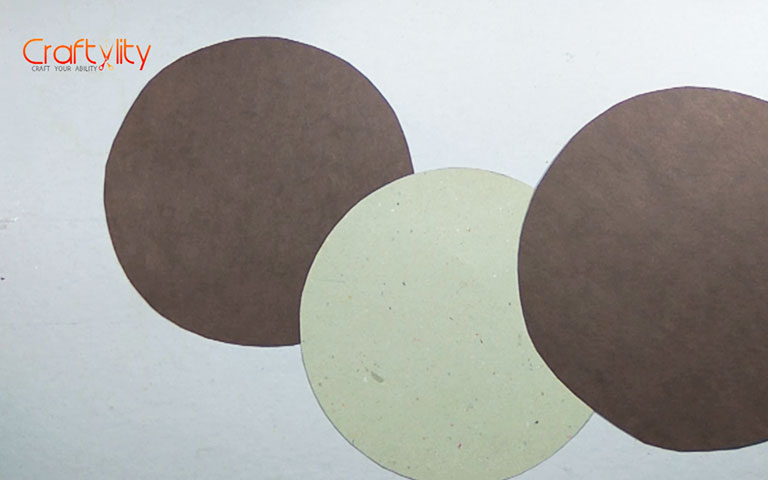
We will start by drawing circle on card paper using compass. Radius of the circle depends on how big do you wanna create this miniature, i am using 4 inches. Again draw same size circle on brown paper and also draw bigger circle say around 1 cm bigger in size. Now cut all three circles.
Step 2:
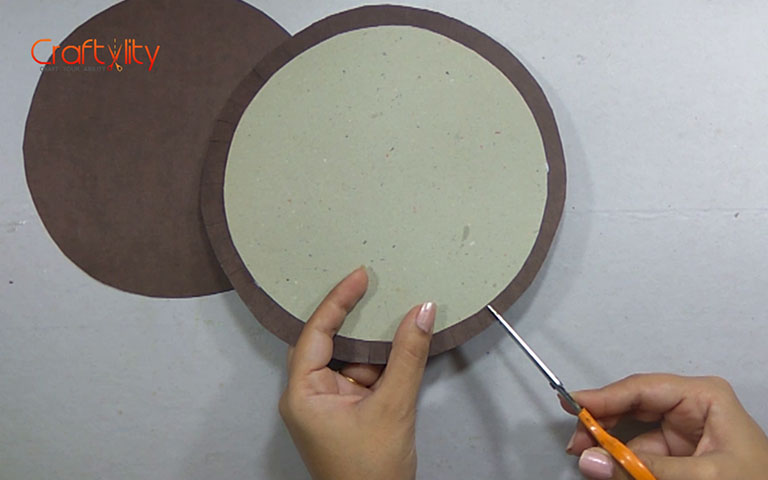
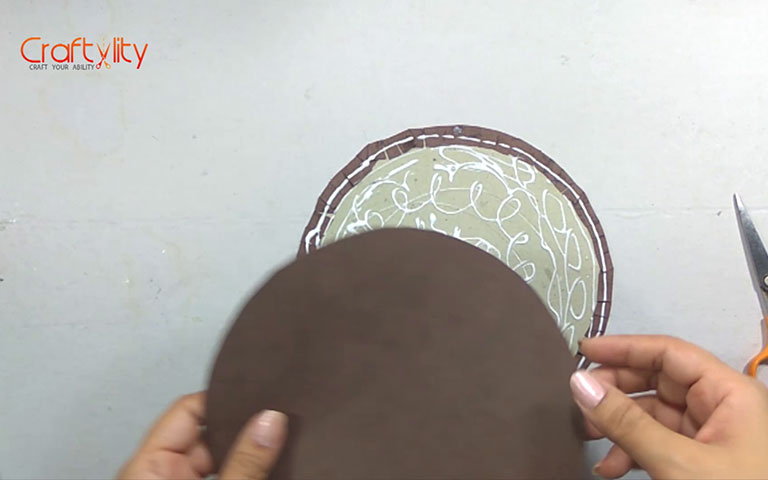
Apply glue on one side of card paper and stick bigger brown circle to it. Take scissors and cut extra paper of entire circle as shown in above image.
Step 3:
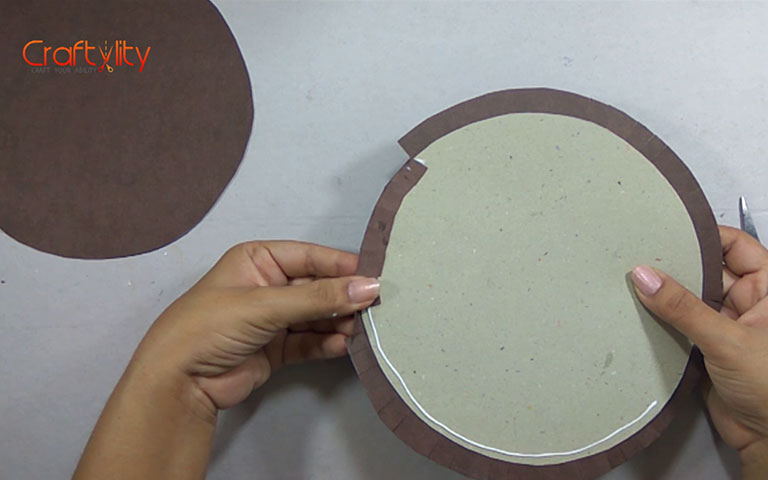
Apply glue on the edge of circle and bend the paper to stick it.
Step 4:
Apply Glue on entire circle and stick another brown circle on it.
For Creating well
Step 5:

Take 10mm grey quilling strip of 17 inches long and create tight coil by using slotted tool. Create many such grey tight coil. Also create tight coils of 5mm red quilling strip of 17 inches long.
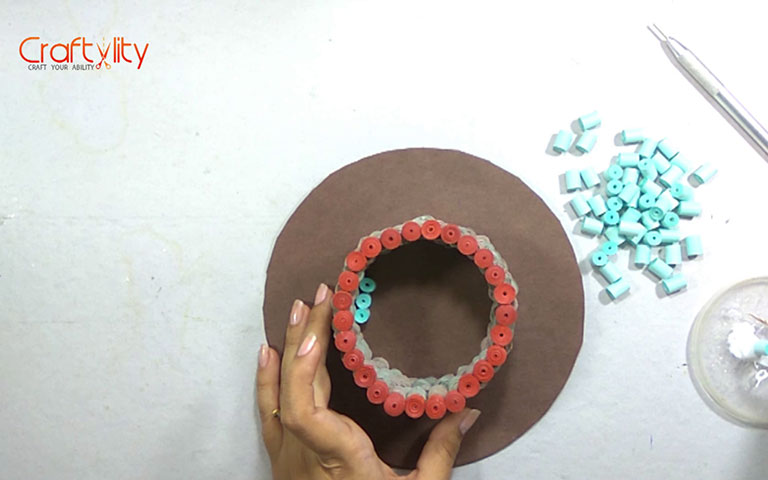
Step 6:
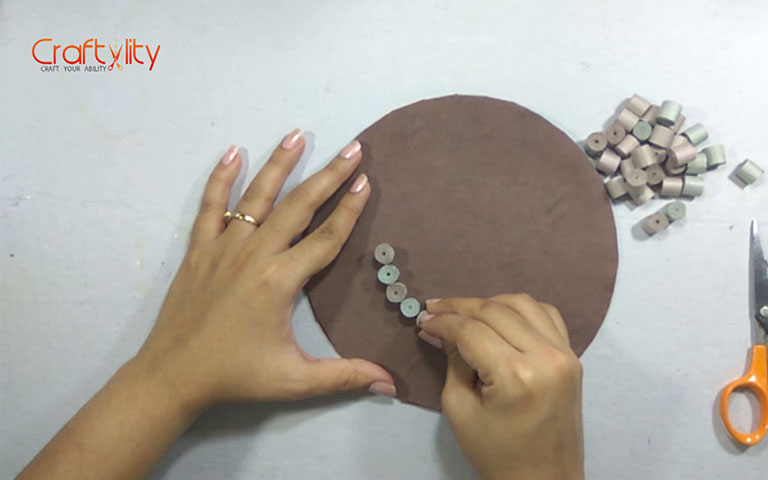
Take circle (brown base created in step 1 to 4) and draw a circle and glue these grey tight coils on it.
Step 7:
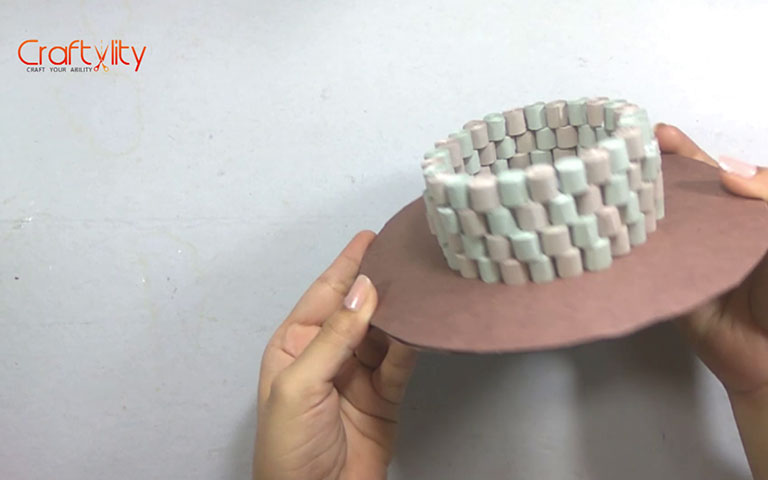
Create 4 such grey tight coils layers as shown in above image.
Step 8:
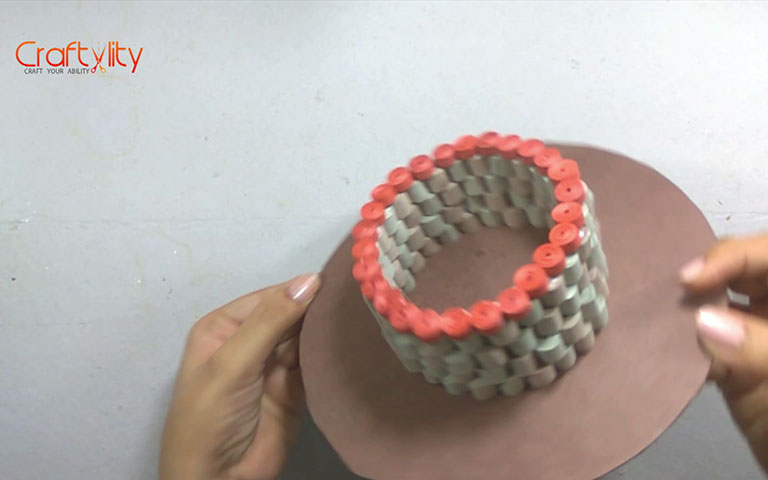
Also glue two layers of red tight coils on grey coils.
For Creating Water
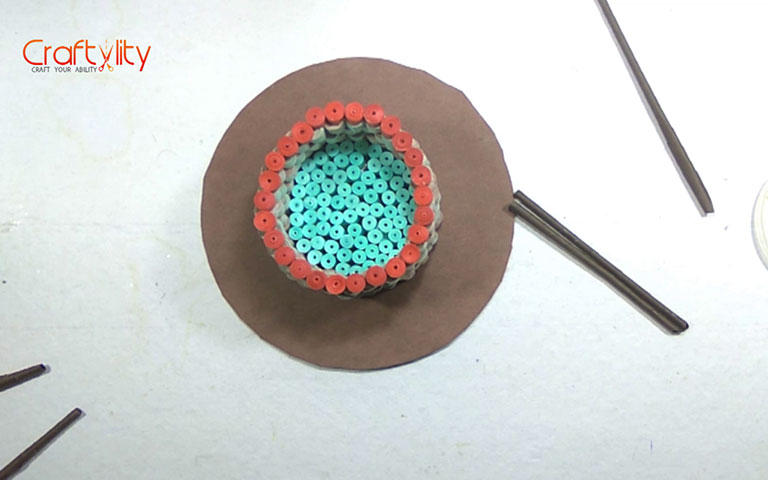
Step 9:
To create water take 10mm blue strip of 17 inches long and create tight coils. Stick these coils inside the circles as shown in above image.
For Creating Stand
Step 10:
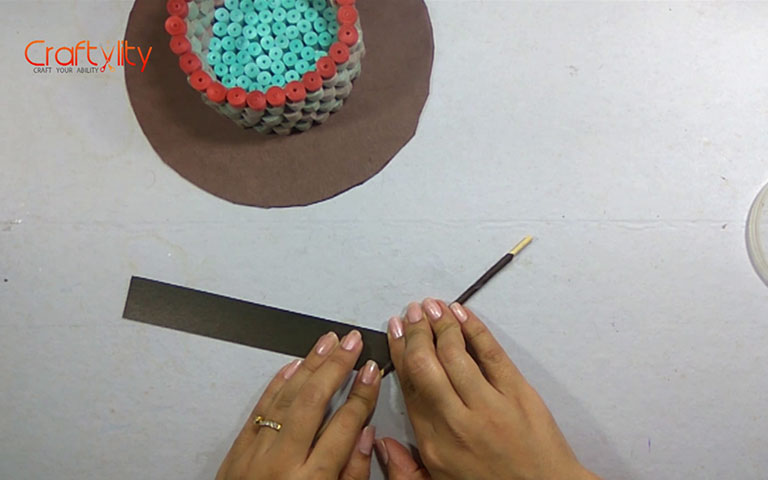
Take brown paper of 1 inch in width and roll it with round stick to create long round pipe, refer above image. Create 3 such brown pipes.
Step 11:
Cut excess pipe, apply glue at the edge if required. We want two same size of brown pipes.
Step 12:
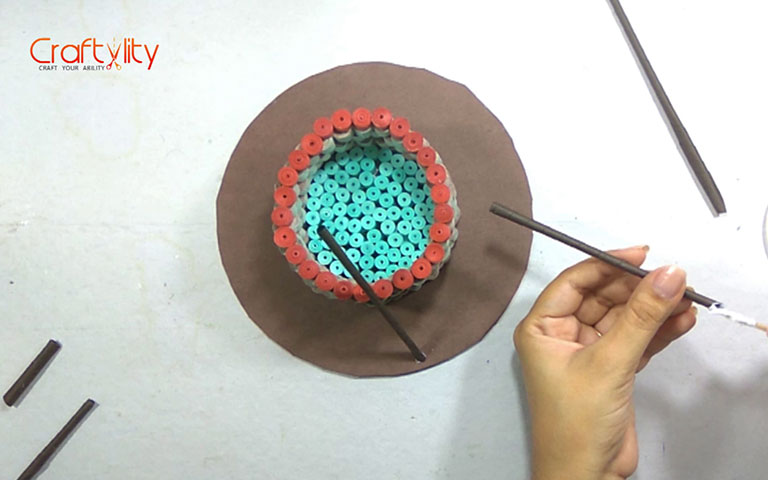
Glue both the pipes with base of cardboard.
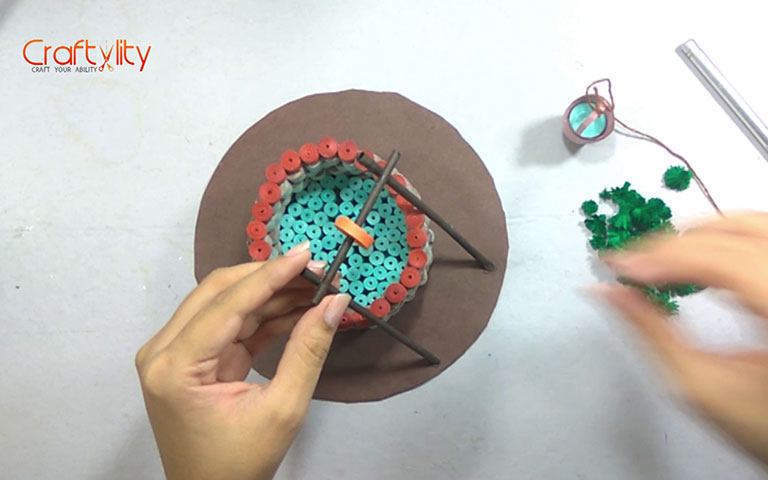
Step 13:
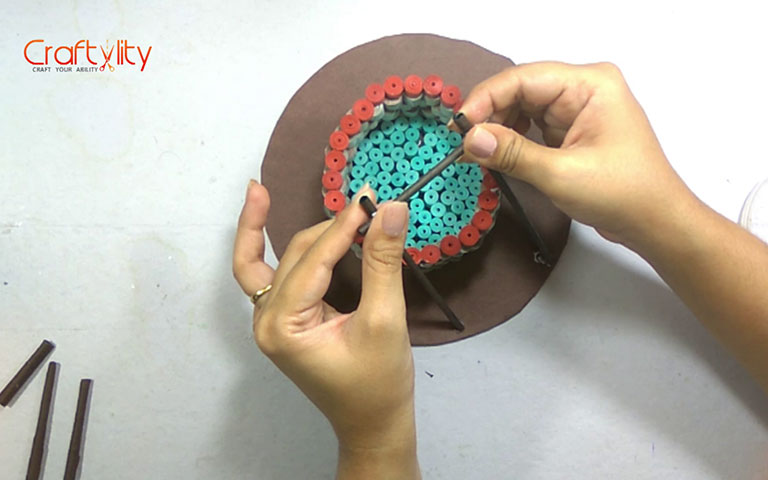
Take third pipe and connect both pipes.
For Creating bucket
Step 14:
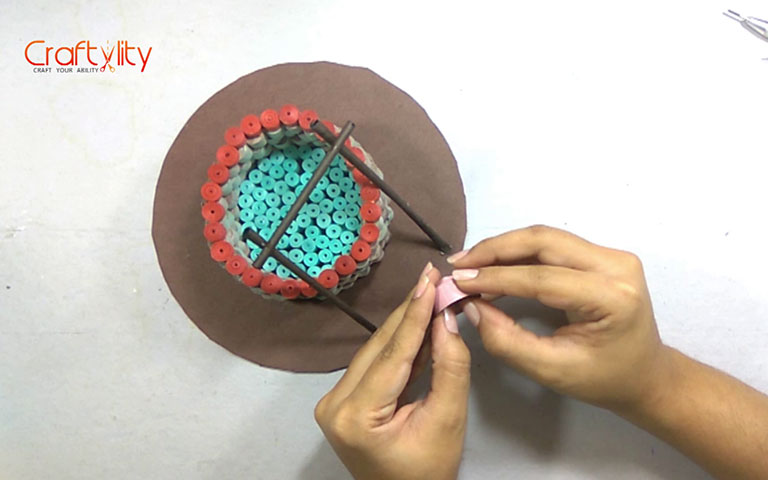
Take 10mm pink strip and start rolling it with slotted tool and create tight coil. I am using 6 pink strip each of 16 inches long.
Step 15:
Hold the coil with both the hands and push center of coil slowly to create dome shape. place the dome on table to flatten bottom part of dome to create bucket shape. Apply glue inside of the bucket and allow it dry.
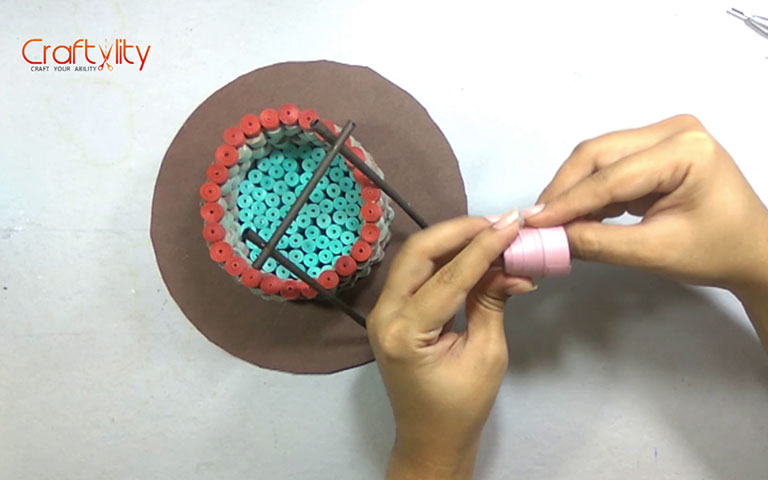
Step 16:
Tale 5mm pink strip of 2-3 inches long and glue both ends on the edge of bucket to create its handle.
Step 17:

Take 5mm blue strip and create tight coil to place it inside of the bucket which represents water.
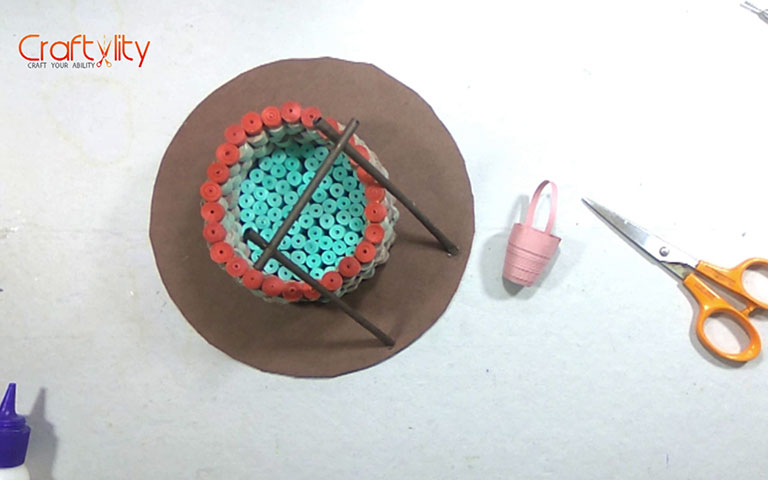
Step 18:
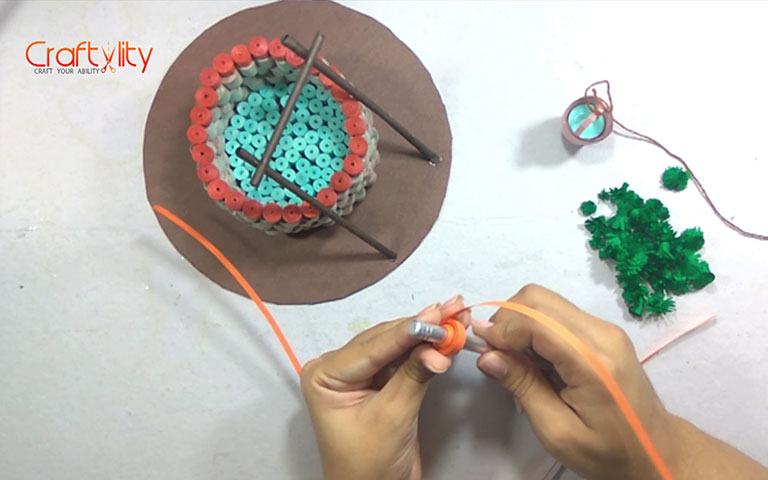
Take 5mm orange strip and create ring coil. To create ring coil with the help of handle of slotted tool or any other pen or pencil with round handle.
Step 19:
Insert top brown pipe through ring coil.
For Creating Grass
Step 20:
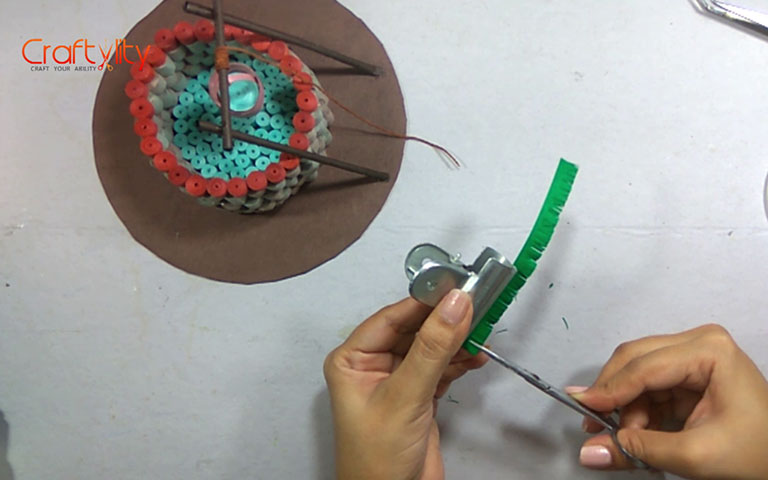
Take 10mm green strip of 8 inches long and hold the strip with bull dog clip and start cutting the strip with sharp edge scissors. Using bull dog clip will prevent cutting whole strip. Take slotted tool and start rolling this green strip. Apply glue at the end of the strip. Thus we have created grass. Create many such grass of different thickness.
Step 21:

Also create green wines using 3mm light green strip.
Step 22:
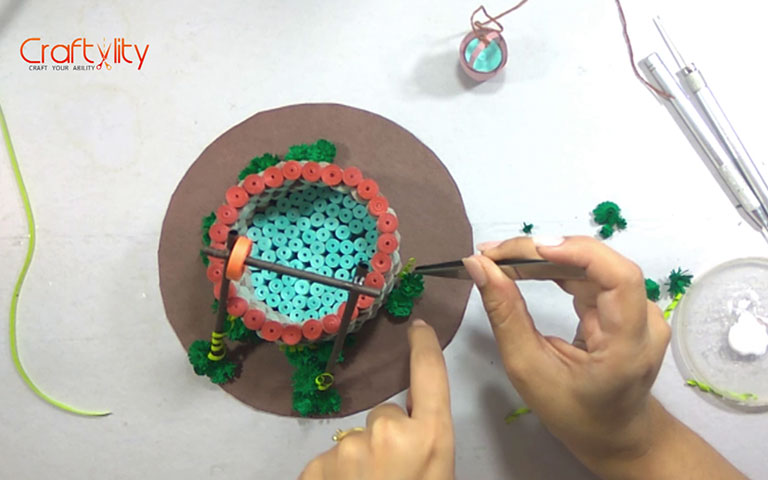
Glue these grass on the base as shown in above image.
Step 23:

Tie a thread to bucket handle and roll it around orange ring. Place the bucket inside of the well.
Thus our 3D Quilling mianture well is complete, hope you like it. Dont forget to leave your valuable comment below and also subscribe my youtube channel for more updates.
Happy Crafting!!!