

In this post you will learn How to make Beautiful Paper Quilling Greeting Card, for making this card you will need following materials:
- 3mm & 10mm Quilling Paper strips
- Slotted quilling tool
- Glue
- Scissors
- Blue Card
- Bulldog paper clip
Step 1:
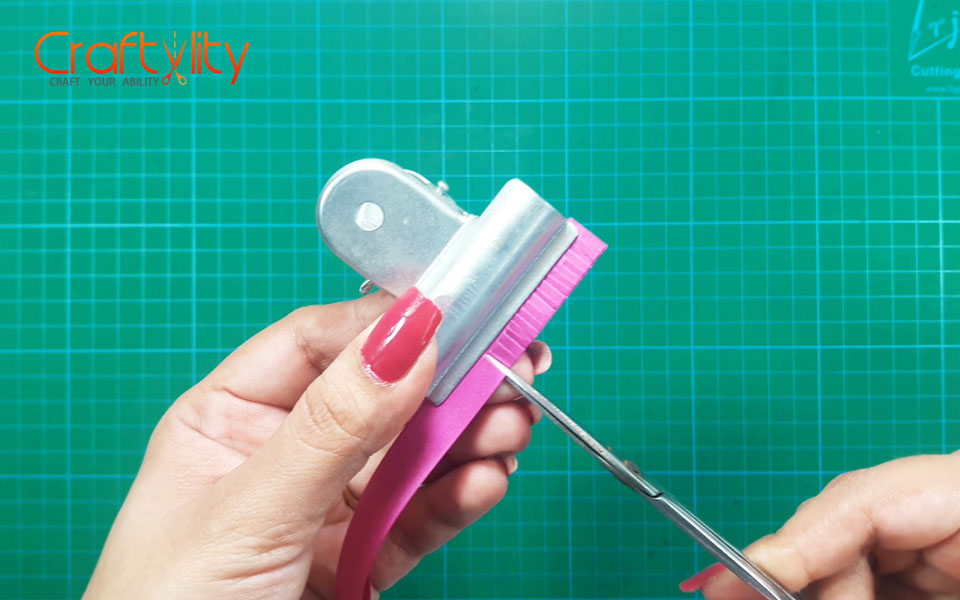 Take 11 inches Pink quilling strip of 10mm width. Fold the strip and hold it with a bulldog clip and start cutting the strips with sharp edge scissors as shown in above image. The gap between each cut should be around 1 to 2 mm. Holding the strip with clip will prevent you cutting the entire strips.
Step 2:

Start rolling the strip with the help of a slotted tool. Glue the coil before removing it from the tool.
Step 3:
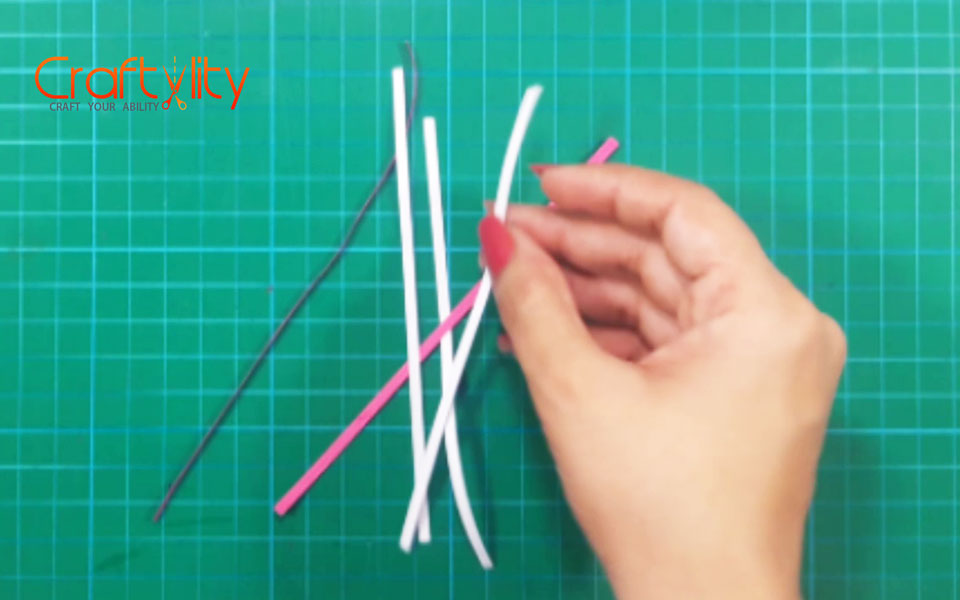
Take 4 inches long white and pink quilling strips of 3mm width.
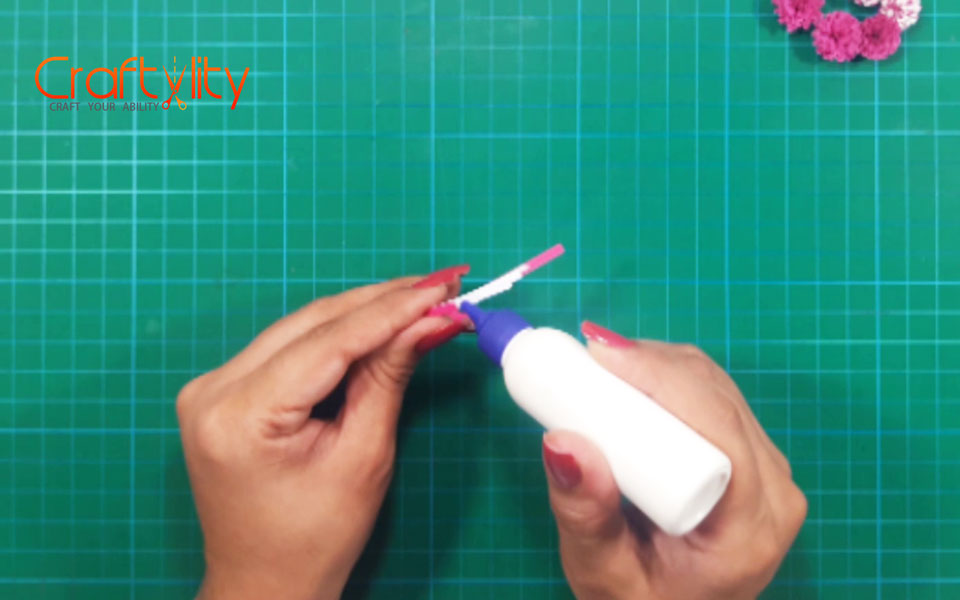
Step 4:
Glue all the strips on over another as shown. Order of the strips is, first – pink, second – white, third – white, fourth – white and fifth – pink.
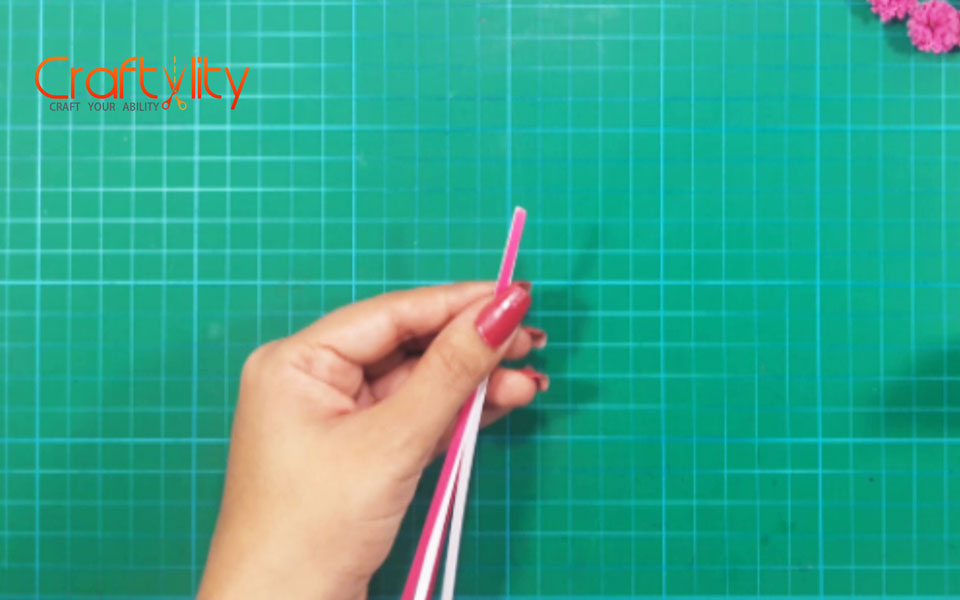
Step 5:

Roll the same end of the strip with a slotted tool. Remove the coil from the tool (do not glue the coil before removing).
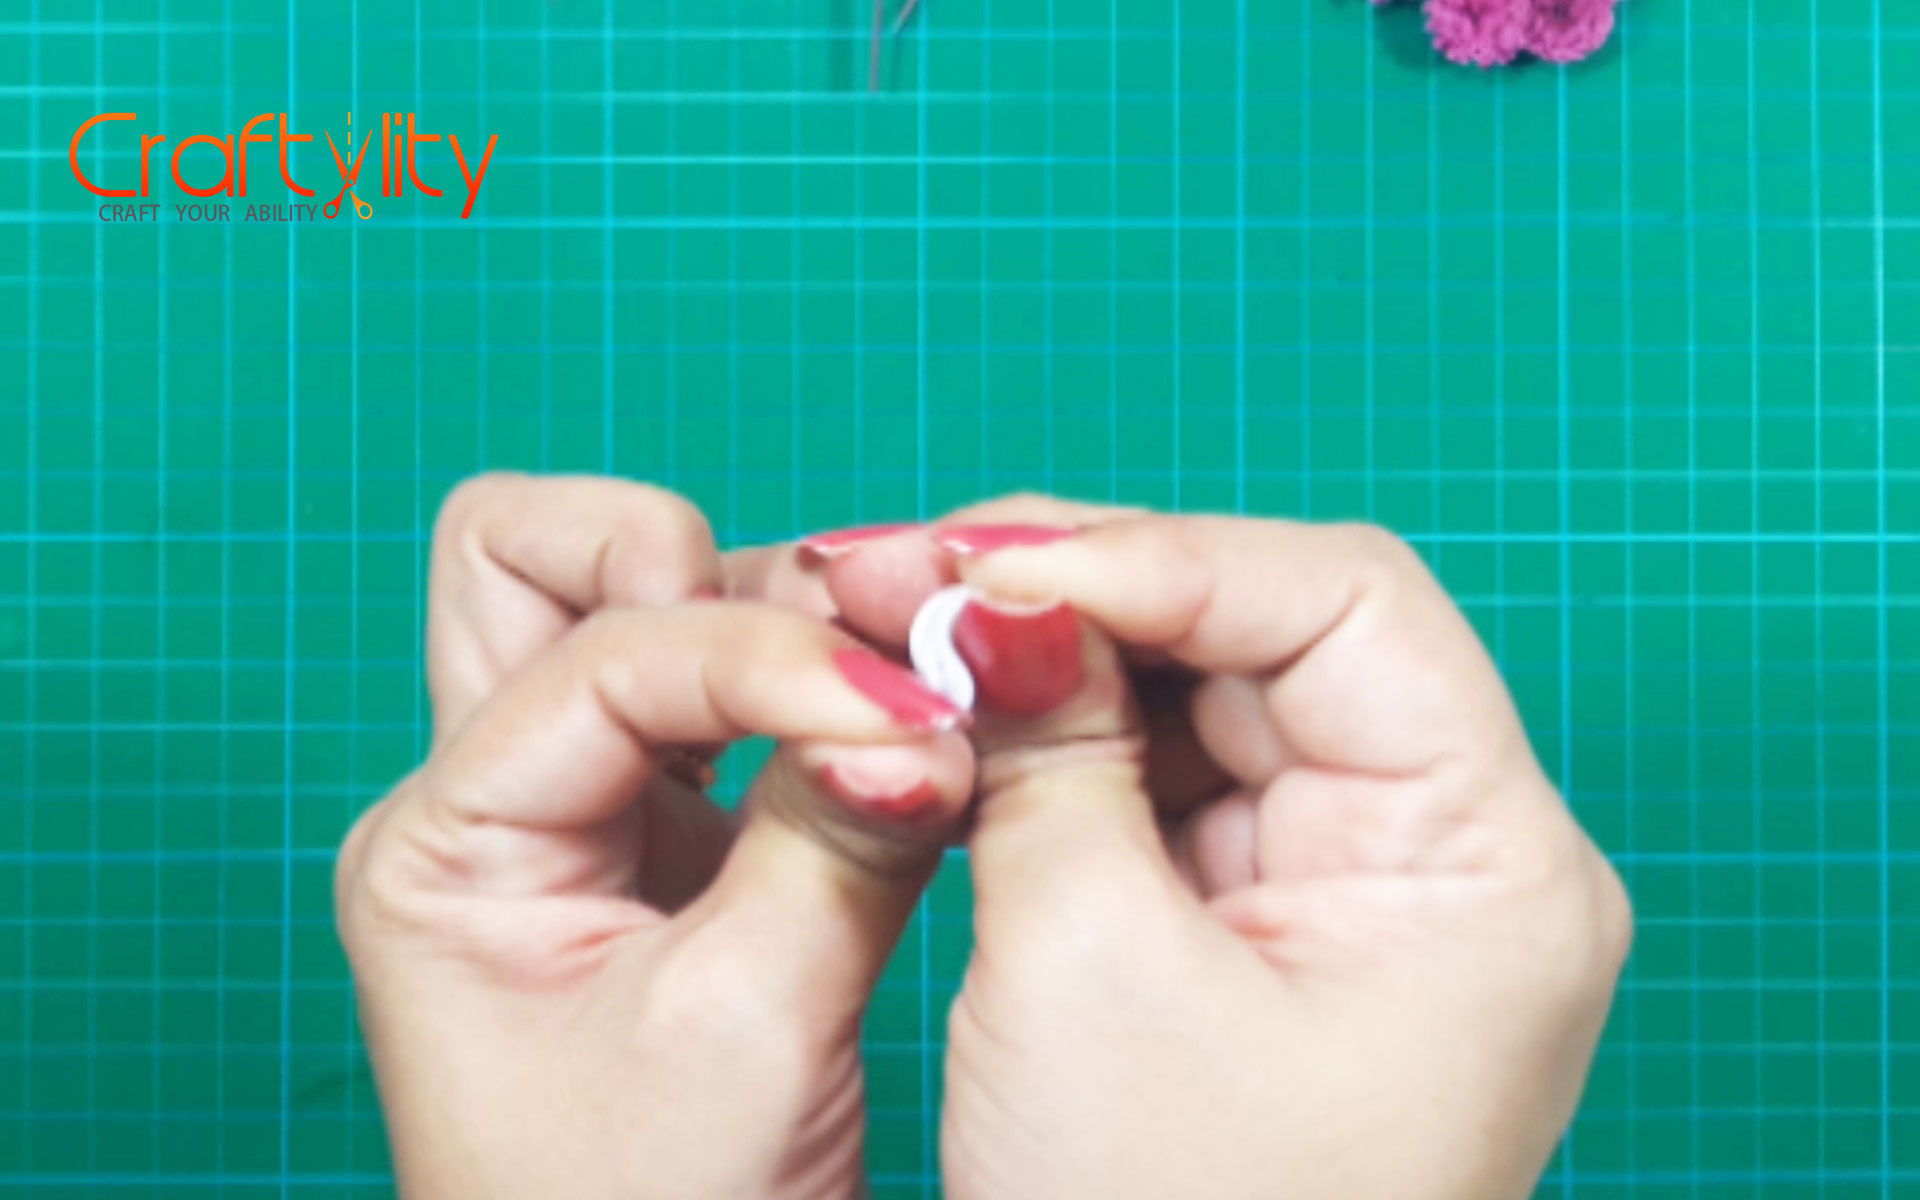
Step 6:
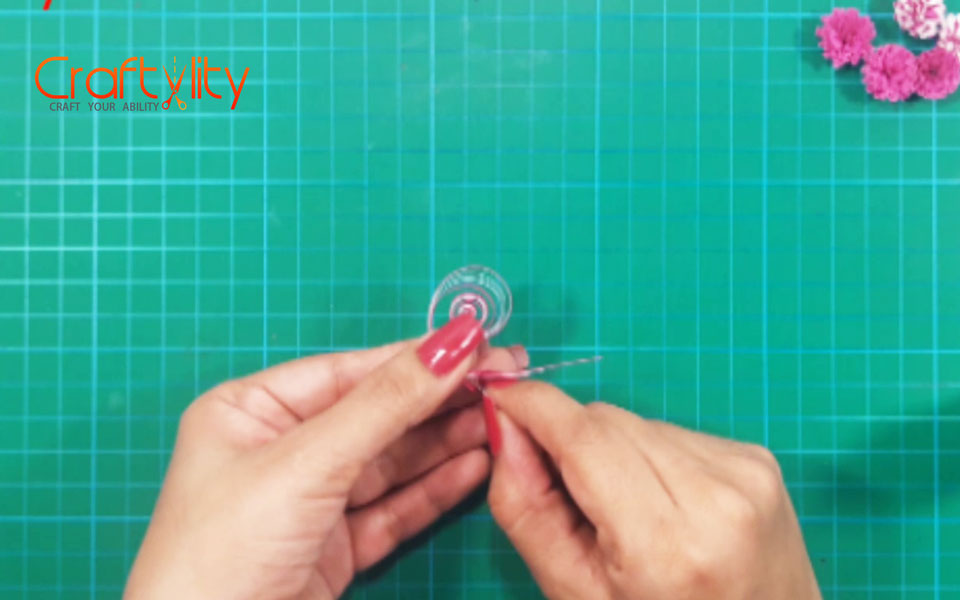
Hold the coil in one hand and pull the strips one by one from another hand. Apply glue at the bottom of each strip and allow it to dry.
Step 7:
Glue the edges of the strips.
Step 8:

Create small tight coil from 2 inches of white strips.
Step 9:
To create a leaf, roll 10 inches of white strips and take if out from tool without applying glue on it. Hold it and allow it to unroll a little. Apply glue at the end to secure the coil. Hold the coil from both hands and pinch it to create Marquise shape, later bend the shape in such a way that it looks like the leaf.
Step 10:
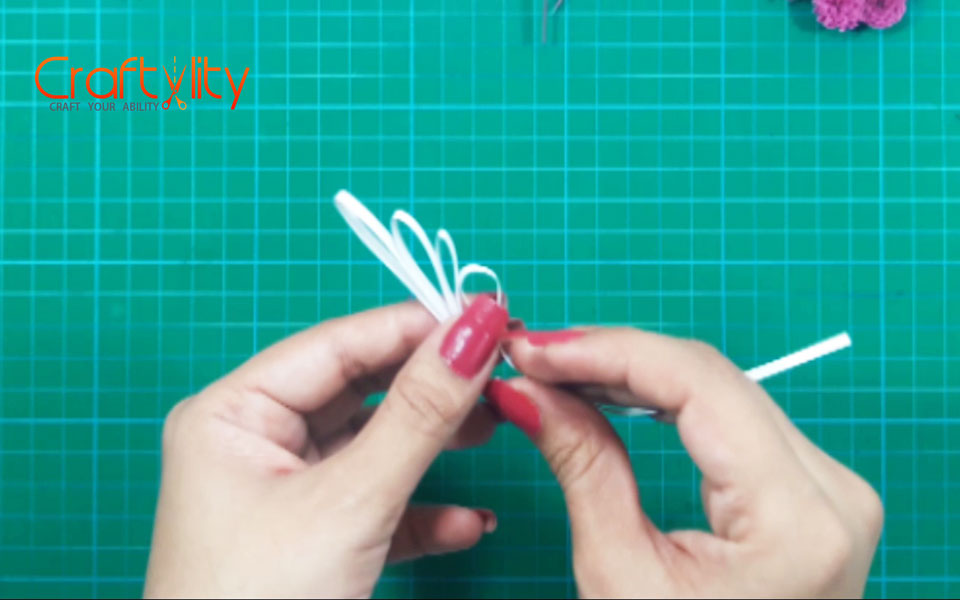
Take a white strip and fold it creating a loop, apply glue on the strip, again create a small loop and glue it. Keep repeating the step of creating loops in descending order. Create 4 to 5 loops.
Step 11:
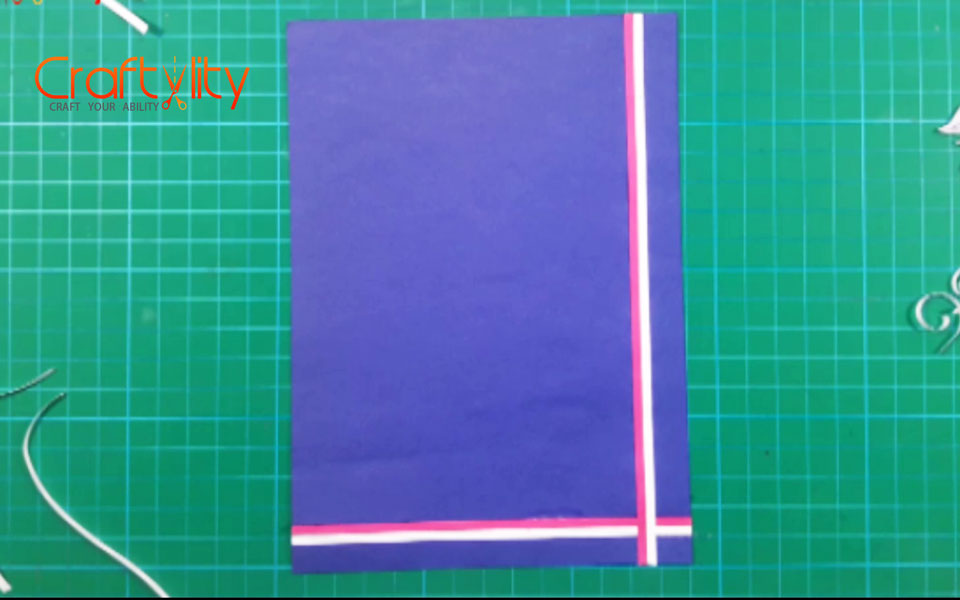

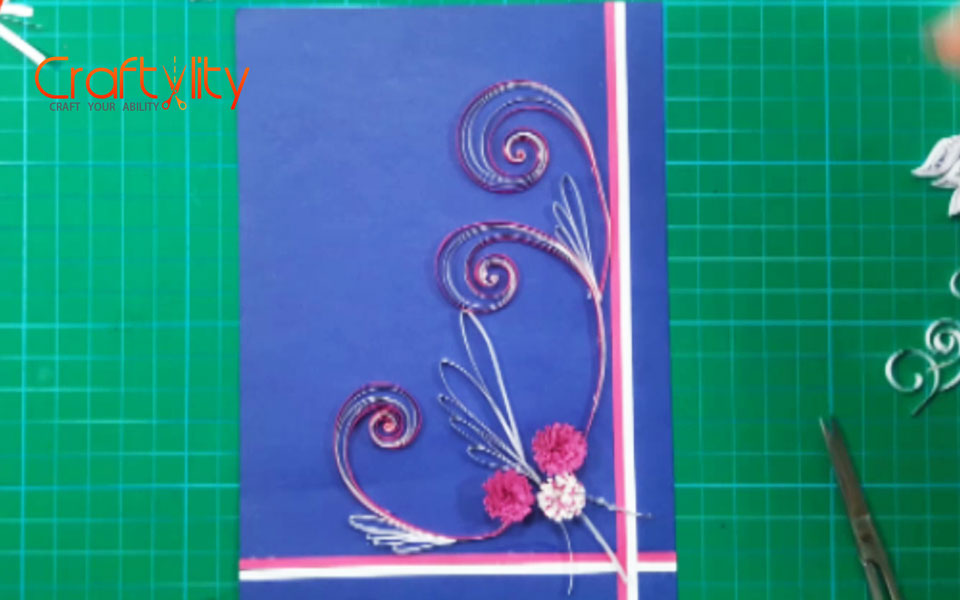
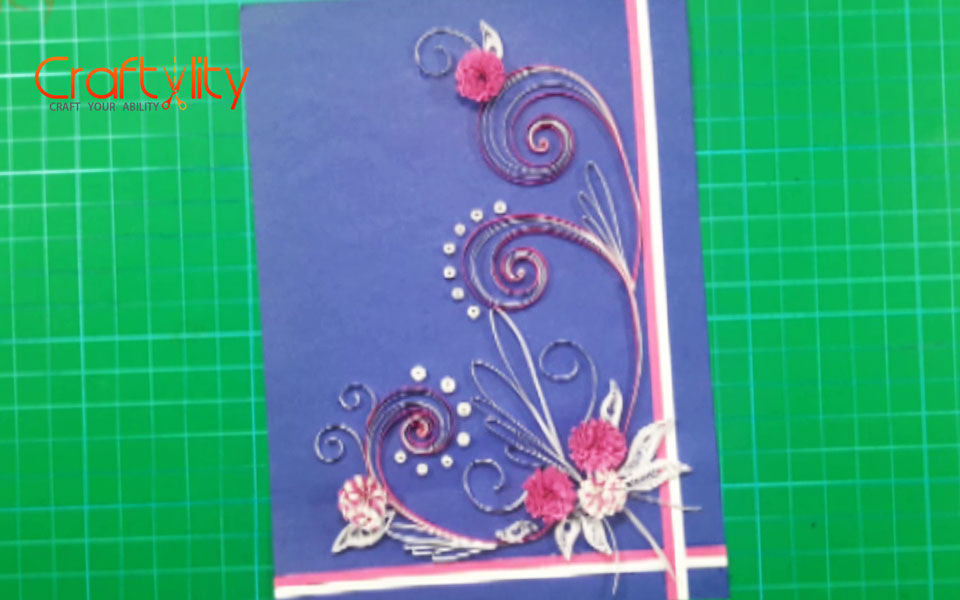
It’s time to glue all the element on the card together. First, take the white and pink strips and glue it on right and bottom of the side leaving some space followed by sticking the flowers. Now stick all the curves and loops on the card in such a way that it cover the major part of the card. Later glue all the leaves. At the end glue small white coils over the curves. Thus our Quilling Greeting card is ready.
Hope you like it, Keep Crafting………..