

If you are craft person and love to create your own craft and want instructions on how to make handmade jewelry then this post will help you to created beautiful and stunning earrings. Follow below mentioned steps to create amazing long earrings for yourself or your friends and family.
We will start with canvas and will decorate it with golden color and kundan, you can also wear the studs and hanging earrings with matching outfit or of desire color.
For making this beautiful designer jewellery you will need following materials:
- Canvas Cloth/Cardstock
- Curved Tweezer
- T-pins
- Eye pins
- Golden Acrylic colour
- Paint Brush
- Ballchain
- Circle guide
- Pen
- Golden beads
- Zardosi wire
- Jewellery Pliers
- Pearls
- Fabric Glue
- Medium and Small Rhinestones
- Studs
- Jump rings
Step 1:
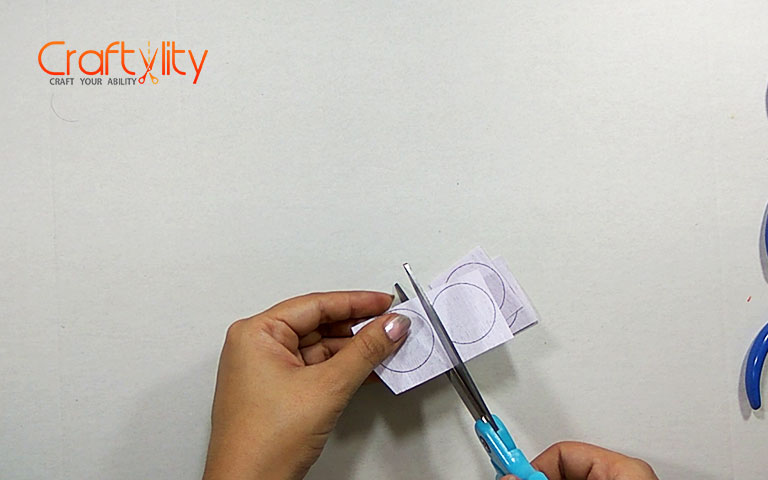
Draw a circle on canvas cloth and cut it. Cut 4 circles of the same size.
Step 2:
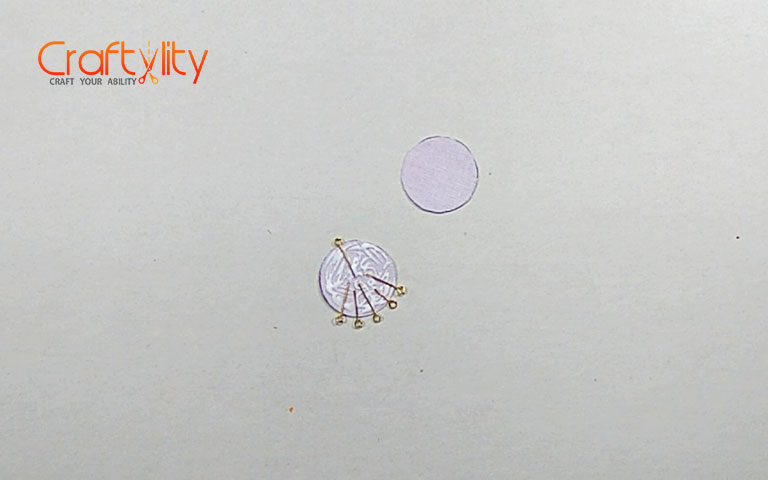
Take 6 eye pins and glue it as shown in above image. Please note that distance of all eye pins should be equal.
Step 3:
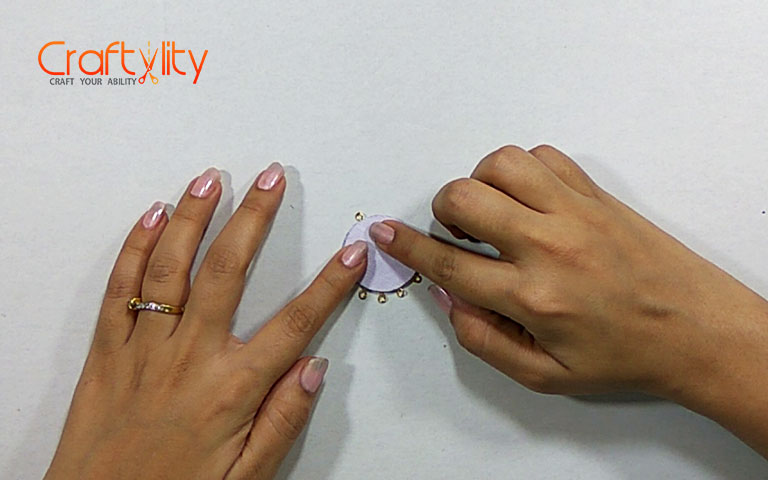
Place Another piece over it.
Step 4:
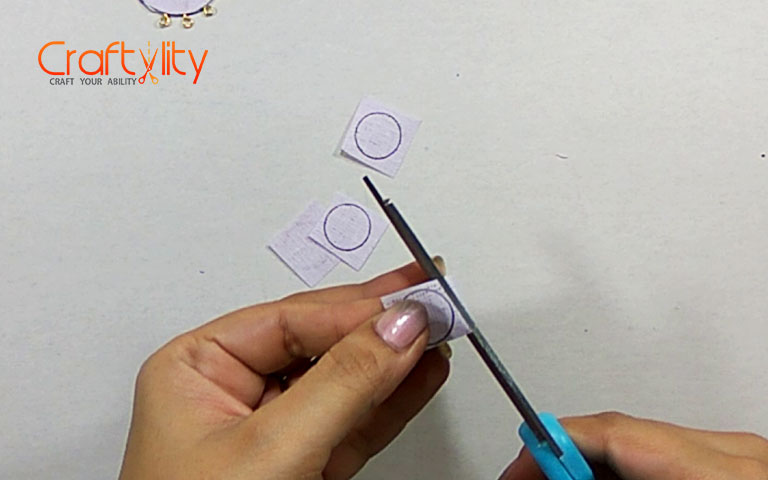
Draw another smaller circle and cut it.
Step 5:

Take stud and poke it in the centre of one circle. Glue few layers of canvas by applying little glue and placeing another circle over it.
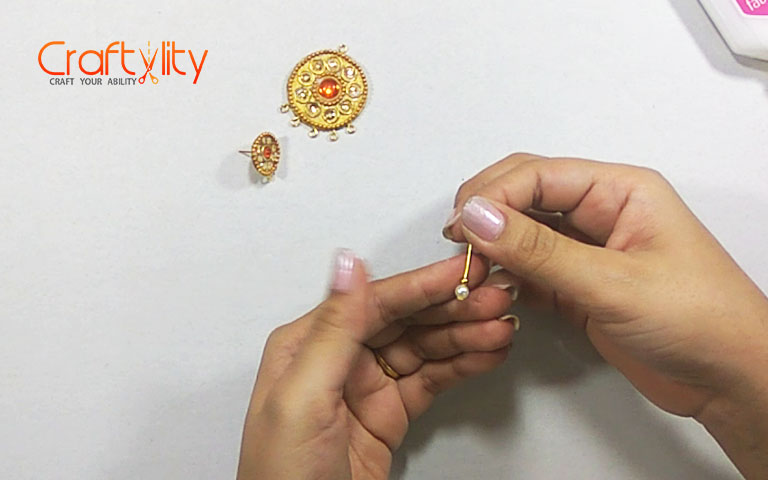
Step 6:
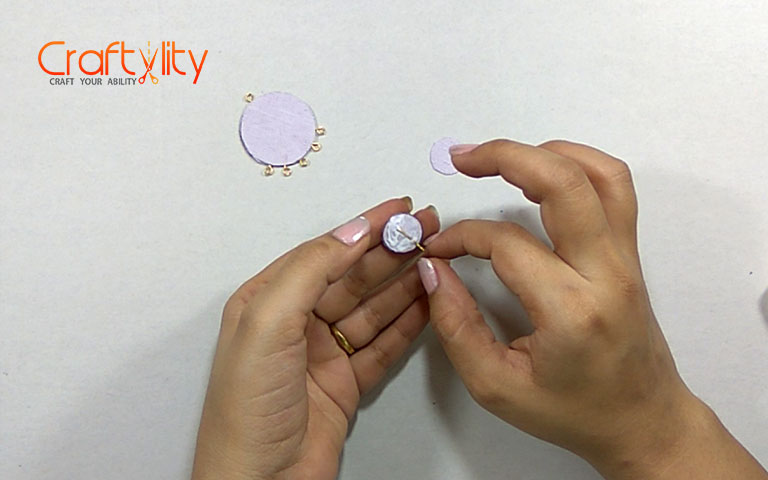
Take another piece of canvas and stick an eye pin on it.
Step 7:
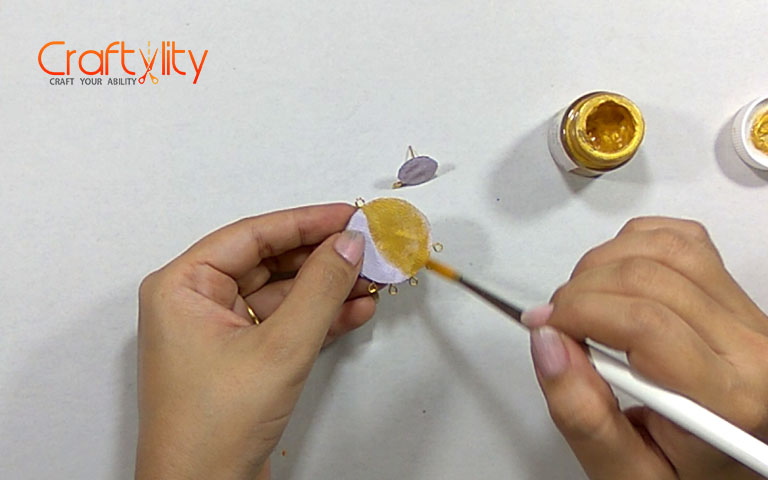
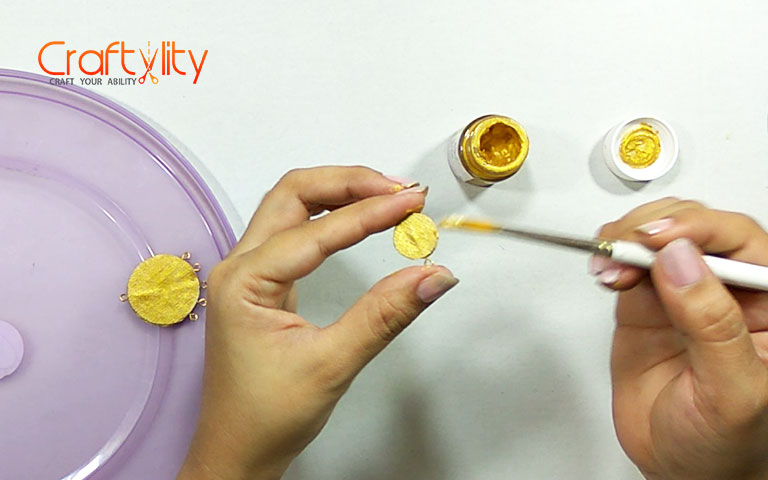
Take Golden Acrylic colour and paint both bases.
Step 8:
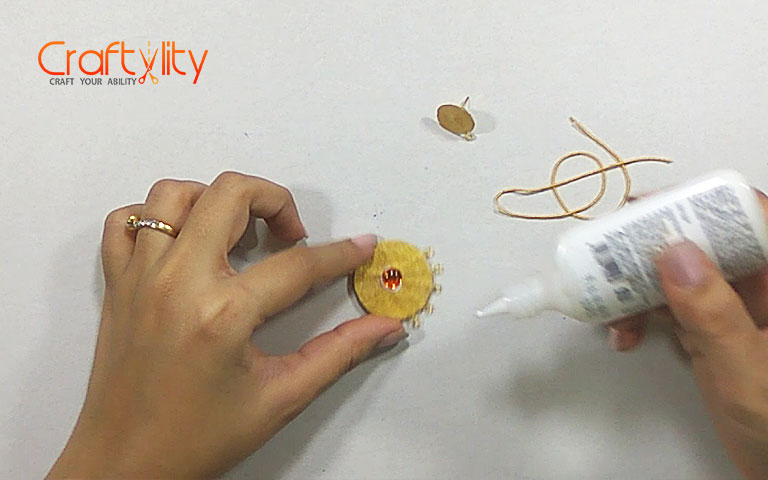
Glue Medium Orange Rhinestone in the center and also zardosi wire around it.
Step 9:

Now Stick jump rings and small rhinestones around Medium Orange Rhinestone.
Step 10:
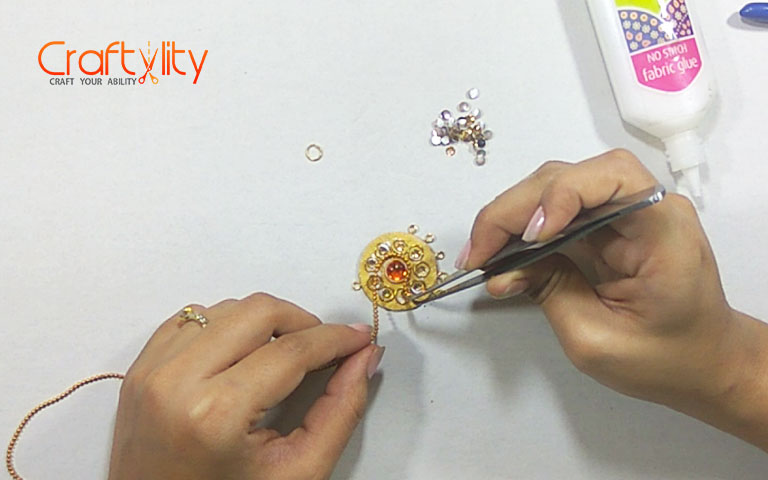
Stick golden ball chain on the outer surface of zardosi wire.
Step 11:
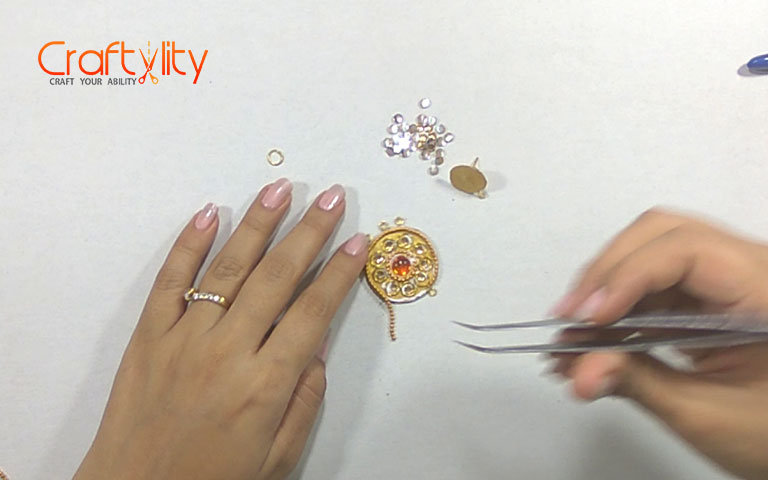
Stick Golden Ball chain on the outer surface of the circle as shown in above image.
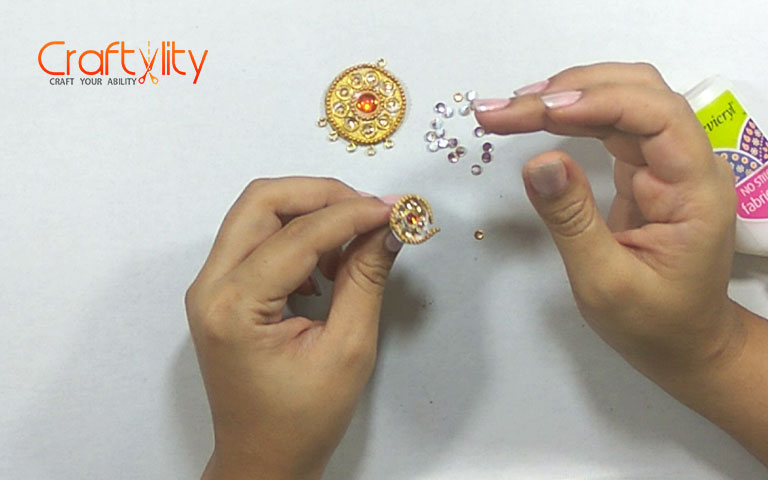
Step 12: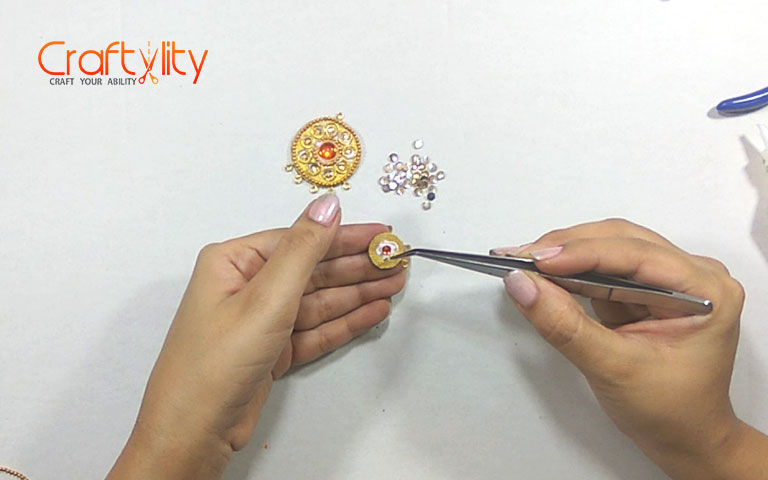
Take a smaller circle and stick small orange rhinestone in the center.
Step 13: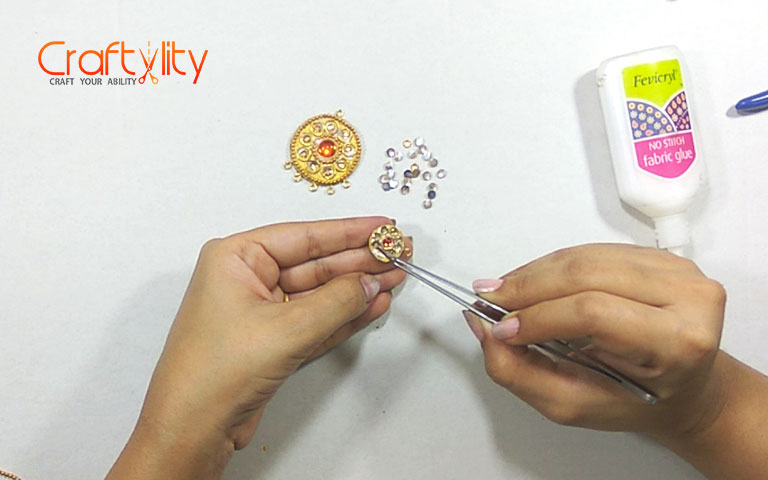
Stick small rhinestone around the orange stone.
Step 14:
Stick the ball chain around the surface of the circle.
Step 15:
Take