

In this tutorial, you will find How to make Paper Quilling Floral card or can also be used as Wall frame. Follow few simple steps for creating paper quilling Malaysian Flowers.
To create this card you will need following materials:
- Quilling Strips – 3mm, 5mm and 10mm
- Card stock
- Quilling slotted tool
- Curved tweezers
- Scissors
- Glue
- Circular guide
Creating Blue Flower Petals:
Step 1:
Take 3 mm Cream Strip 18 inches long and create a coil with the help of the slotted tool. Take the coil out from tool without applying glue and place the coil in 9th diameter circle, allow the coil to unroll and take it out and glue it.
Step 2:

Hold the coil in both the hands and pinch it from one side to create the teardrop shape.
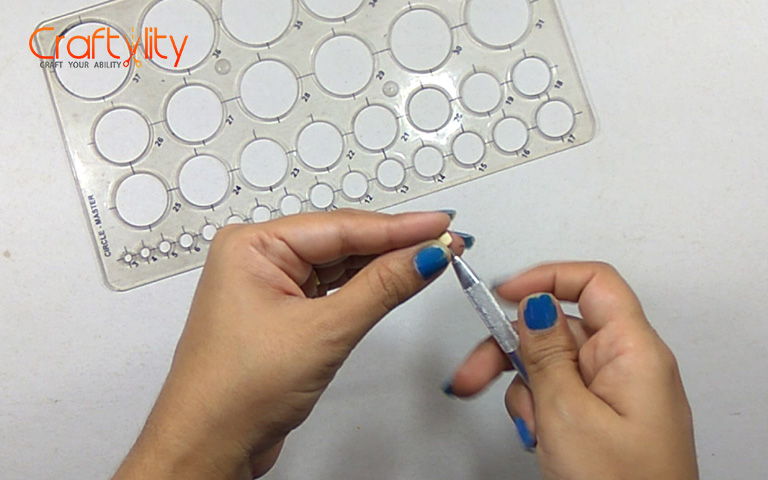
Step 3:
Take 3 mm Blue strip of 18 inches long and roll it with a slotted tool. Place the coil in 25th diameter circle and allow it to unroll it. Take the coil out from the circle and apply the glue on the edge of the coil to secure it.
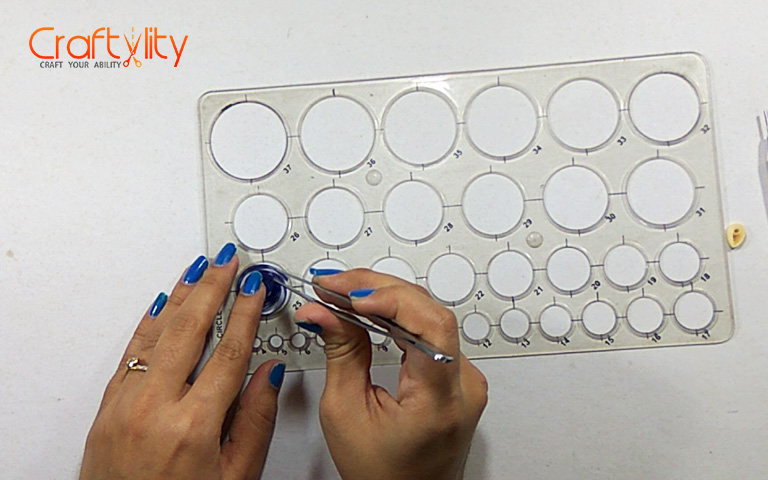
Step 4:

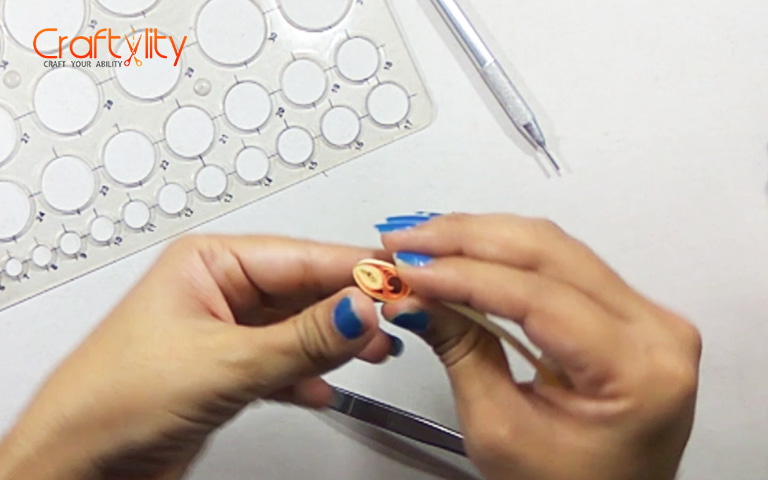
Hold the coil in one hand and take any round object (i am using the handle of the slotted tool) and press it as shown in above image.
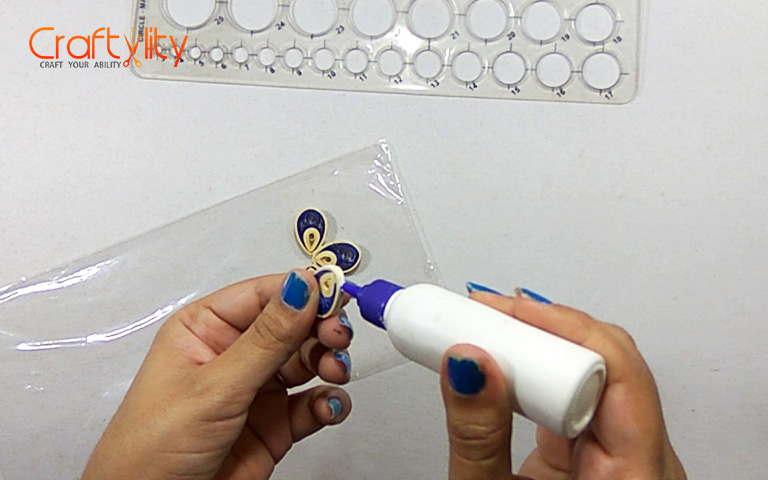
Step 5:
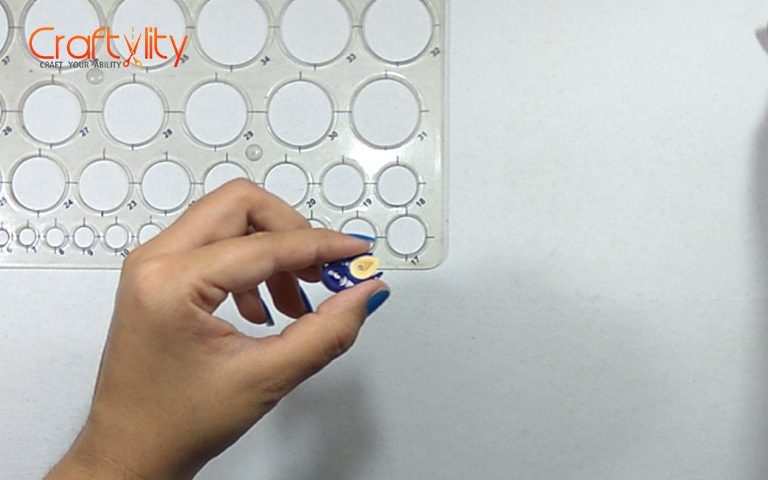
Apply glue and place the cream teardrop in between the Blue coil.
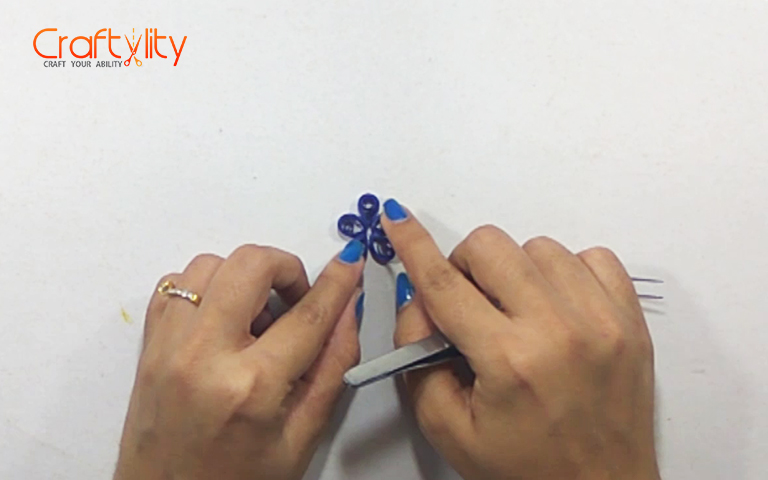
Step 6:
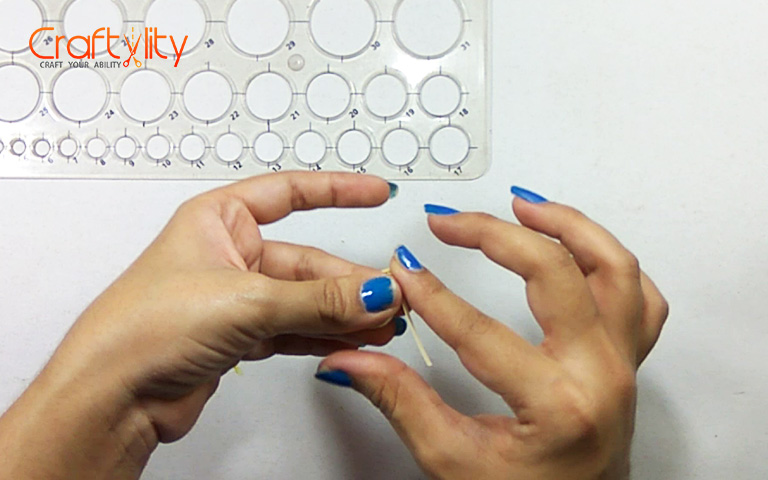
Take 3 mm of a cream strip of 18 inches long and wrap it around the blue coil. This is the first petal of the flower is complete. Create 4 more such petals.
Step 7:
Glue all petals together.
Step 8:
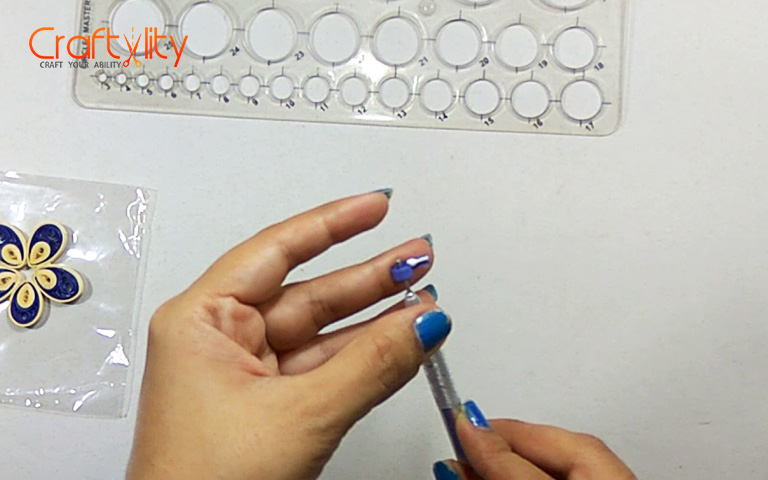
Take 3 mm blue strips of 6 inches long and roll it with the slotted tool to create a tight coil.
Creating Center of Flower:
Step 9:
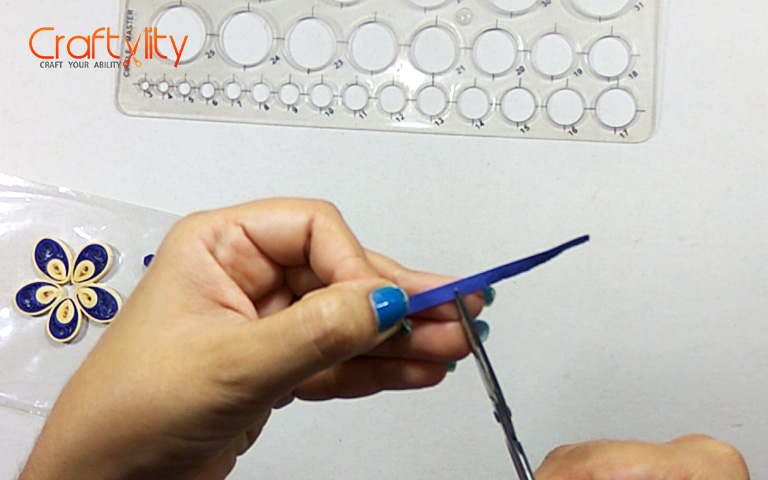
Take 5 mm of a blue strip of 6 inches long and cut 1/3 of the strip with sharp scissors. To avoid cutting the strip you can use bulldog clip.
Step 10:
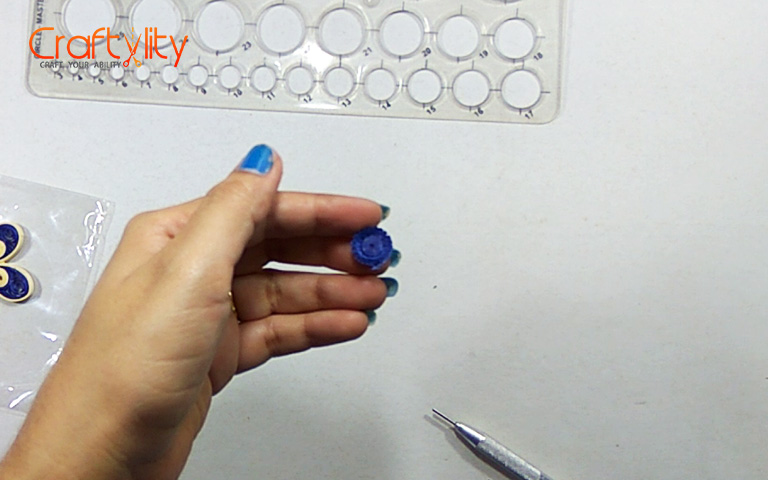
Wrap it around the tight coil which we have created earlier. This is center part of the flower.
Step 11:
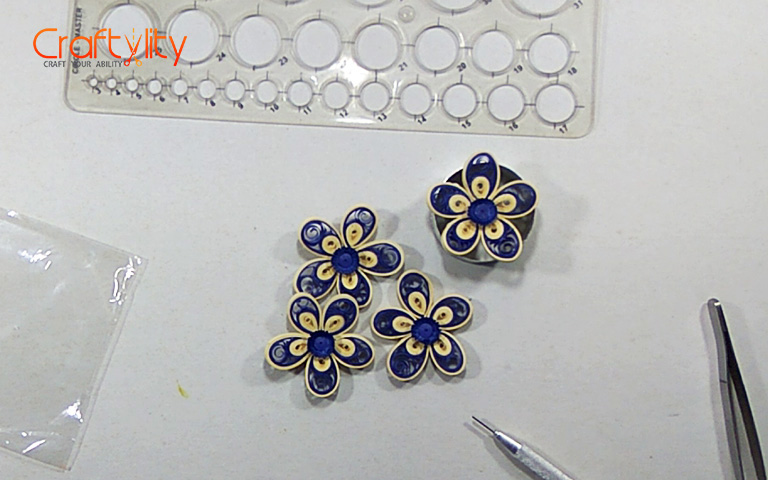
Thus we have completed creating blue flowers. Create few more such cards.
Creating Orange Flower Petals:
Step 12: 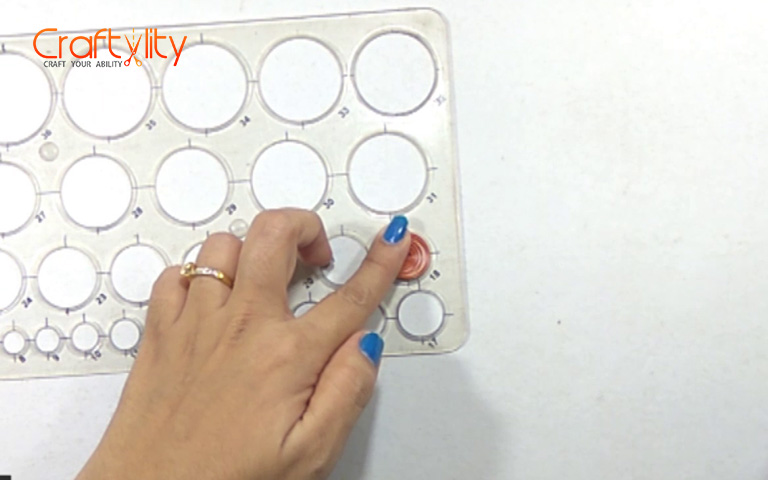
Now we will create orange flowers which are smaller in size as compared with blue flowers but the procedure of making these flowers are same. The difference is just the strip size and diameter of the circle we use for these flowers. Take 3mm orange strip of 6 inches long and create a coil as done earlier. Leave the coil in 18mm diameter circle to unroll.
Step 13: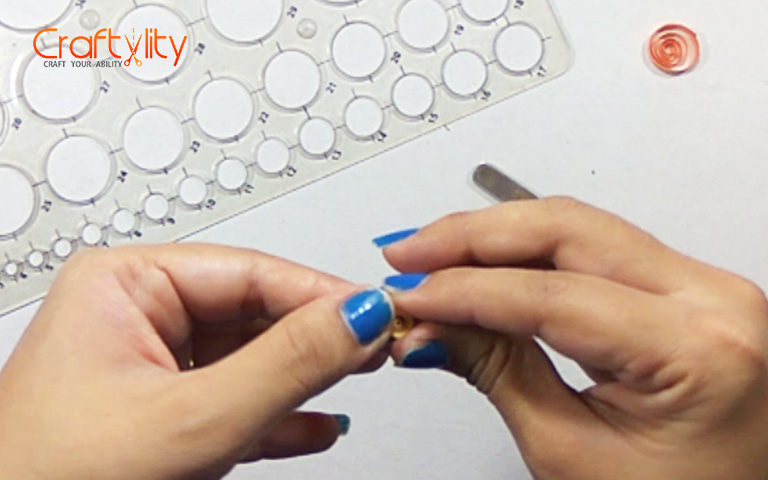
Take 3mm cream strip of 6 inches long and create a coil and leave it in 7 diameter circle. Hold the cream coil and pinch it from one side to create teardrop shape which will be placed inside orange petal.
Step 14:
Wrap 3mm cream strip around the petal similarly done for the blue petal.
Step 15:
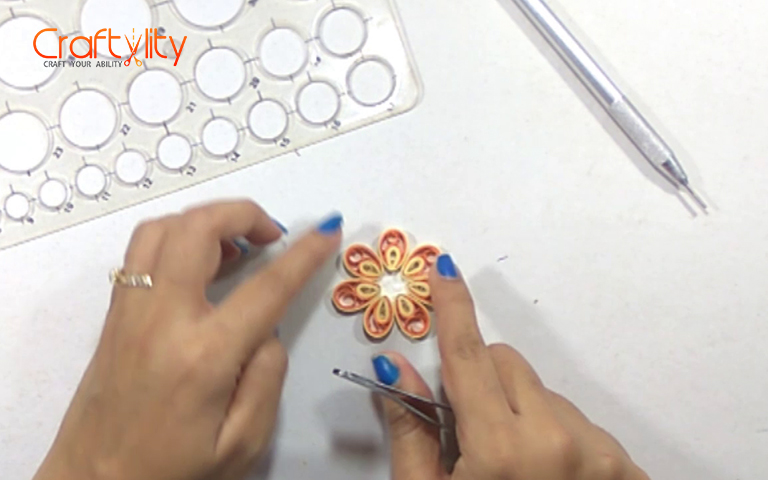
Cut a small circle of any color and stick 6 petals on it as shown in above image.
Step 16:
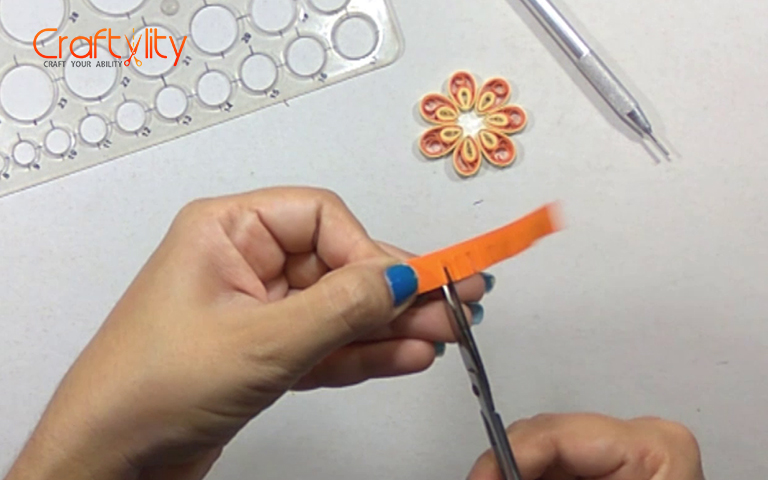
Take 10mm Orange strip of 6 inches long and cut the strip as shown in above image. Similar repeat for 10mm Cream strip which is 3 inches long.
Step 17:
Glue both the strips and roll it with a slotted tool. I started rolling from the cream strip as I want cream color inside of the coil. Apply glue at the end of the strip before removing it from the tool.
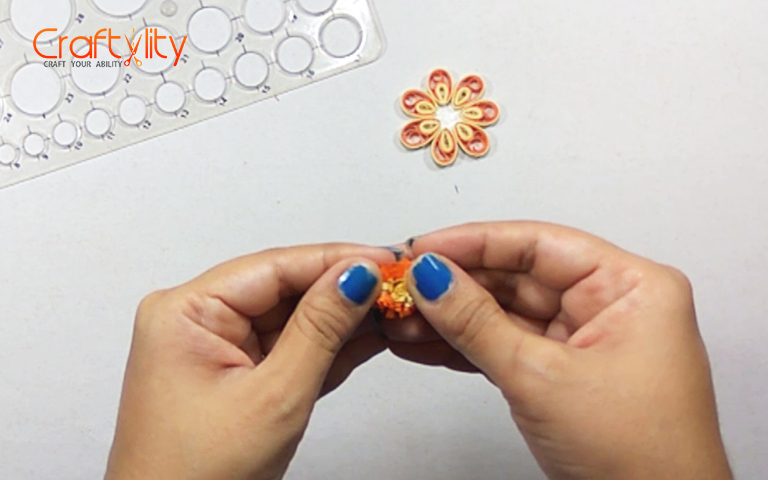
Step 18:
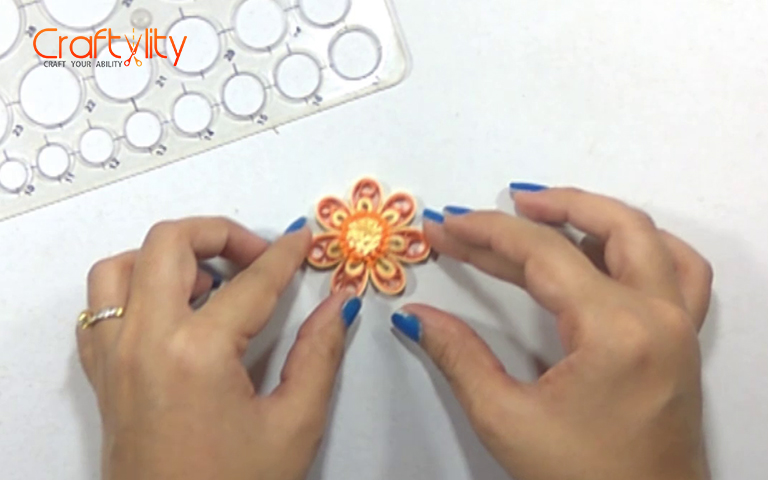
Glue this fringed flower in the center of the flower. Thus our orange flower is ready. Create few more such flowers.
Creating small flower:
Step 19:
For creating the small blue flower, you need 3 mm blue strip 4 inches long and roll it with the slotted tool. Leave the coil in 8 diameter circle to unroll a little. Take the coil out from the circle and glue its end to secure it. Hold the coil in both the hands and pinch the coil from one end to create the teardrop shape. Thus create 4 more such petals and glue them together. Create few more such flowers.
Creating leaves:
Step 20:
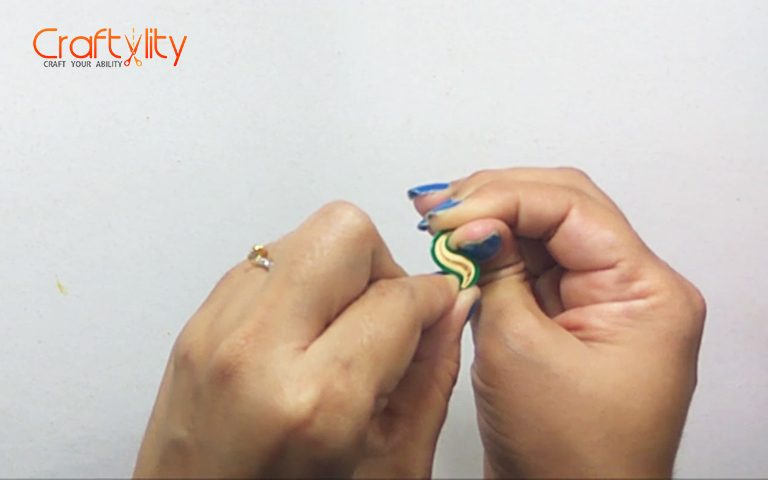
For leaves, Take 3mm Green and Cream strip of 18 inches length and glue them together. Roll the strip with the slotted tool and take the coil out of the tool. Allow the coil to unroll it a little depending on the size of leaf you want. Glue the end of the coil. Hold the coil with both the hands and pinch it from both sides and also twist is creating “S” letter shape. Thus create more leaves of diff sizes.
Creating Card:
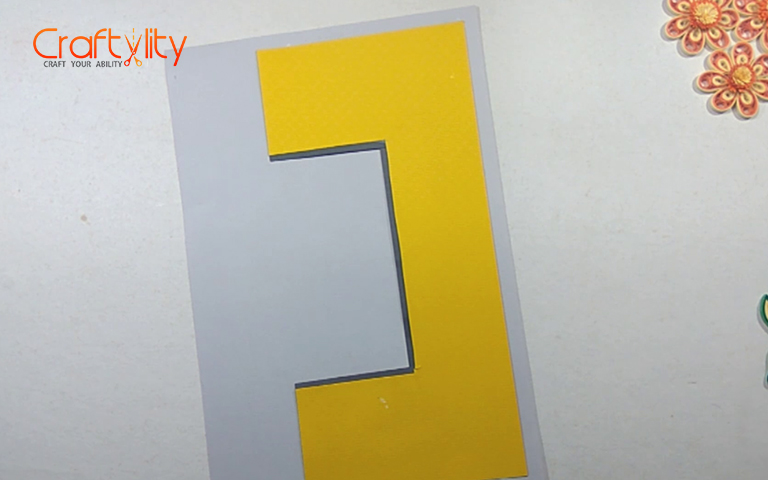
Step 21:
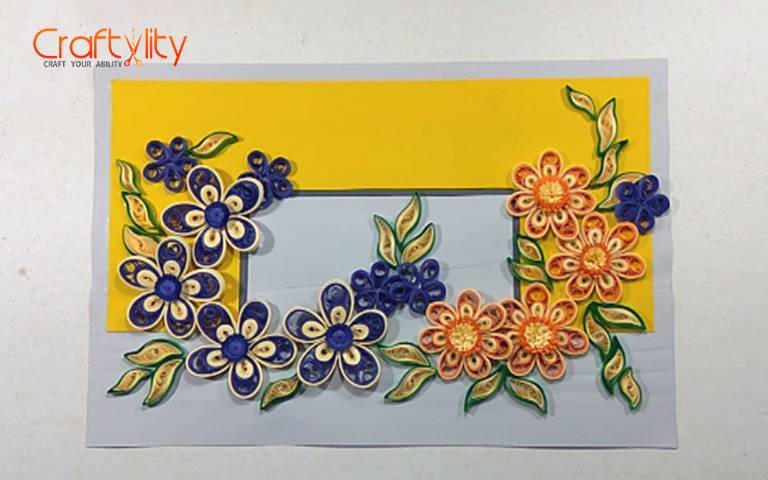
Take card stock of desired color and size. Arrange all the flowers and leaves on it followed by gluing it on the card.
Step 22:
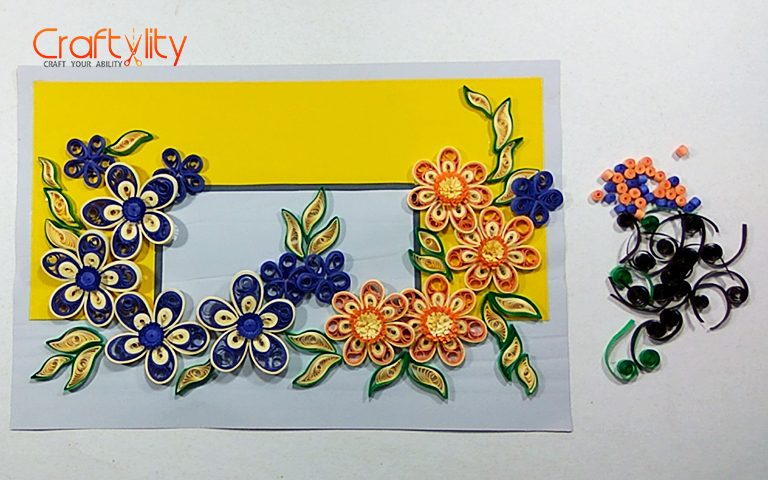
For creating small tight coils, take 3mm blue strip of 3 inches long and roll it with the slotted tool. Create few blue and orange small tight coil for decorating a card. For creating swirls, take 3mm of the brown and green strip which is 3 inches long and roll it 1/5 the length of the strip.
Step 23:
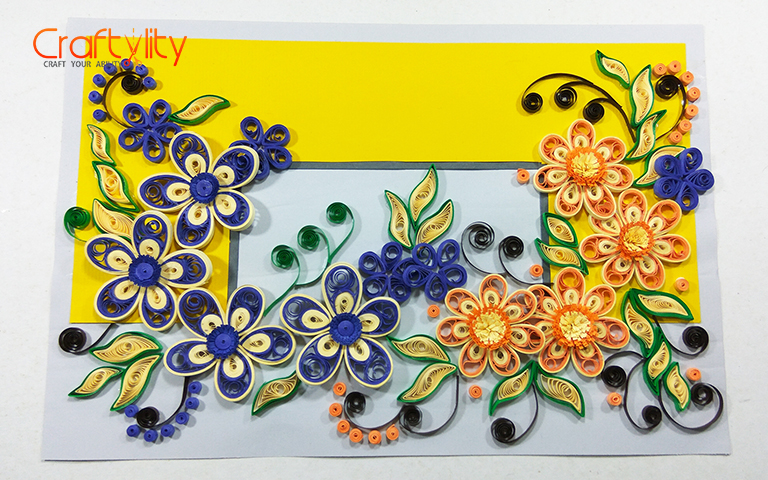
Glue all elements on the card or you can also use this as quilled wall frame for gifting it to someone special.
Leave your comments below on how you like the card.
HAPPY CRAFTING!!!
Beautiful work. Can you mail these cards without them getting damage.