

Find how to make these easy paper quilling flowers and create beautiful Quilling gift Tag or you can also create quilling cards. Quilling techniques shown in the video are very simple and easy to follow, even if you are beginners you can easily follow these steps.
Materials required are:
- card paper (cut in tags)
- 5mm quilling strips
- Quilling tool
- Circle guide
- Scissors
- Glue
- Ribbons
- Toothpick
- Curved Tweezers
- Half Pearl bead sticker
- Bulldog paper clip
1st Quilling Gift Tag:

Step 1:
Start by rolling 16 inches of pink strip with quilling tool. Take the coil out from tool and place in 17th circle of the guide. Allow it to unroll and take the coil out from the guide and secure the end of coil with glue.
Step 2:
Pinch the coil form one end to create teardrop shape and twist the tip as shown in above image.
Step 3:
To create leaf, take green strip of 16 inches and create loose coil. Place the coil in 22nd circle of the guide and let it unroll in it. Take the coil out from the guide and secure the end with glue.
Step 4:
Hold the coil with both the hand and pinch it from both side to create marquise shape.
Step 5:
Its time to glue all elements together.
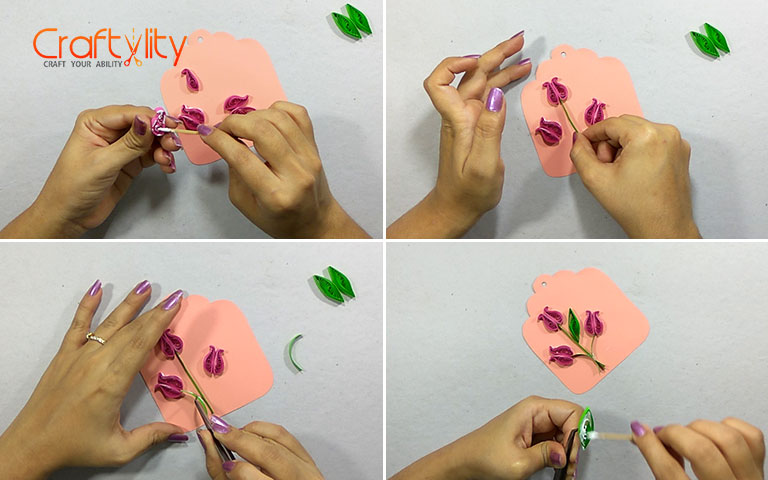
2nd Quilling Gift Tag

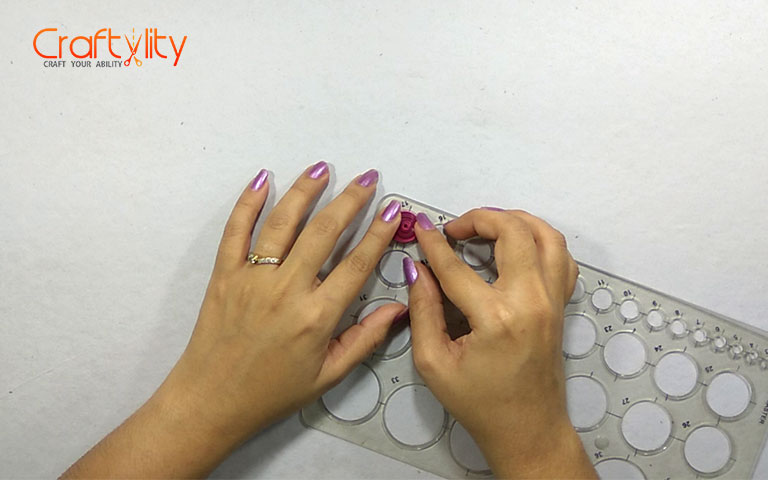
Step 1:
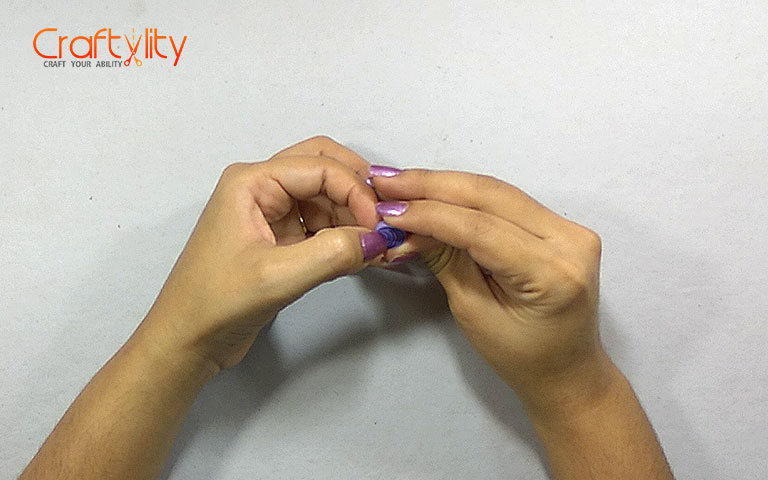
For creating petals, take purple strip of 8 inches and roll it with tool. Allow the coil to unroll a bit and apply glue at the end of the coil. Create teardrop shape by pinching the coil from one side. Create more such shapes of same sizes.
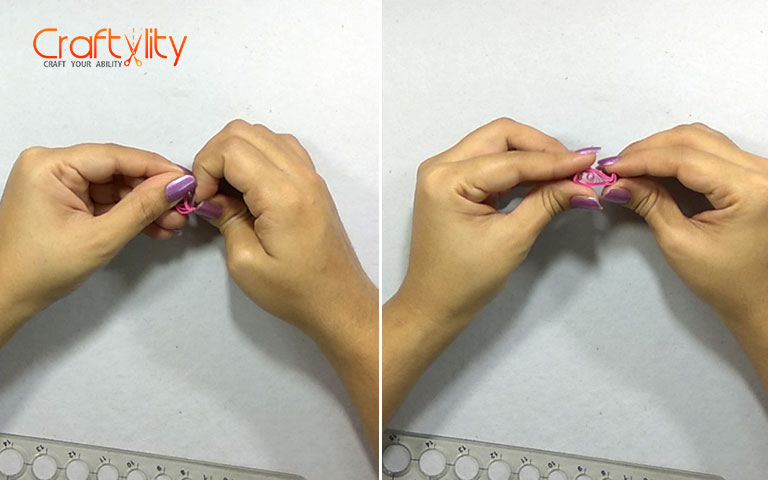
Step 2:
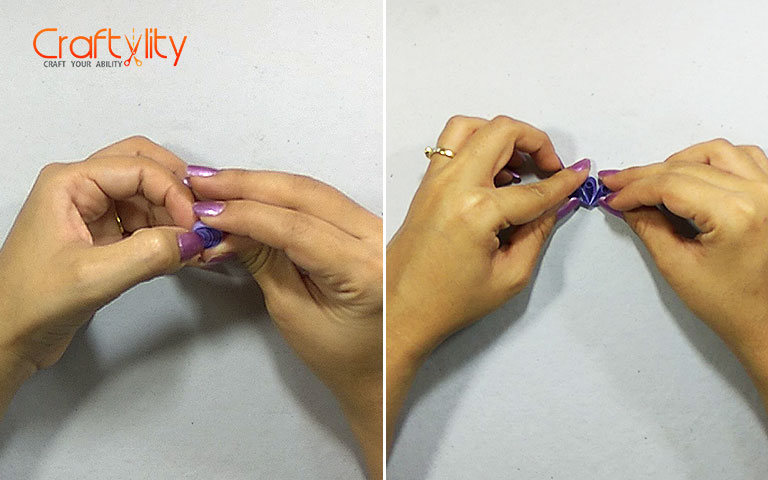
Glue three teardrop shapes together to create a flower.
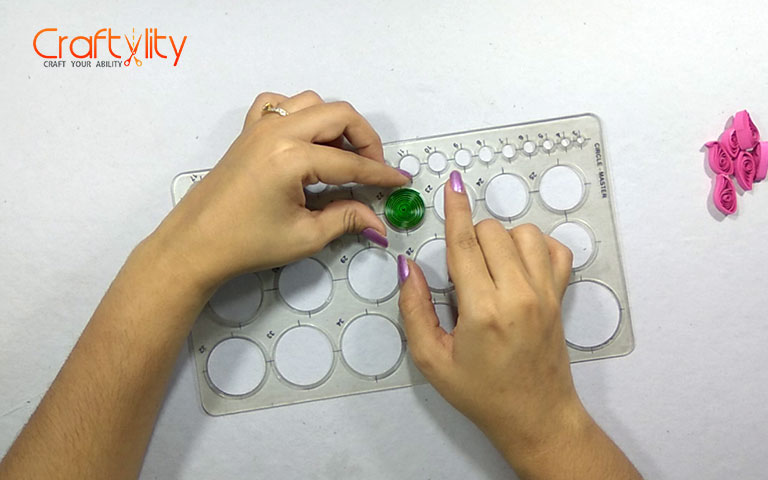
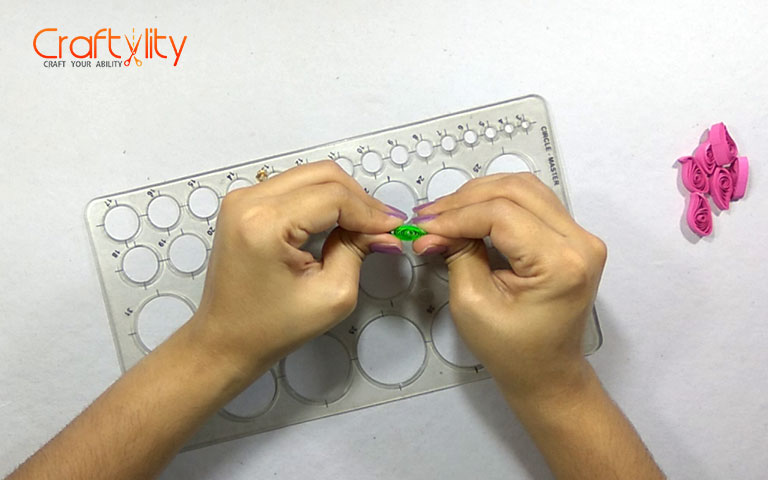
Step 3:
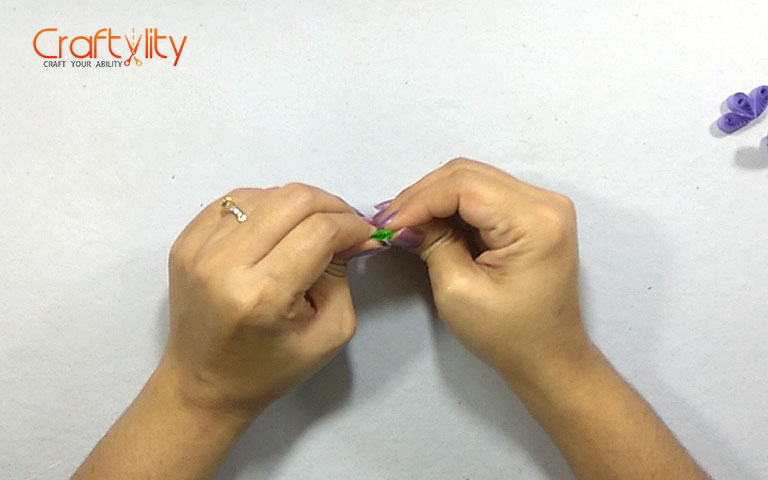
Now we will create small marquise shape by using 4 inches of green strip. Create a loose coil and pinch it from both sides to create this shape.
Step 4:
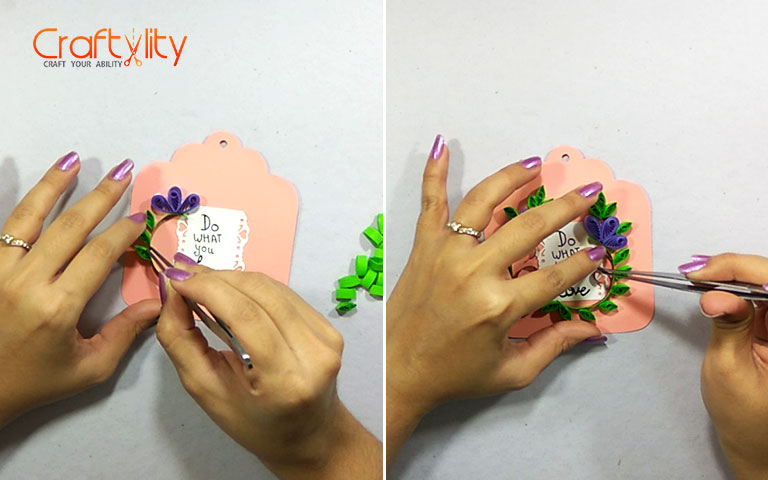
Glue all the elements together as shown in above image. I have also glued some brown curves on the tags with are of 2 to 3 inches in length.
3rd Quilling Gift Tag:

Step 1:
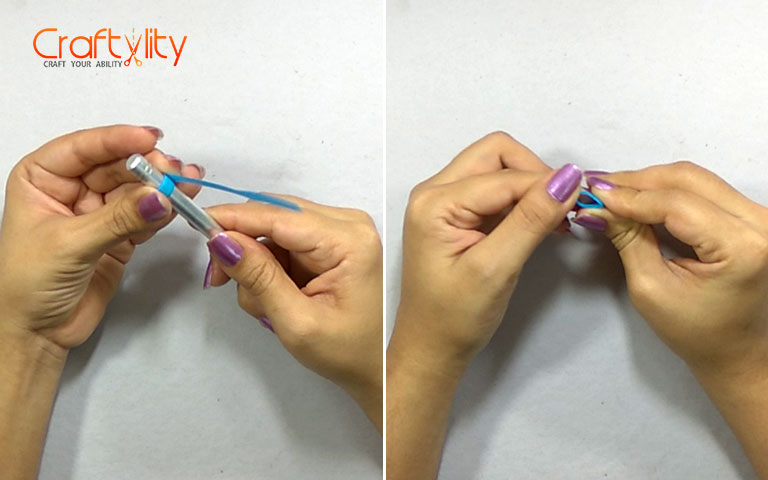
For creating flowers, take blue strips of 8 inches and roll it around the round handle of quilling tool. You can also use any other round pen or pencil.
Step 2:
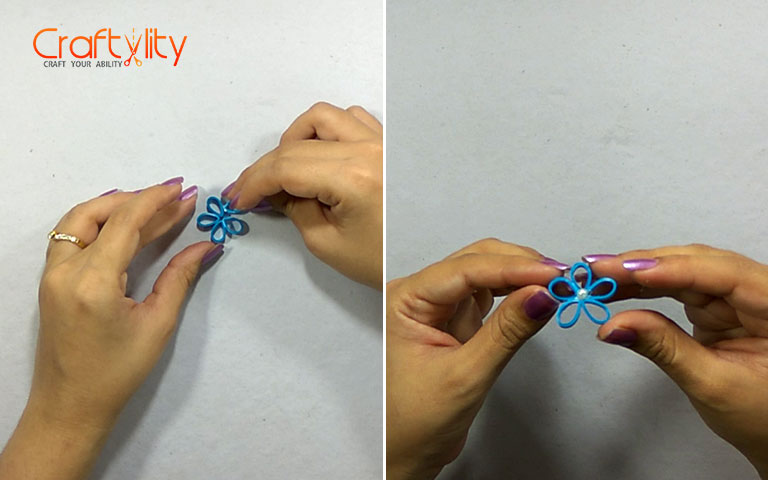
You need to create 5 such ring coils for one flower. Glue all the shapes together and also glue on half shaped pearl bead on it.
Step 3:
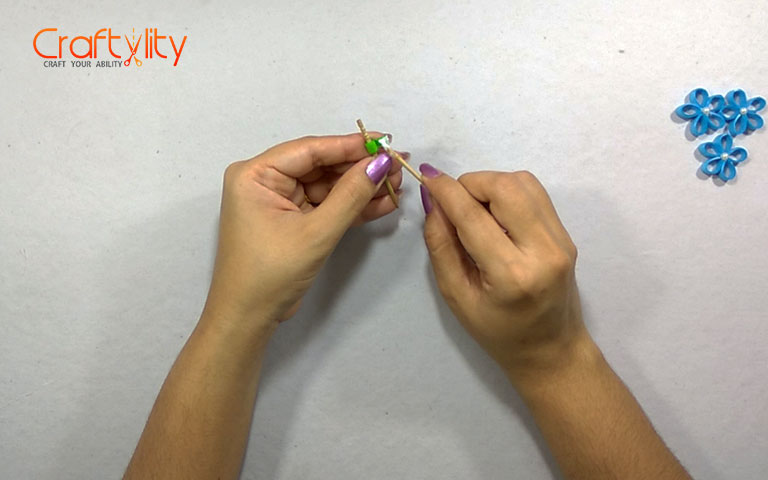
For creating leaf, take 4 inches of green strip and roll it around toothpick. Apply glue on the end of the coil before taking it out from toothpick.
Step 4:
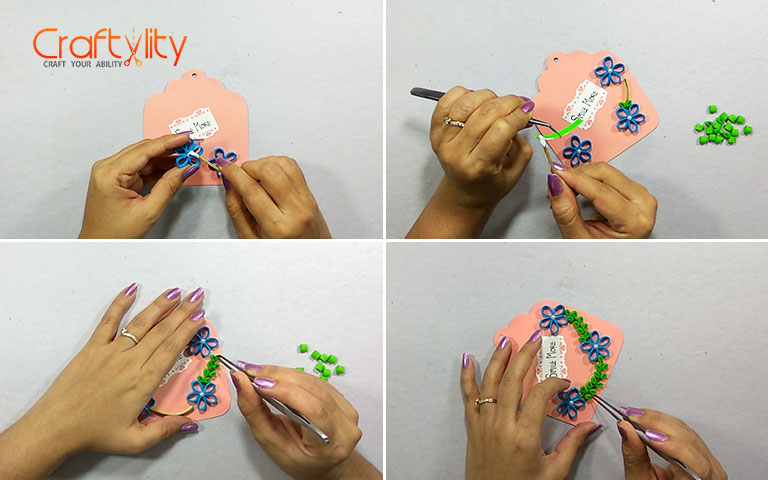
Glue all the elements together on the tag as shown in above image.
4th Quilling Gift Tag
Step 1:
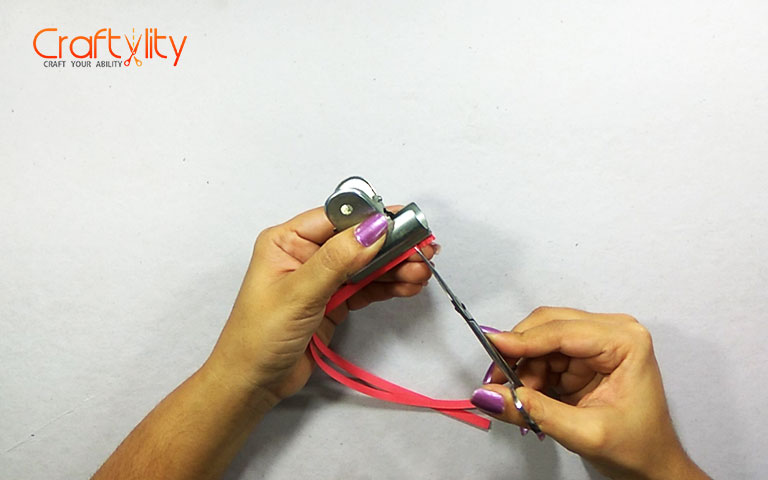
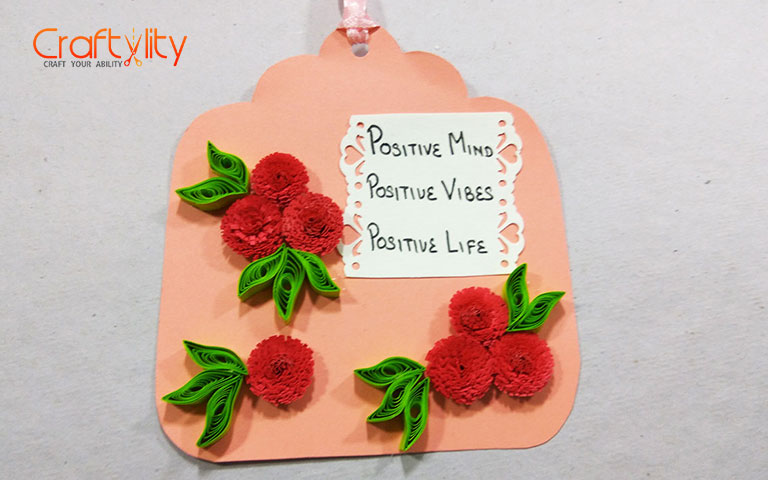
We will start by flower, this type of flowers are known as Fringed Flowers. For creating this flower you need to take 16 inches of red strip. Fold the strip from middle and hold it with the bulldog clip. As we are using 5mm of the strip you have to make sure that the paper inside the clip while holding should not exceed more than 2mm. We are using this clip as it prevents our strip not to cut fully. Cut the strip with sharp edge scissors and distance between each cut should be around 1 or 2 mm.
Step 2:
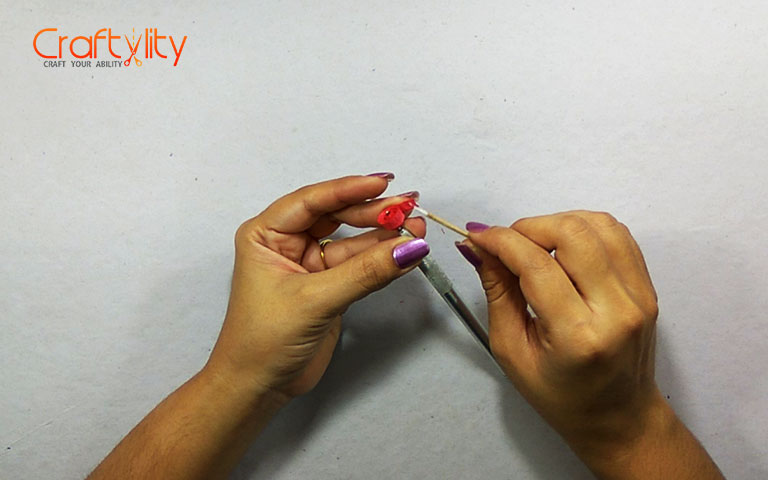
After cutting the strip open the folded strip and start rolling it with quilling tool. Apply glue at the end of the strip before removing it out from quilling tool.
Step 3:

We will create marquise shape for leaf and for this use 8 inches of green strip and repeat the same procedure mentioned earlier.
Step 4:
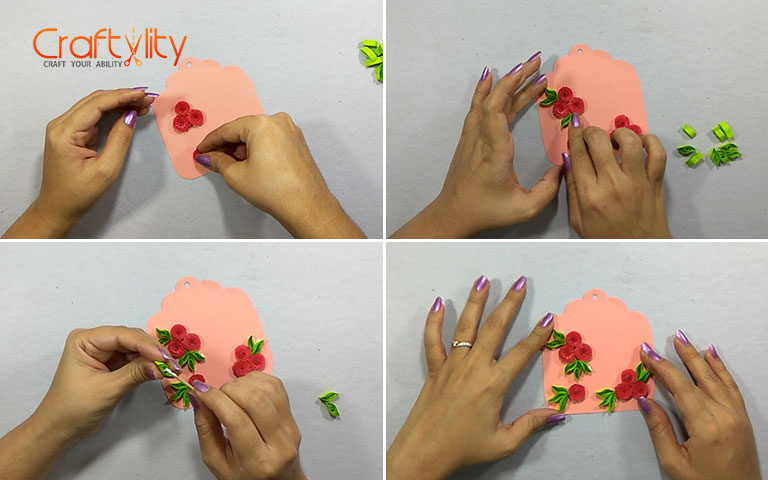
Glue all the shapes together as shown in above image.
And thus our all 4 Quilling tags are finished… Hope you like it.
Dont forget to visit my youtube channel for more such videos.
Happy Quilling!!!