

There are several Hand Embroidery tips for beginners, few tips are must be known by a beginner who is learning embroidery. I was teaching hand embroidery to my friend and noted few tips and thought to share these tips in this post.
Hand Embroidery is a beautiful craft and a wonderful hobby. Understanding some basic hand embroidery tips would be of great help in your journey of hand embroidery. In this post, I have tried to cover some important tips, these tips include basic steps of the embroidery journey, right from selecting the supplies to finishing the project. So let’s have a look at these tips and tricks.
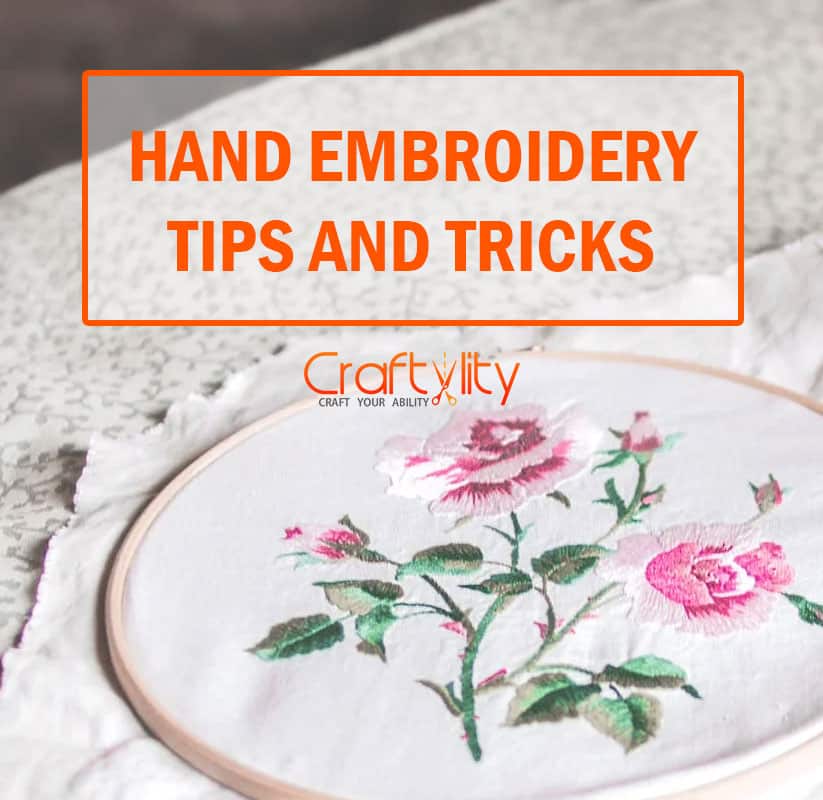
Table of Contents
So, What are the Basic Hand Embroidery tips for beginners – Let’s find out
Embroidery includes working with colorful floss and creating a beautiful design on fabric. Every embroiders has its own tips and these are the basic tips that I follow.
Following are few tips to help you get started…
Before getting started
01. Go Easy
There are so many amazing embroideries projects out there. We find these beautiful works everywhere like on Google, Instagram, or Pinterest. One can get inspired by this work and decide to learn hand embroidery and expect the result to be the same as we see online.
Don’t pressurize yourself too much, no doubt you love embroidery and hence you decided to give it a try but don’t compare your initial work with the one who is in hand embroidery for a while. Give yourself some time and keep on practicing and you too can achieve mastery over this beautiful craft and can create amazing artwork by yourself.
02. Choosing your Fabric
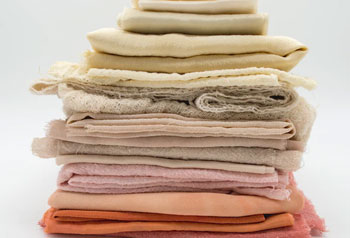
There are many types of fabric available in the market to choose from. The fabric used for embroidery is available in cotton, linen, blends, etc. Basically, it is possible to embroider on any fabric but some are good than others. For beginners, cotton or linen are the best options among other fabrics depending upon different thread counts, weight, cotton, linen, color, etc. It is important to choose the right fabric for your embroidery project as it is the foundation on which the stitches will be created.
Check out our post “What Is The Best Fabric For Hand Embroidery? 6 Best Options To Choose“, this post will give you an idea about the types of fabric which will help you to select the right type of fabric for your future projects.
03. Prewash the fabric
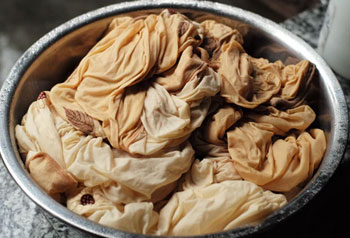
Washing the fabric before starting a project is a good option as if the fabric is going to shrink it will shrink before constructing embroidery stitches on them. Also if the fabric has deep color it can bleed while washing, this will take out the excess color from the fabric. Thus you can protect your project from getting ruined as the fabric color may run into the threads of the stitches. Consider this step important before starting an embroidery project as this can save your time and effort from getting ruined.
04. Checking Edges of the fabric
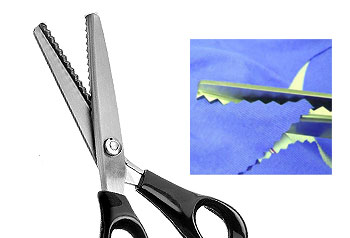
Whether you are using a large fabric or a small one, try to monitor the edges of the fabric. Try to secure the fabric edge by hemming the edges so that it will help to avoid catching the fabric edges while working with thread. The quick and simple trick is to fold and stick the masking tape around the edge of the fabric or you can also quickly cut the edge using Pinking Shears, thus zig-zag cuts will help to stop the excess thread from the edges while working on it.
05. Avoid Creases
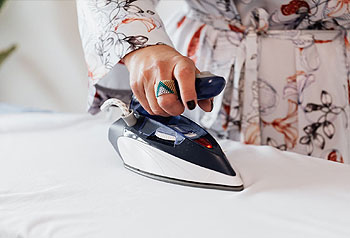
It is better to iron the fabric before starting stitches as it helps not to stitch any creases into work and make the fabric smooth to work.
06. Using the stabilizer
If you are using lightweight fabric or feels that your fabric is super flimsy you can use a stabilizer to give support to the fabric while working on it. Just use some tear-away stabilizer on the wrong side of the fabric before starting embroidery. This will give a better finish as it prevents the fabric to stretch and make it more stable.
Transferring designs
07. Patch Testing
It is always advisable to do patch testing instead of directly starting to make stitches on the fabric. By doing patch testing you will get an idea about tracing ink as some ink are permanent and some are not. Also by washing the patch you will come to know about the colors of fabric and floss as some colors bleed after washing and ruins the project.
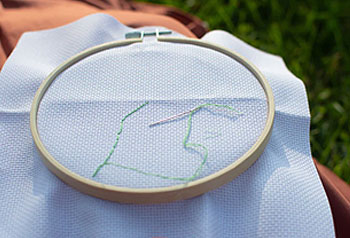
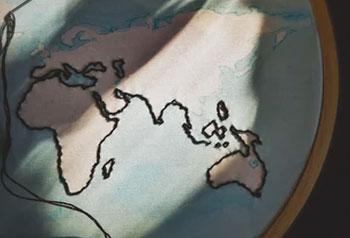
08. Trace design on fabric
After selecting the fabric, it’s time to transfer the desired design on the fabric. There are several tracing methods, you can choose any method which you find comfortable. One method is using iron-on transfer which allows you to transfer any design on fabric. for this, you have to trace the design reverse on regular paper and then place the design right side down onto the fabric and press it until the lines of the design get transferred on the fabric. This ink may be permanent so it’s better to test it before using it on the main fabric.
Another method is using tracing papers, these papers are available mostly in blue, black, and cream color. All you have to do is, trace the design on tracing paper which is transparent paper. Now Carbon paper on the fabric and place tracing paper over it and secure it using sticky tapes. Now trace the design by rolling the pen all over the design. Once the design is complete remove the tracing and carbon paper.
Some of the inks are washable and some are permanent, hence it is better to test before using them on the main fabric.
Hand embroidery supplies
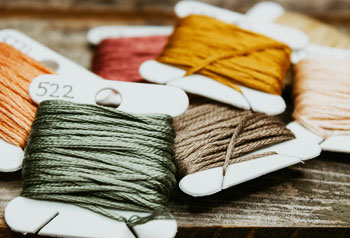
09. Choosing Floss
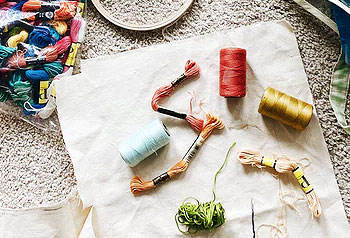
Floss is another basic material used for hand embroidery. Selecting the right type of floss for the project is very essential for creating beautiful designs. There are multiple types of floss used for hand embroidery. For beginners using cotton, floss is advisable. This cotton floss contains 6 strands of thread. These threads are easily available in the market.
Check out “What is the Best Hand Embroidery Thread – 15 Best Types to Choose from” in this post, you will find what are different types of threads used for embroidery and how to choose those thread for embroidery projects.
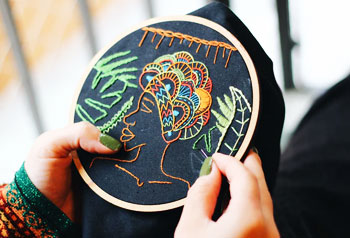
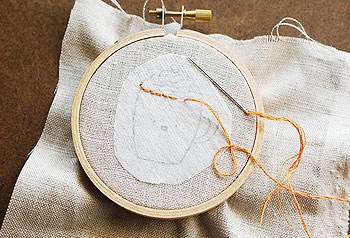
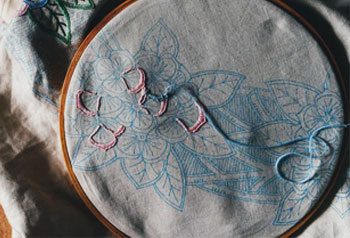
10. Choosing hoops and Frames
Hoops or frames are two-layered round frames that help to keep the fabric frim while working. There are many embroidery stitches for which hoops are not used. But for the majority of stitches hoops are used as it helps to create smooth and neat work. Using a hoop helps us to maintain the right tension to the thread while working.
There are many types of hoops available in the market, they are available in different sizes and also materials. For a beginner, we would recommend selecting a hoop that is not too small nor too large. It should be comfortable to hold and should be light in weight.
Check out this post “How to choose embroidery hoop? 4 Best Ways To Find Out“, this post will help you to know the difference between the various materials of hoops and which one to select.
11. Choosing Right Needle
The needle is very important for hand embroidery as one cannot embroider without needles it is the basic tool one require to make stitches. One can embroider without hoops or without a pair of scissors but not without needles hence selecting the right needle is most important. There are many varieties of needles to choose from, you need to choose the right needle based on the fabric you are using for the project as well as the type of floss you are using to construct the stitches on that fabric.
Check out “What Needle To Use For Hand Embroidery? 8 Best Types To Choose From” this post will help you to understand the difference between various needles and will help you to select the right needle for your project.
12. Choosing Right Scissors
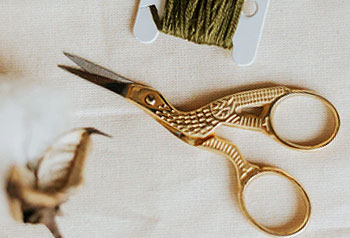
Using sharp and small scissors is suitable for hand embroidery. Using the right scissors for embroidery is a must, as it is needed to snipping off the thread close to the fabric. Make sure the scissors are sharp which will all strands of the thread in one go and it should be compact and small which can fit in the pouch. Use the scissors for floss and fabric only and on other stuff like cardboard and paper etc.
Preparing Floss
13. Separating and Combining threads
Stranded floss has 6 strands and these strands can be separated into a number of strands as desire. For this first cut the desired length of thread and then hold the strands with both hands and slowly separate the strands on opposite sides till the end.
Similarly, if you want a thick thread for filling the design you can combine the strands of the two threads to make it thick. For suppose you want 8 inches of thread, so cut twice the required length that is 16 inches and then fold it and cut in the center thus you will get two exact lengths of threads. Now combine the strands of threads and it’s ready to stitch.
14. Trying different numbers of strands
Some stitches look good using one strand and for some stitches, more strands are required. For delicate work, you can use one or two strands, and generally, for fillers, you can use more numbers of strands. You can try different numbers of strands depending upon the requirement and get desire results.
15. Threading Needle
Threading a needle using one strand is easy but it gets really tricky if you are using more strands and trying all the strands to insert in the eye of a needle at once. For this, you can simply take clear nail polish and apply on the tip of the tread and once the nail polish is dried it will get stiff which will help to pass through the eye of the needle easily.
Another way is folding the thread over and pushing the folded thread through the eye of the needle. This trick will help you if you are using thick thread or wool.
16. Using right thread length
Longer lengths of thread are sometimes irritating as they get tangled or knotted or even break. So it is good to use a thread that is not too long and not too short. Running Thread can be around 15 to 17 inches in length. But if you are using silk thread reduce the length to 12 to 13 inches as silk thread is easy to tangle and break.
17. Using thread conditioner
Using a Thread conditioner for a running thread helps to keep the thread smooth and avoid getting tangled. It also makes the thread pass through fabric more easily. It also helps thread from fading and discoloration.
Hand Embroidery tips: While working
18. Protect fabric from the hoop
Using hoop while embroidery is common as it helps to maintain proper tension to the fabric. But some time hoop leaves a mark especially if the fabric is fine, to avoid this you can wrap the inner hoop with cotton tape, make sure to cover the ring while wrapping. This will help to maintain fabric tension without leaving a mark.
19. Health is important
Hand embroidery is a time-consuming craft and one gets totally indulge in this craft. It is similar to a desk job as one spends many hours on the chair/couch while working on an embroidery project. Make sure you take frequent breaks and take a small walk, sketch your hands, rotate your neck, etc. Also, don’t forget to rotate your eyes and splash water or use eye drops as while working on the embroidery project eyes get strained due to focus on stitches.
20. Good Lighting for Embroidery
Hand embroidery needs good lighting! If you are working in the evening then make sure to work in the proper light so that you can see the stitches clearly without straining your eyes. Daytime is best for embroidery but avoid sitting in direct sunlight as its too bright for the eyes.
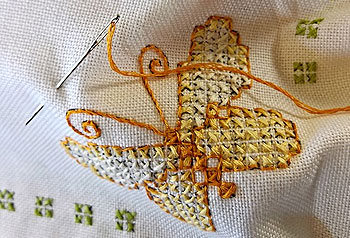
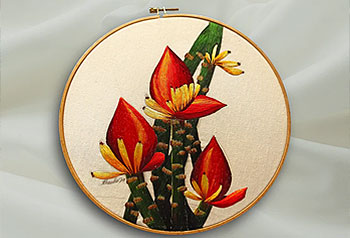
21. Start with the mini project

It is okay to start small, to try something simple first. It is better to first try smaller projects while learning instead of overwhelming yourself with bigger projects. The bigger project may often consist of many different patterns which can be new to you or you may not be having enough practice of some stitches and you may feel lost in those stitches which may result in leaving the project in between. To avoid this start with small projects and slowly you may proceed to bigger projects as per convenience. Thus you will be able to enjoy the journey of hand embroidery.
Learn the basic stitches, create something beautiful using these basic stitches. Check out our post “10 Basic Hand Embroidery Stitches for Beginners“, in this post you will learn 10 basic hand embroidery stitches step by step.
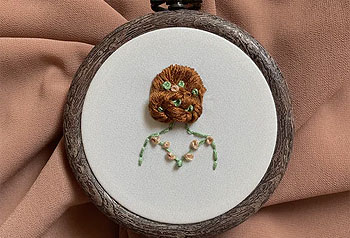
22. Displaying your work
Embroidery hoops are not only good for working on the project but it is also perfect for framing finished embroidery. Displaying finished embroidery hoop on the wall will increase the charm of the room but don’t hang the frame in direct sunlight as this can fade the color of stitches and fabric over time.
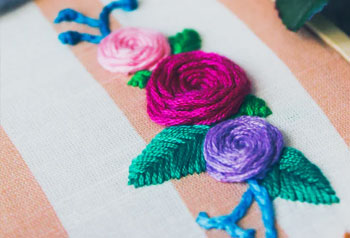
23. Don’t be afraid to try new patterns
There are many types of stitches to learn and also many types of different embroidery like shadow work, whitework, patchwork, outline embroidery, etc. Don’t be afraid to try a new type of embroidery as each pattern is unique and beautiful.
24. Wear your embroidery with pride
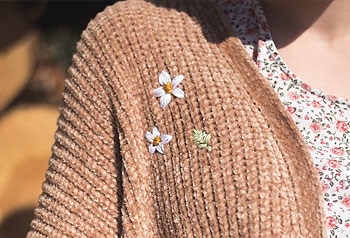
Once you get finishing in your stitches, you gain confidence in your work and it’s time to show the world your new skill. You can embroidery on all most everything like jackets, denim, collars, tops, sweaters, etc. wear it and get ready to get praise from everyone.