

This decorative stitch can be used on curved lines or straight lines. For beginners, it is recommended to draw four parallel lines for making this stitch.
Step 1:

Draw four parallel lines and take the needle out at point “A” which lies on the third line.
Step 2:

Insert the needle in the fabric through point “B” which lies on the first line and take it out through point “C” which is below point “A” and “B” and lies on the second line. Loop the thread under the needle.
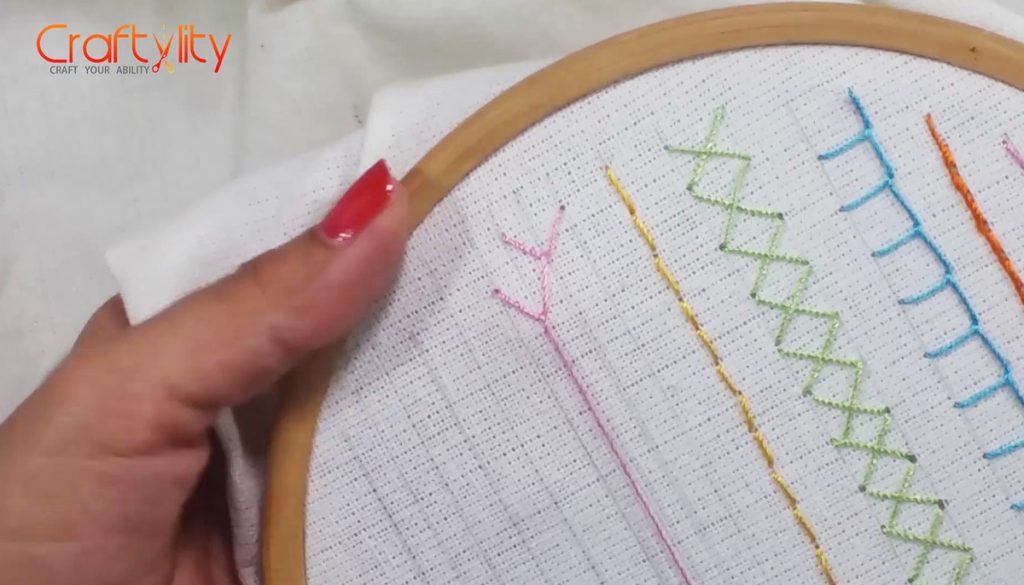
Step 3:

You will get something like this.
Step 4:
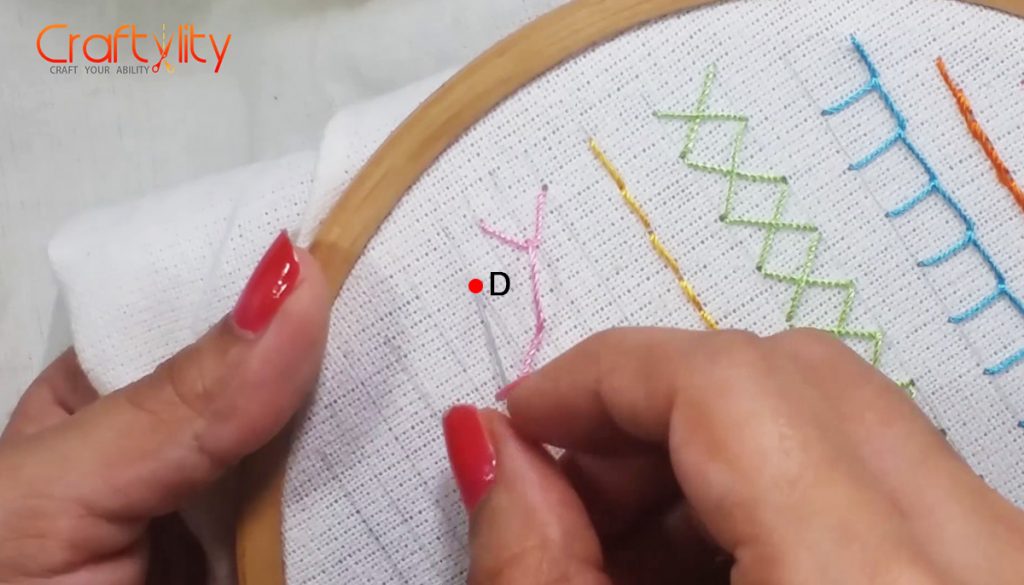
Insert the needle at point “D” which is parallel to point “C” and will lie on the fourth line.
Step 5:

Take the needle out from point “E” which lies on the third line. Loop the thread under the needle.
Step 6:
Thus we have completed our second stitch.
Step 7:

Keep on continuing this procedure by inserting the needle from the outer line and removing it from inner line forming “V” like shape.