

Dream Catcher is generally, handmade willow hoop, on which is woven a net or web. But here we will create a paper quilling dream catcher using vibrant color strips. In this post, you will find step by step instructions on How to make this colorful Paper Quilling Dream Catcher. You can create this beautiful dream catcher frame or card by just following a few steps.
Also, check out our Recommended Quilling Products.
Materials required for making these frames are as follows:
- Quilling strips
- Quilling tools
- Glue
- Circle guide
- card paper
- Tweezers (optional)
- any round object of 6cms in diameter or geometric compass to draw the circle
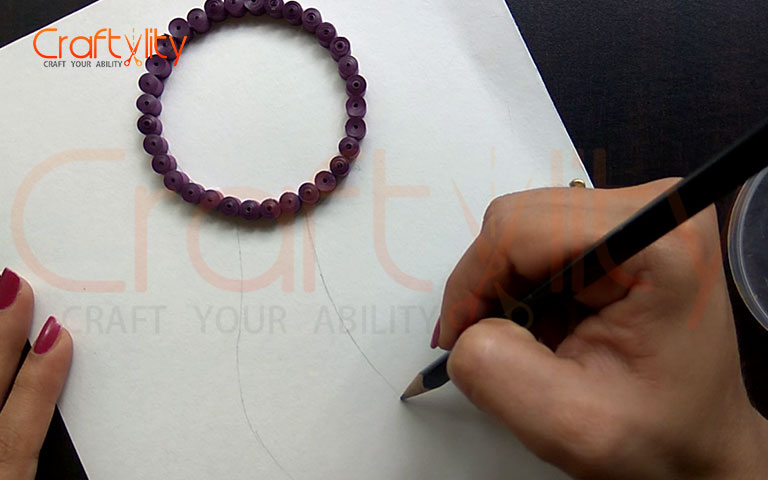
Step 1:
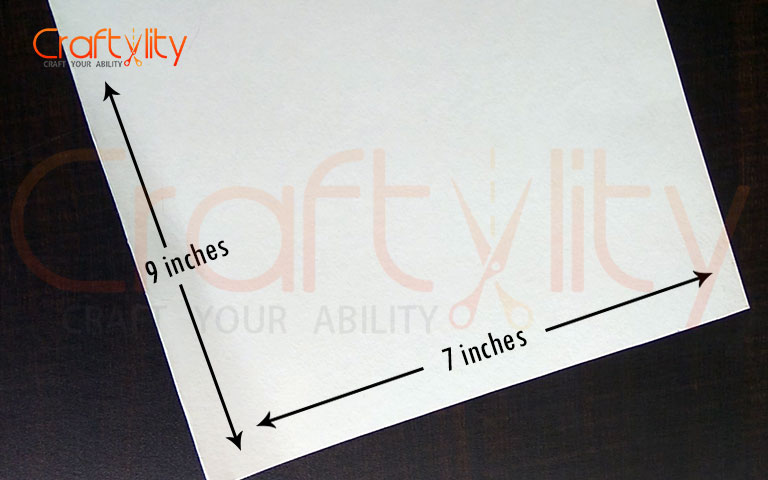
For the base, I am using a card paper that measures 7 by 9 inches.
Step 2:
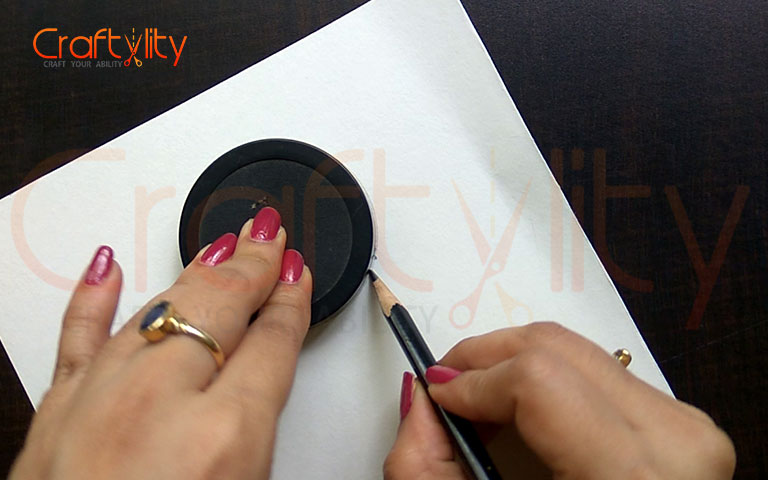
Draw a light circle on the card paper as this is just for reference, the diameter of my circle is 6cms.
Step 3:
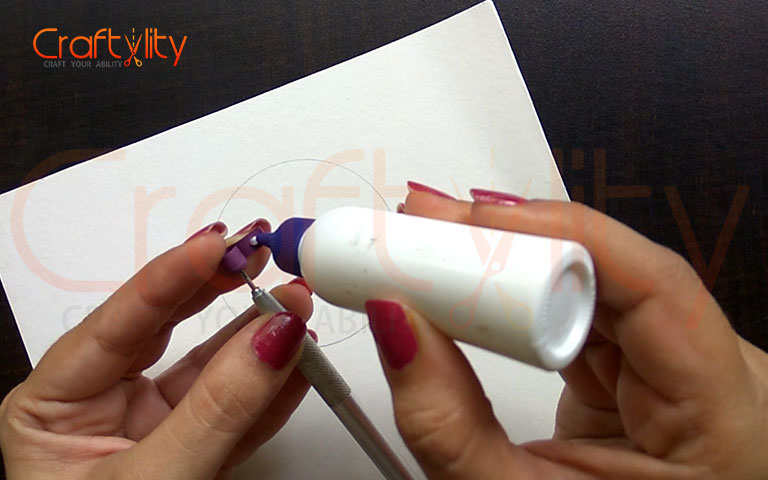
Take 8 inches of purple quilling strip and create a tight coil.
For creating a tight coil, roll the paper with a quilling tool till the end and apply glue at the end of the strip to secure the coil. After applying glue take the coil out from the tool and thus our first tight coil is ready. Create more such tight coils.
Step 4:
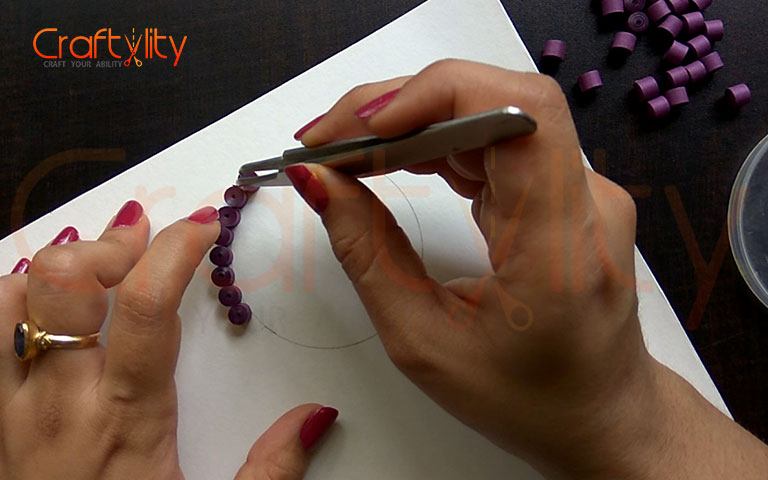
Glue these tight coils on the drawn circle.
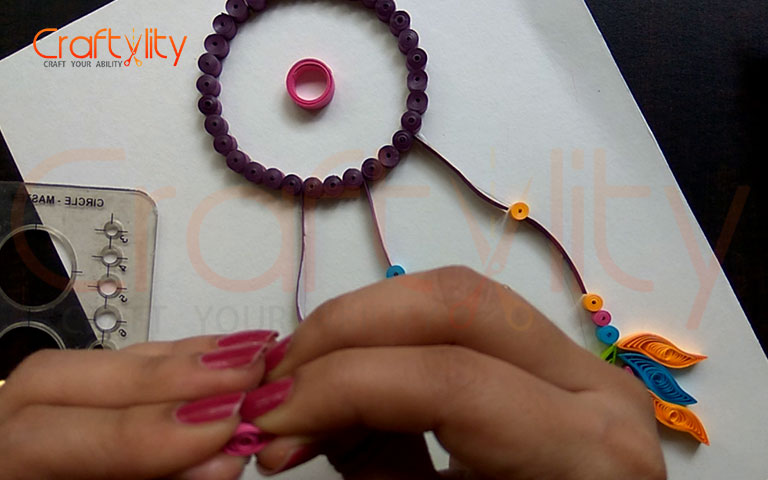
Step 5:
Draw three-light wavey lines as shown in the above image.
Step 6:

Create a few more tight coils by using 8inches of different colors of quilling strips. and stick one coil in between the line and 3 at bottom of the line.
Step 7:
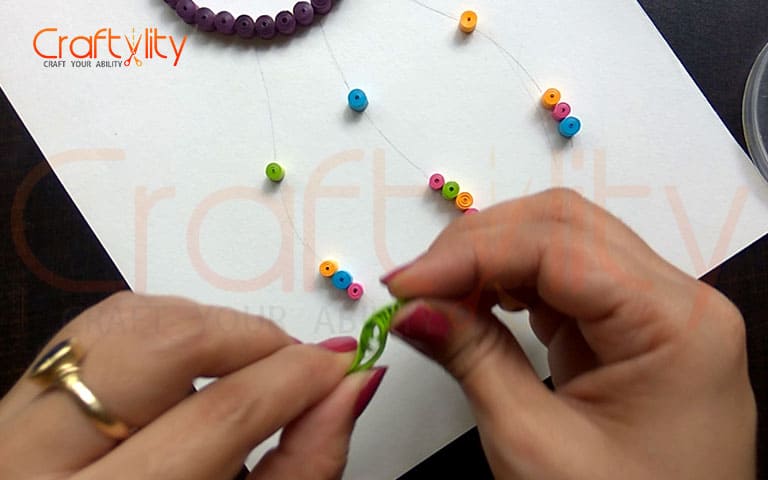
For creating feathers, I am using 16inches of quilling strip. Roll the strip with quilling tool and take the coil out without applying glue on it. Keep the coil in the 19th circle of circle guide and allow it to unroll. Once the coil is unrolled, carefully takeout the coil and glue its end. Hold the coil with both the hands and pinch it. after pinching you will get Eyelike shape, bend this shape in opposite directions to create Alphabet “S” like shape.
Thus we have created our first feather. create more feathers of different colors.
Step 8:
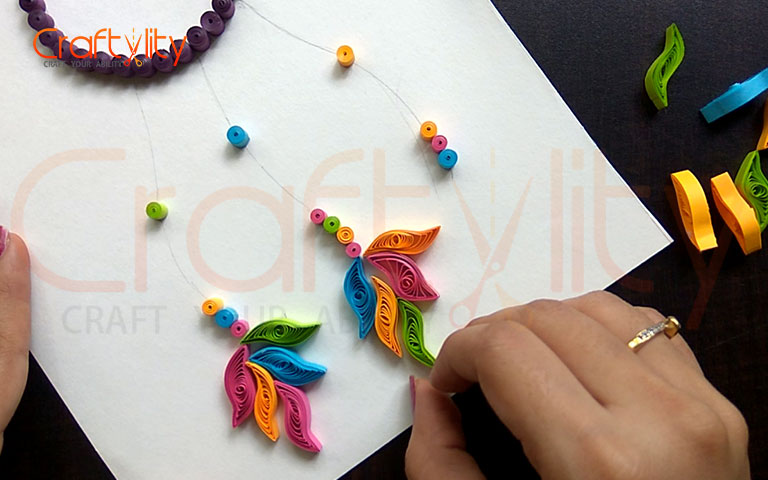
Stick these feathers randomly at the end of the line as shown in the above image.
Step 9:
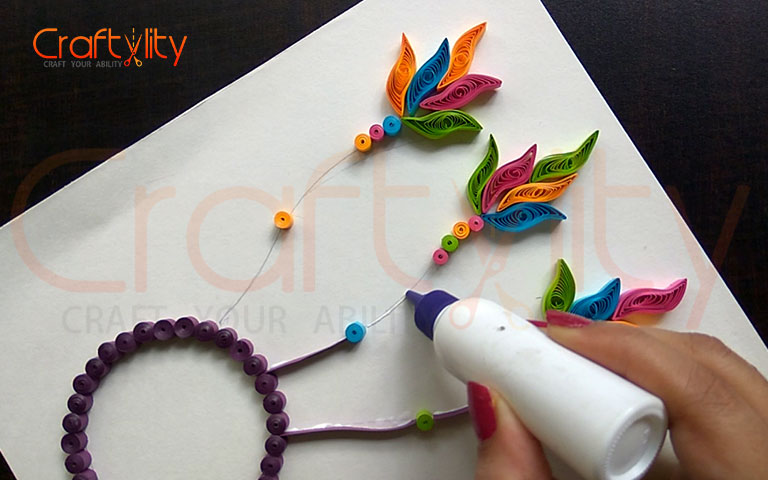
Now measure the line and cut the strip of that size. Apply a thin stroke of glue online and stick the strip. For applying the glue you can use a Glue applicator which has a thin narrow end which helps in applying such thin strokes or pour the glue on a plastic surface and apply it on a card with the help of toothpicks.
Step 10:
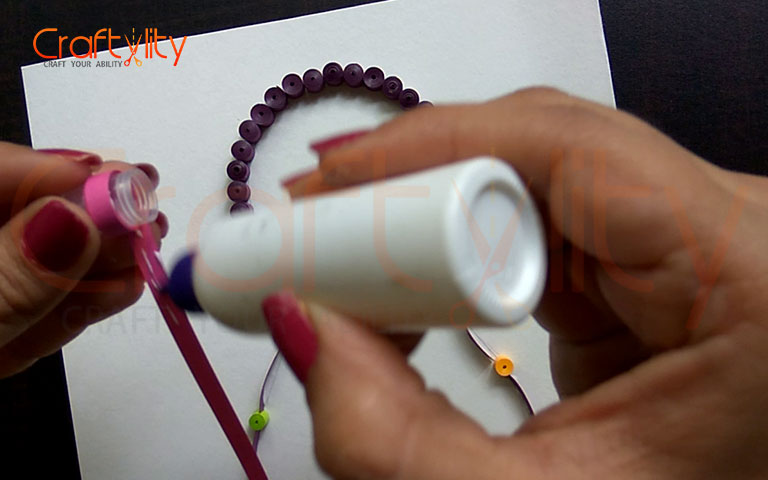
Now we will create a small ring coil by using 16inches of pink quilling strip and a small round object with 1.5 to 2 cms of diameter.
I am using a cap of the glue bottle, you can also use a round pen or pencil. Start rolling the strip around this cap, apply glue on the start of the strip and roll it.
Keep on applying glue on the strip while rolling, roll the strip-till the end. After creating a ring coil, stick this coil in the center of the circle.
Step 11:
Now take 8inches of quilling strip and create an “Eye” like shape.
For creating eye shape, roll the coil using the quilling tool. Take the coil out from the tool without applying glue and keep this coil in the 10th circle of the circular guide.
Allow the coil to unroll. once the coil is unrolled, take the coil out carefully and stick the end of the coil to secure it.
Now hold this coil with both hands and pinch it from both sides, thus you will get an eye-like shape.
Step 12:
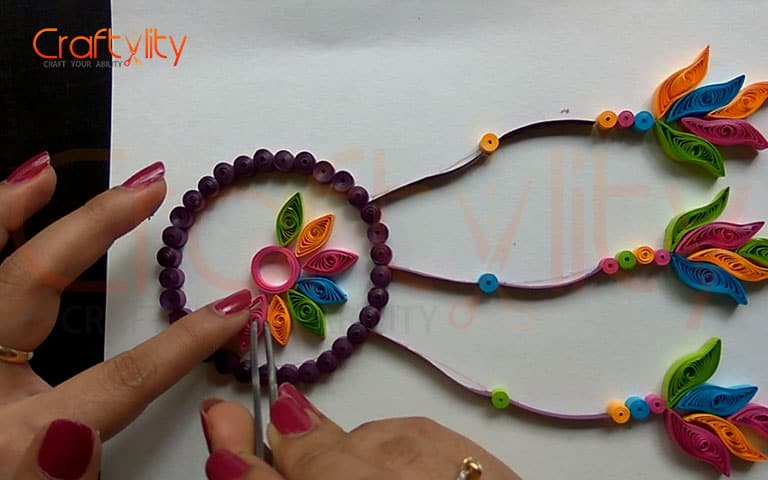
Stick these shapes in the center as shown in the above image.
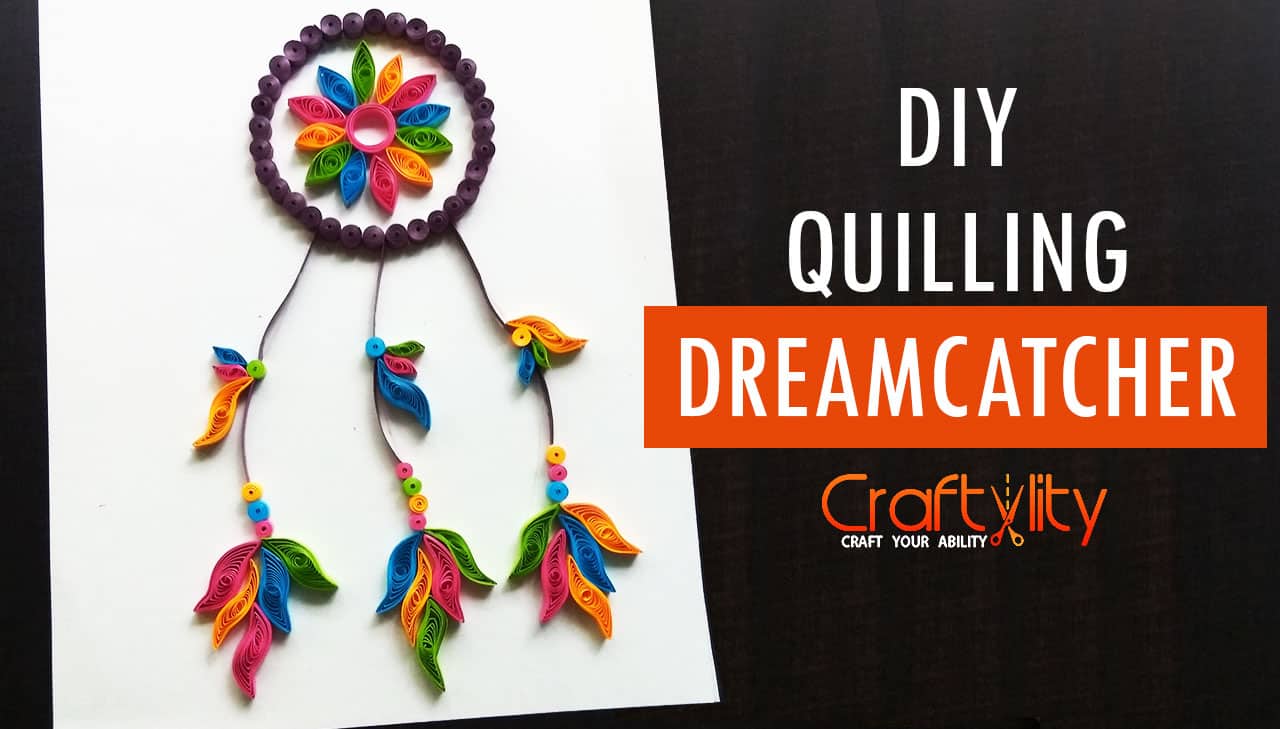
Thus paper Quilling Dream catcher is ready.
Final look…
I hope you like this project. Don’t forget to leave a comment below and also do subscribe to my youtube channel and click the bell icon for the latest updates…
Happy Quilling!!!