

Want to start paper quilling starter kit but DON’T want to waste money on stuff you won’t use? You’re in the right place.
This guide gives you a minimum-budget starter kit (the TRUE essentials), plus easy upgrade picks when you’re ready. I’ll also link every recommended item so you can buy fast and start today. Let’s keep it simple.
✅ Quick links:
- Start here: Quilling Hub
- Shop all quilling tools: Paper Quilling Category
- Full shop: Shop
Buy LESS. Make MORE.
Table of Contents
The Paper Quilling Starter Kit – 10 Must-Haves (Minimum Budget )
Below are the only 10 things most beginners need. Each item includes a cheap option + a smart pick.
| # | Item | Minimum option | Upgrade option |
| 1 | Quilling strips (5mm) | basic mixed pack | premium tight-roll paper |
| 2 | Quilling strips (10mm) | small pack | large assorted pack |
| 3 | Rolling tool | slotted tool | electric tool |
| 4 | Glue | white/clear glue | precision tip glue |
| 5 | Tweezers | basic | fine-tip |
| 6 | Scissors | any sharp | sharp-tip craft scissors |
| 7 | Ruler/scale | basic | metal ruler |
| 8 | Board/base | cardboard | cutting mat |
| 9 | Pins/clip | board with pin | bulldog clip |
| 10 | Storage | zip pouch | organizer box |
1) Quilling Paper Strips (3mm + 5mm)
If you buy only ONE thing first, buy paper strips. 3mm is great for detail, and 5mm is faster for bold shapes.
Minimum-budget tip: Start with a mixed pack (colors + widths).
Upgrade later: Buy separate 3mm and 5mm packs for more control.
Recommended Product
- ✅ Best for: Beginners
- ✅ Why: Easy practice + more variety
- 👉 View on Craftylity: Quilling Paper Strips
Paper strips = your fuel. No fuel, no quilling.
2) Slotted Quilling Tool (Beginner Essential)
This tool makes rolling coils FAST and easy. Perfect for beginners.
Minimum-budget tip: Start with a basic slotted tool.
Upgrade later: Get a comfort-grip version if you quill often.
Recommended Product
- ✅ Best for: First-time quillers
- ✅ Why: Quick, easy coils
- 👉 View on Craftylity: Slotted Quilling Tool
Strong line: Slotted tool = fastest start.
3) Needle Quilling Tool (For Tight Coils + Detail)
A needle tool helps you make tighter coils and neat detailing when you want precision.
Minimum-budget tip: You can start without it, but it’s worth it if you love fine work.
Upgrade later: Add this after 1–2 weeks of practice.
Recommended Product
- ✅ Best for: Tight coils, detailed petals
- ✅ Why: Cleaner rolls
Detail lovers – this one matters.
4) Paper-Safe Craft Glue (Quick-Dry)
Good glue is the difference between “clean craft” and “sticky mess.”
Minimum-budget tip: Choose paper-safe, quick-dry glue.
Avoid: Too watery glue (warps paper) and thick glue (makes lumps).
Recommended Product
- ✅ Best for: Paper crafts
- ✅ Why: Strong hold + cleaner finish
- 👉 View on Craftylity: Quick-Dry Craft Glue
Bad glue ruins good work.
5) Fine Tip Glue Bottle / Applicator
This is a SECRET weapon. It helps you apply tiny glue dots neatly.
Minimum-budget tip: Even a simple fine-tip applicator saves your project.
Upgrade later: Keep 2 tips (one for thin glue, one for thicker).
Recommended Product
- ✅ Best for: Neat finishing
- ✅ Why: Less mess, better control
- 👉 View on Craftylity: Fine Tip Glue Bottle
Control the glue, control the result.
6) Circle Sizer / Template Ruler (Consistency Tool)
Want your coils to look professional? Same size coils = better symmetry.
Minimum-budget tip: Not required on day 1, but VERY helpful after you learn basics.
Upgrade later: Add a quilling board too.
Recommended Product
- ✅ Best for: Same-size coils
- ✅ Why: Faster, consistent shapes
- 👉 View on Craftylity: Circle Sizer
Consistency makes your work look EXPENSIVE.
7) Quilling Board / Work Board (Optional but Helpful)
A board helps you shape petals, teardrops, and circles neatly.
Minimum-budget tip: If you skip this, you can still practice shapes by hand.
Upgrade later: Add a board when you start making cards regularly.
Recommended Product
- ✅ Best for: Shaping and arranging
- ✅ Why: Better symmetry and speed
- 👉 View on Craftylity: Quilling Board
Board = smoother learning curve.
8) Precision Tweezers
Tweezers help place tiny pieces without bending your coils.
Minimum-budget tip: Any fine-tip craft tweezers works.
Upgrade later: A non-slip grip version is comfortable.
Recommended Product
- ✅ Best for: Small placements
- ✅ Why: Less damage, more accuracy
- 👉 View on Craftylity: Precision Tweezers
Tiny parts need the right tool.
9) Small Scissors (or Craft Cutter)
You’ll cut strips, fringing, and small details.
Minimum-budget tip: Use what you already have if it cuts clean.
Upgrade later: Add mini craft scissors for detail work.
Recommended Product
- ✅ Best for: Clean cuts
- ✅ Why: Better finishing
- 👉 View on Craftylity: Mini Craft Scissors
Clean cuts = clean crafts.
10) Storage Box / Organizer
Quilling strips get messy FAST. Storage keeps strips flat and sorted.
Minimum-budget tip: Start with a simple box.
Upgrade later: Use labeled compartments.
Recommended Product
- ✅ Best for: Staying organized
- ✅ Why: Saves time and paper
- 👉 View on Craftylity: Quilling Storage Organizer
Organized = consistent output.
What NOT to buy in the beginning
Trying to buy everything upfront? Don’t.
Skip these on day 1:
- Too many strip sizes (start with 3mm + 5mm)
- Fancy frames and heavy decor items
- Huge quantity glue packs
Start small. Upgrade smart.
Quick Start: Your first 10-minute quilling practice
Want a simple first win?
Do this:
- Roll 10 loose coils using the slotted tool
- Pinch 5 into teardrops
- Pinch 5 into marquise/eye shapes
- Glue them on a scrap paper in a simple flower pattern
- Let dry for 5 minutes
Practice shapes before big projects.
Recommended “Beginner Quilling Essentials” Shopping List
- Quilling paper strips (3mm + 5mm)
- Slotted quilling tool
- Craft glue (paper-safe)
- Fine tip glue applicator
- Needle tool (optional early)
- Circle sizer / template ruler
- Quilling board (optional early)
- Precision tweezers
- Small scissors/cutter
- Storage organizer
Shop all at once here
One checklist. One trip. Start today.
FAQ
Q1: What is the minimum budget to start paper quilling in India?
A: You can start at a minimum budget by buying strips + one tool + paper-safe glue. Add sizer/board later when you want cleaner shapes.
Q2: Is a slotted tool enough for beginners?
A: Yes. A slotted tool is the easiest way to roll coils quickly when you’re new.
Q3: Which quilling strip size is best for beginners – 3mm or 5mm?
A: Start with both. 5mm helps you learn faster, and 3mm helps you make neat detailed designs.
Q4: Can I use regular glue for quilling?
A: Use paper-safe craft glue if possible. Very watery glue can warp paper and thick glue can look messy.
Q5: Do I need a quilling board?
A: Not on day 1. It helps a lot once you start making cards regularly or want better symmetry.
Q6: What paper should I use for greeting cards?
A: Use cardstock as the base. It holds quilling shapes better and looks cleaner.
Q7: How do I stop coils from opening?
A: Hold the coil tight for a second, then add a small glue dot at the end. A fine-tip applicator helps a lot.
Q8: What’s the easiest quilling project for day 1?
A: A small flower made from loose coils + teardrops is the fastest beginner win.
Q9: How long does it take to learn basic quilling?
A: Most people can learn the basic coil and 2–3 shapes in a day. Neat finishing improves over 1–2 weeks.
Q10: What should I upgrade first after 2 weeks?
A: Upgrade glue control (fine-tip applicator) and add a circle sizer or quilling board for cleaner symmetry.
Want the complete set in one place?
👉 Shop Beginner Quilling Essentials
👉 Explore all crafts
Start SMALL today – build BIG skills tomorrow.
I have been practicing Quilling for many years now, this beautiful paper art is very creative and relaxing to do. If you are new to this art and want to learn quilling it is great to proceed and learn quilling as this is fun and easy to make and also it is budget-friendly art. I just thought that I can share my knowledge and experience with you on getting started with paper quilling.
What do I need to start paper quilling? To start with paper quilling all you need is paper, one simple tool, scale, pair of scissors, glue and lots of patience. You can start Quilling with minimum budget, as Quilling can be done with basic materials that are easily available in your home. There is no such need to buy any expensive tools or materials for this art to get started. Hence quilling is also known as budget-friendly art.
All you need to know about getting started with paper quilling
Quilling is a paper art that involves rolling, coiling, and shaping narrow paper strips into various shapes or scrolls and arranging them to create a beautiful design. You can decorate greeting cards, gift items, pictures, picture frames, gift boxes, gift tags, etc. using quilling shapes.
Quilling is an easy, fun, decorative, mesmerizing, and relaxing art. Once you get hands-on quilling it will give you happiness and also it can turn into your new hobby. It is amazing that you can create complicated shapes and designs just by using simple paper strips and glue.
In the beginning, start with a rolling simple paper strip using a quilling tool to create basic quilling shapes. Once you are comfortable in creating basic shapes you can proceed with complex and advanced shapes. Once you are clear with shapes and you can create any small and easy quilling project like a quilling greeting card or decorate Scrapbook cover.
How to do Paper Quilling with Minimum Budget
As you have got an idea about Quilling, that this art basically involves using paper and hence the basic material we need for quilling art is paper strip. Also, I will introduce you to other materials used for paper quilling with their substitutes which are easily available in our homes. You can start your beautiful quilling art journey by using these materials and would be able to create many quilling cards and other quilling artworks.
Tips: You can start paper quilling with materials that are easily available in our home.
We need the following basic and important materials for Quilling.
- Paper Strips
- Round tool (a tool which we can use for creating paper coils)
- Glue
So let us have a look at these materials in detail and also find the substitute for these materials which are easily available at our homes.
Using Right Paper Strips For Quilling
Quilling strips are basically narrow paper strips which are easily available pre-cut in local craft shops and also in online stores. You can also cut your own quilling strips at home by your self, later in this post I will share the tips and tricks of How you can cut your own quilling strips of different sizes and this makes quilling more pocket-friendly art.
Paper strips used for quilling comes in many different widths like 10mm, 7mm, 5mm, 3mm, and even 1mm. Choosing the proper width of quilling strips for your project is important also this depends on the designs and skills you have in quilling.
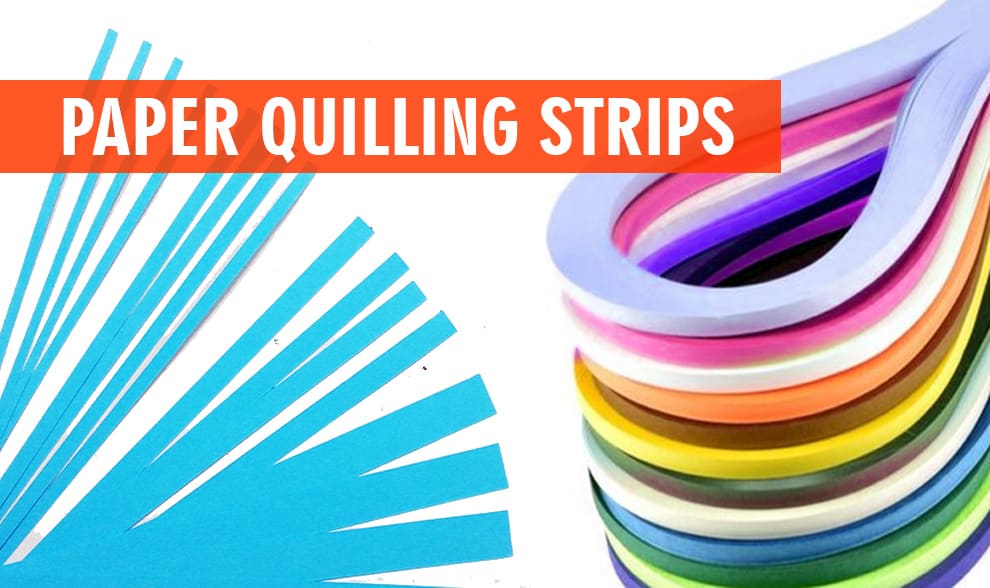
Tips: If you are a beginner then start by using 5mm or 10mm quilling strips as these are broader and easy to hold.
As stated earlier that these strips are easily available online as well as offline stores. You can also cut your own quilling strips at home all you need is color paper, cutter/scissors, ruler and pencil. Choosing the right paper for quilling is also important. As paper strips are rolled to create coils, a paper should not be thick or should not be very thin.
Don’t use paper which is thick like card paper or any paper which is around 150 gsm or 200 gsm as this thick paper will not give smooth rolled coils. Also, don’t use very thin paper as it can tear while rolling. You can use magazine papers (depending upon the gsm), any xerox papers, or any paper which is around 75gsm.
Following are step by step instructions on how you can cut your own paper strips for quilling:
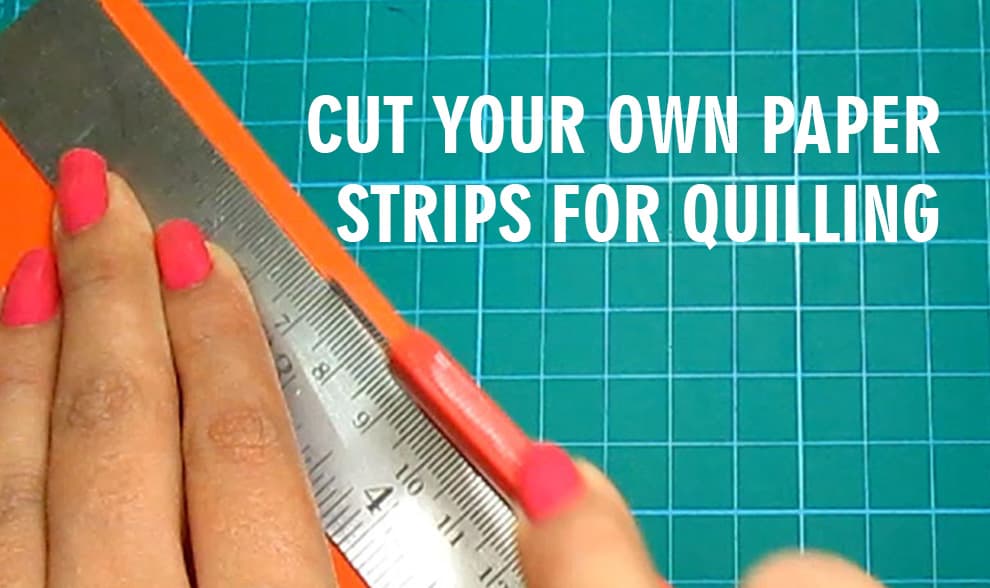
- Take any color paper of your choice.
- Take scale (ruler) and pencil and start marking on-page. Here I want to create 10mm strips hence I am marking 1cm on top and bottom of the page.
- Place paper on cutting mat (this is used so that you don’t damage your tabletop) and start cutting it with the cutter.
- If you don’t have cutting mat or cutter at home you can draw a line on paper and cut it using scissors.
You can cut any size of paper strips depending on your design, 5mm is also a good option to get started with.
Budget-Friendly Quilling Tools You May Use
As for quilling, you need a tool, selecting a proper quilling tool is very important. Initially, you don’t need to buy any expensive quilling tool to create paper rolls and coils. You can use materials that are easily available in our houses, for example, you can use a round toothpick, bamboo skewer, sewing or yarn needles (which are around 1mm or 2mm thick), knitting needles or a cocktail stirrer instead of quilling tool (be careful while using these needles) and kick start your Quilling journey. You can also use any round things like a pencil or even ball pen refills, etc. to start or practice quilling.
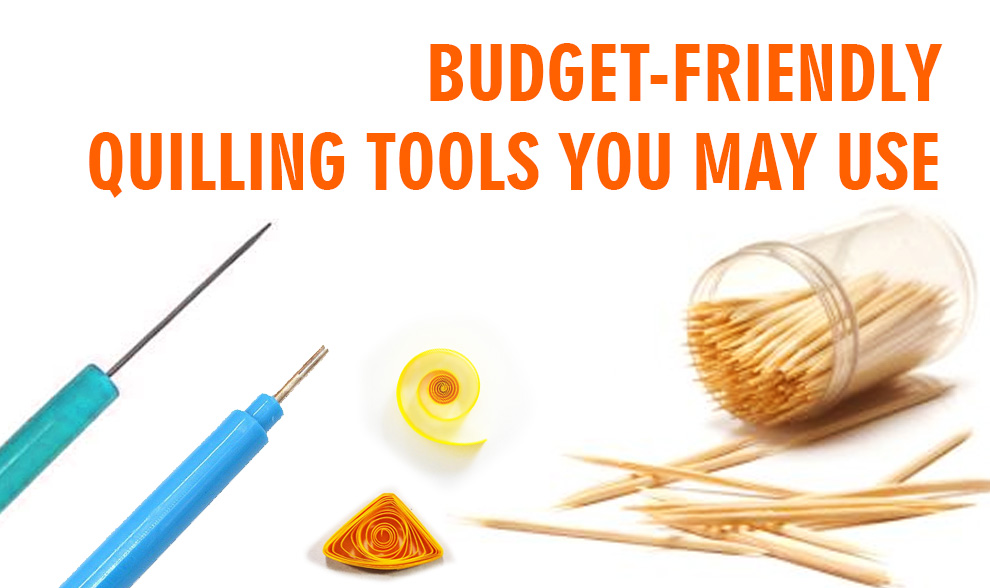
Tips: You can use a round toothpick, bamboo skewer, sewing or yarn needle, knitting needles or cocktail stirrer for quilling.
Width of the surface will decide the center thickness of the coil, thinner the surface is the smaller center of the coil will appear and thicker the surface means thicker the center of the coil will be.
Once you fell in love with this art you can buy a quilling tool if needed.
Quilling tool is a one-time purchase tool, as you can create many and many coils and shapes using this tool. You only need one tool with which you can roll the paper strip and create a coil. Basically there are two quilling tools available in the market. One is the slotted tool, this tool has a slit on its tip where you can hold paper strips and roll, this tool is largely used by beginners or intermediate level practitioners.
A disadvantage of using this tool is that in the center of the coil created by using this tool has a tiny crimp. Another tool is a needle tool, this is the ultra-fine tool and is used by advance level, the coils created by using this tool has a perfect round center, using this tool is a bit difficult.
Below you can find how you can use a toothpick for quilling:
Yes, you can quill using toothpick too. Roll paper stirps around the toothpick as done with another quilling tool to create a coil. Use Round toothpick to roll paper strip, if you don’t have round toothpick then you can wrap little masking tape around square toothpick this will help to create round coils.
- To get a start, moist the tip of paper strip (this will help in rolling) and place the toothpick on the tip of the strip.
- Roll the strip of paper around toothpick using thumb and index finger.
- Once the paper strip is completely rolled, carefully take the coil out from the toothpick.
- Apply glue on the end of the strip to stick that coil and prevent it from unrolling (skip this step if you are creating loose coil or scrolls)
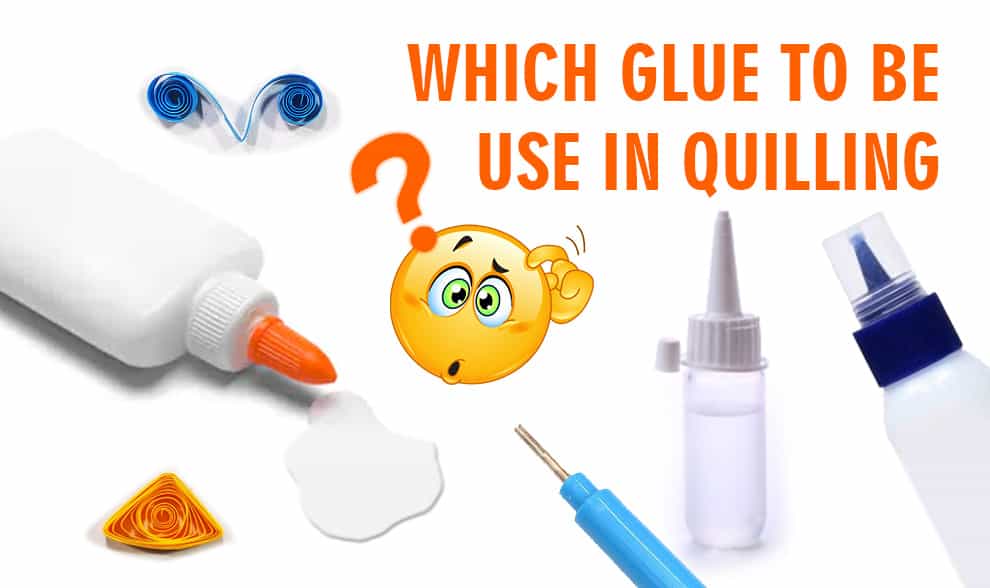
Which Glue To Be Use In Quilling
You can use any water-soluble glue which is clear or white and after drying it would be clear or would not be visible. Also, you can check out What Kind Of Glue To Use For Paper Quilling? 4 Best Options To Choose. Use the proper amount of glue on the project, excess use of glue can be visible and can ruin the beauty of your project. You can always add more glue later but you can not remove extra glue from the project, hence it is advisable to restrict the use of glue from starting. Remember the designing rule “Less is More”.
Check out this amazing tutorial on How to make Paper Quilling Dream Catcher.
Tips: Use Transparent or white glue for quilling.
Other materials required for paper quilling
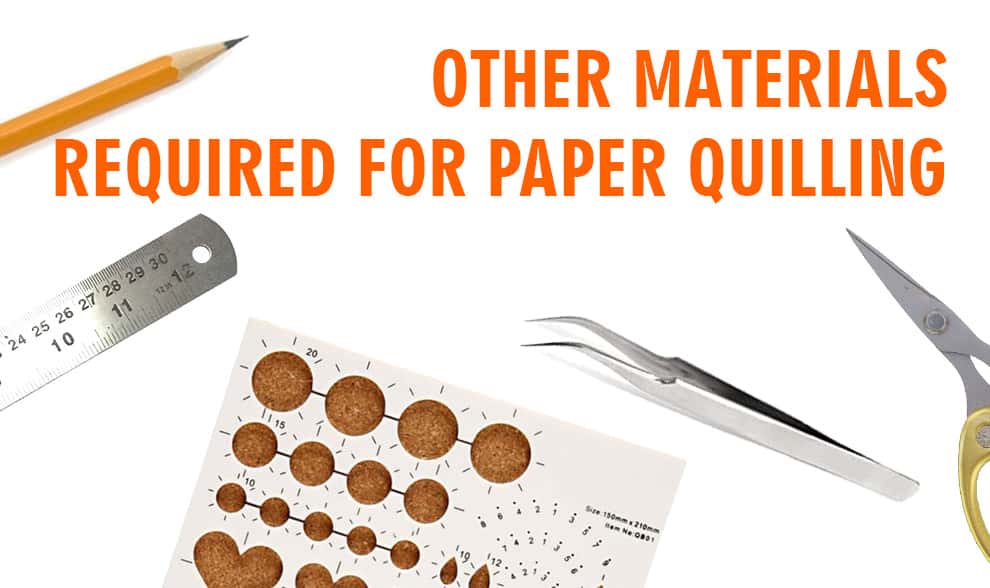
- Sharp scissors
- Ruler
- pair of tweezers
- circle board (A circle sizing board)
- pencil
These are just a few essential materials you required to get started with quilling. Soo collects all the materials and gets ready to enter into the beautiful world of quilling. Initially, you will need little practice and patience and once you get on the track you can speed you cand create your own beautiful artworks and amaze your family and friends.
Welcome to the world of quilling, and Happy Quilling!!!